Table of Contents
Advertisement
Quick Links
Advertisement
Table of Contents

Subscribe to Our Youtube Channel
Summary of Contents for The Pond Guy ClearSpring Pro
- Page 1 ClearSpring ™ & ClearSkim ™ Installation Manual...
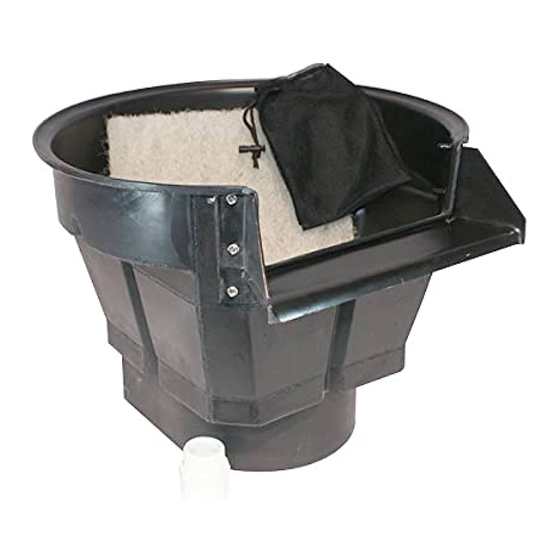
- Page 2 ClearSpring ™ INSTALLATION Step 1 Choose ClearSpring™ Pro Location The waterfall should be positioned so that the water flowing from it enters the pond opposite the skimmer to ensure proper water circulation. The waterfall is best positioned so that you can view it from the outdoor and indoor areas where you plan to enjoy your new water feature.
- Page 3 Step 5 Attach Liner to Waterfall Bring the liner up to the face of the waterfall box and check the positioning of the liner against the waterfall box. Use the liner clips (included) to temporarily hold the liner to the box. The liner should follow the contours of the pond edge or stream and the face of the waterfall box.
- Page 4 This will give you a much more dramatic waterfall display! For additional installation instructions view the Instructional Video @ www.thepondguy.com/clearspringpro The Pond Guy® recommends the following products for use with ClearSpring Pro Waterfall Filters: BIOBALLS (ITEM #110540) BLACK WATERFALL FOAM (ITEM #170132)
- Page 5 ClearSkim ™ INSTALLATION Step 1 Choose Skimmer Location The skimmer should be positioned at the pond edge, opposite the waterfall, to circulate the water properly. Step 2 Excavation of Skimmer Area Set skimmer box in intended area and spray outline of skimmer for area to be excavated.
- Page 6 Step 4 Attach Rubber Liner to Skimmer Bring the liner up to the skimmer and check the positioning of the liner against the skimmer. Use the liner clips to temporarily hold the liner to the face of the skimmer. Be sure the liner follows the contours of the pond and the face of the skimmer.
- Page 7 Push the guide nails through the guide holes and liner from the inside of the skimmer (this will puncture a small hole in the liner). Place the snout into position by sliding the top corner holes of the snout over the guide nails. (The snout should be installed so that the snout door hinges at the bottom).
- Page 8 ClearSpring Biological Waterfall Filter. Place Natural Landscape Lid on top of skimmer to disguise the skimmer within the landscape. View other great products on-line at www.thepondguy.com. The Pond Guy Inc. ® We Know Ponds ™ 15425 Chets Way...

Need help?
Do you have a question about the ClearSpring Pro and is the answer not in the manual?
Questions and answers