
Summary of Contents for Summit SBC696OSNK
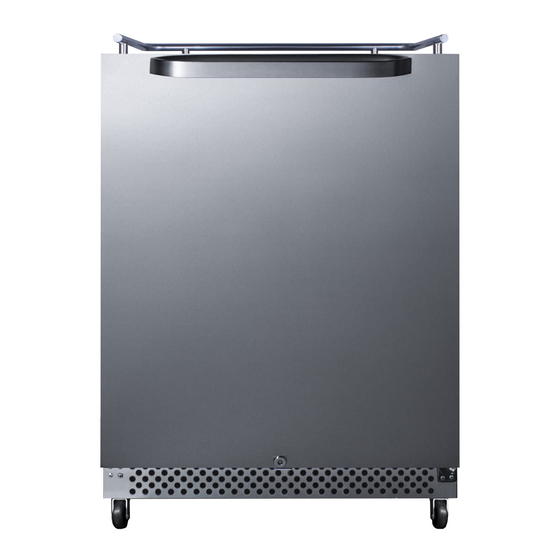
- Page 1 OUTDOOR KEGERATOR Model SBC696OSNK User Manual BEFORE USE, PLEASE READ AND FOLLOW ALL SAFETY RULES AND OPERATING INSTRUCTIONS.
-
Page 2: Table Of Contents
TABLE OF CONTENTS Appliance Safety Important Safeguards Installation Instructions Before Using your Appliance Locating your Appliance Guardrail Installation Caster Installation Door Handle Installation Reversing the Door Swing of your Appliance Operating your Appliance 10-11 Control Panel Setting the Temperature Defrosting Interior Light Interior Fan Alarms... -
Page 3: Appliance Safety
APPLIANCE SAFETY Your safety and the safety of others are very important. We have provided many important safety messages in this manual and on your appliance. Always read and obey all safety messages. This is the Safety Alert Symbol. The symbol alerts you to potential hazards that can kill or injure you and others. - Page 4 For every ounce of coolant at least 325 cubic feet of room space is required. The amount of coolant in the appliance is stated on the data plate on the back of the appliance. It is hazardous for anyone other than an Authorized Service Person to carry out servicing or repairs to this appliance. •...
-
Page 5: Installation Instructions
INSTALLATION INSTRUCTIONS Before Using your Appliance • Remove the exterior and interior packaging, but do not remove any foam insulation surrounding the pipes at the back. • Before connecting the unit to the power source, let it stand upright for approximately 24 hours. This will reduce the possibility of a malfunction in the cooling system from handling during transportation. -
Page 6: Caster Installation
Caster Installation 1. Remove everything from the cabinet and lay the unit on a clean, dry, and padded sur face 2. Install casters into the holes on the bottom of the unit as show n and tighten with a wrench 3. - Page 7 Step 1 A. Take out two hex keys from a bag in the cabinet. Insert the small hex key (1) to the axes (2). B. Rotating the axes (2) clockwise. C. Use the big hex key (3) to push the pin (4) until you can remove the pin by hand. Step 2 A.
- Page 8 Step 4 A. Remove the screws (5) from the hinge plate (13). B. Place the hinge plate (13) on the bottom left. C. Fix the screws (5) on the hinge plate (13) again. Step 5 A. Place the axes (2) on the left hinge plate. Step 5 A.
- Page 9 Step 6 A. Place the axes (2) on the left hinge plate. Step 7 A. Loosen the small screw a little (around 0.3”), making sure the pin is not higher than the screw. B. Use the small hex key (1) to rotate the axes (2) counter-clockwise. C.
-
Page 10: Operating Your Appliance
OPERATING YOUR APPLIANCE The Kegerator is ab le to maintain the proper dispensing temperature for beer, provided it is installed correctly in the proper environment. For best results, mount the draft tower as close to the top of the kegerator as possible and seal any openings to prevent heat transfer. Avoid opening and closing the door of the kegerator too often to ensure a consistent temperature inside the unit. -
Page 11: Defrosting
Defrosting The Kegerator defrosts automatically under normal operating conditions. Condensate collects in the drainage channel behind the rear wall of the unit, and flows through a drainage hole into the drip tray near the compressor, where it evaporated. Frost may accumulate on the evaporator if the unit is repeatedly opened in high heat or high humidity locations. -
Page 12: Care And Maintenance
CARE AND MAINTENANCE Cleaning your Appliance • Turn off the power, unplug the appliance, and remove all items including the dispense kit. • Wash the inside surfaces with warm water and baking soda solution. The solution should be about 2 tablespoons of baking soda to a quart of water. •... -
Page 13: Troubleshooting
Compressor is working to transfer heat from inside the cabinet If the problem continues after taking the proper remedial actions, disconnect the power cord from the wall outlet and transfer stored items to another container. Then call Summit’s toll-fee Customer Service number at 1-800-932-4267. -
Page 14: Limited Warranty
LIMITED WARRANTY ONE-YEAR LIMITED WARRANTY Within the 48 contiguous United States, for one year from the date of purchase, when this appliance is operated and maintained according to instructions attached to or furnished with the product, warrantor will pay for factory- specified parts and repair labor to correct defects in materials or workmanship.
Need help?
Do you have a question about the SBC696OSNK and is the answer not in the manual?
Questions and answers