Table of Contents
Advertisement
Quick Links
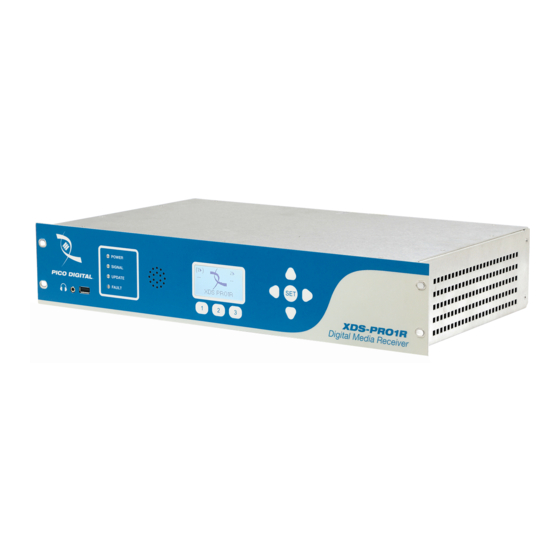
XDS-PRO Series Receivers, PRO4Q and PRO4R
ATX Networks is the manufacturer of the X-Digital Systems (XDS) product line
Important Guidelines
Review this guide in its entirety before installing your XDS-pro receiver. Follow these instructions before calling
Support (see last page).
Your receiver must be connected to a fulltime internet connection to allow the network to troubleshoot with
you, and to provide a backup streaming audio path in case the satellite signal is unavailable.
Please make all satellite RF, LAN/WAN and audio connections prior to applying power to the XDS receiver.
ESPN recommends that the receiver be powered by an Uninterruptible Power Supply (UPS) with surge
protection.
There are no user-adjustable switches, jumpers or controls inside the XDS unit, so please do not open the unit
or break the warranty seal.
Appendix A at the end of this document contains a front panel menu map that can help you navigate through
the XDS receiver settings and configuration.
1. Satellite RF Connection
Your XDS-Pro receiver is preconfigured to tune itself to the settings specified in the Network Data Sheet at
https://myxdsreceiver.espn.com/aff/Documentation/Network%20Data%20Sheet.pdf
It is intended to operate with a commonly-available LNB with a 5,150 MHz local oscillator and L-band output
frequencies between 950 and 2,150 MHz.
(Under the 2020-21 C-band repack effort, radio networks in the US now operate in the smaller 950 to 1,150
MHz portion of that band.)
We recommend using RG-6 cable and a splitter that will pass those frequencies.
2. LNB Voltage
Your receiver was shipped from the factory with the LNB voltage turned off by default.
If you need the receiver to power the LNB on your downlink dish, you can enable it after you have powered it
up: On the front panel menu, go to Setup >Tuner.
XDS-PRO Quick Start Guide.docx
Quick Start Guide
.
1 of 6
Advertisement
Table of Contents

Subscribe to Our Youtube Channel
Related Manuals for ATX XDS-PRO Series


Summary of Contents for ATX XDS-PRO Series
- Page 1 Quick Start Guide XDS-PRO Series Receivers, PRO4Q and PRO4R ATX Networks is the manufacturer of the X-Digital Systems (XDS) product line Important Guidelines Review this guide in its entirety before installing your XDS-pro receiver. Follow these instructions before calling Support (see last page).
- Page 2 3. Internet Connection Your XDS-PRO should always be connected to the internet to allow for remote troubleshooting, to retrieve as- played logs of commercial insertions, and to stream live audio to the receiver when satellite is not available. 4. Connecting the Receiver to your LAN ...
- Page 3 9. Connecting the Audio Ports Each analog audio output of an XDS-PRO receiver is a DB-9 male connector, labeled Audio-A through Audio-D on the rear panel. Each port serves a different legal radio station or downstream distribution path. For example, you may have ports labeled: WXXX-FM, your main FM station WXXX-FW, the web stream of your main FM...
- Page 4 Relay connector pinouts: If your automation system can read serial text cues directly, the serial stream of Netcues is available from Relay Port A pins 15 (NC TxData) and 10 (ground). Default setting is 9600-8-N-1 (9600 bps, eight data bits, no parity, and one stop bit, no flow control). ...
- Page 5 12. Check Signal Quality Once the tuner is locked and the correct carrier is verified, check the signal quality via the main or default screen on the front panel: EB should be 7 or higher AG should be between 40 and 60. 13.
- Page 6 XDS-PRO Quick Start Guide.docx 6 of 6...
Need help?
Do you have a question about the XDS-PRO Series and is the answer not in the manual?
Questions and answers