Table of Contents
Advertisement
Available languages
Available languages
Quick Links
Advertisement
Table of Contents

Related Manuals for FOREVER JOY J-200


Summary of Contents for FOREVER JOY J-200
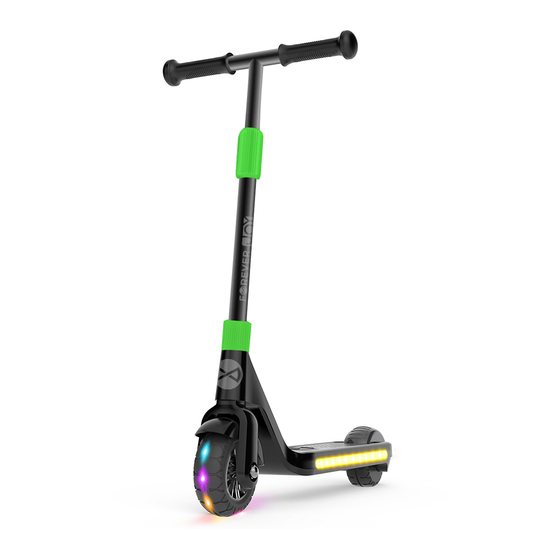
- Page 1 ELECTRIC SCOOTER JOY J-200...
-
Page 3: Image Description
Thank you for purchasing a product by Forever. Before use, please refer to the User’s manual, and save it for future reference. Do not disassemble the device on your own – all repairs should be done by a service technician. Use only original parts and accessories provided by the manufacturer. The device should not be exposed directly to water, moisture, sunlight, fire or other heat sources. - Page 4 - Low battery indication: If the scooter emits a continuous sound of “drops, drops, drops”,...
- Page 6 Lock the screw with a screwdriver 1.4 Tighten the lock cover in the direction of the arrows...
- Page 7 2. Height adjustment 2.1 Unscrew the protective cover in the direction of the arrow 2.2 Press the handle to set the handlebar length to the correct height until the handle clicks 2.3 Screw the protective cover...
-
Page 8: Charging The Scooter
2014/53/UE directive. You can download the declarationon of product on website www.telforceone.pl. Dziękujemy za zakup produktu marki Forever. Przed użyciem zapoznaj się z niniejszą in- strukcją i zachowaj ją na przyszłość. Nie rozkręcaj urządzenia samodzielnie - wszelkie naprawy powinny być... - Page 9 - Rozpoczęcie jazdy: przytrzymaj uchwyt obiema rękami i delikatnie odepchnij się do przodu. Kiedy usłyszysz sygnał, oznacza to, że bieżąca prędkość wynosi 4KM / H. Gdy usłyszysz podwójny sygnał, oznacza to, że bieżąca prędkość wynosi 6 KM / H. Gdy usłyszysz potrójny sygnał, oznacza to, że aktualna prędkość...
- Page 11 1.2 Zamocuj pionową rurę wraz z rączkami w dolną część hulajnogi i dopasuj ją do otworu na śrubę Skręć śrubki za pomocą śrubokręta...
- Page 12 1.4 Dokręć pokrywę blokady w kierunku wskazanym przez strzałki 2. REGULACJA WYSOKOŚCI 2.1 Odkręć pokrywę zabezpieczającą w kierunku strzałki...
-
Page 13: Ładowanie Hulajnogi
2.2 Wciskając bolec ustaw długość kierownicy na odpowiedniej wysokości aż do momentu kliknięcia bolca 2.3 Zakręć pokrywę zabezpieczającą ŁADOWANIE HULAJNOGI : 1. Podłącz kabel ładowania do zasilacza sieciowego 2. Podłącz zasilacz do gniazda sieciowego 100-240 V AC 3. Podłącz kabel wyjściowy z ładowarki do gniazda ładowania hulajnogi LIMITED WARRANTY: - Produkt jest objęty 24 miesięczną... - Page 14 www.forever.eu...
Need help?
Do you have a question about the JOY J-200 and is the answer not in the manual?
Questions and answers