Advertisement
Advertisement
Table of Contents

Summary of Contents for Goodmans 363566
- Page 1 尺寸:210*148MM 说明书190g铜版纸, 对钉成册, 字体:Helvetica, 字体颜色85%黑...
- Page 2 HD PROJECTOR MODEL: 363566 USER MANUAL...
-
Page 3: Quick Setup
Welcome Your HD Projector In The Box Mains Power Top View Rear View 2.5 Left Side View 2.6 Remote Control Quick Setup Picture Menu Sound Menu 3.3 Options Menu 3.4 Time Menu Operation Power Projector Placement Viewing Options Ceiling Mount Angle Adjustment Image Adjustment HDMI... -
Page 4: Troubleshooting
Troubleshooting Technical Specifications EC Declaration... - Page 5 Welcome Thank you for choosing this Goodmans product. We have been making electrical products for the British people for over 90 years. Each of our products have been carefully designed to be great at what they do and this one is no exception. We hope you enjoy your new HD Projector.
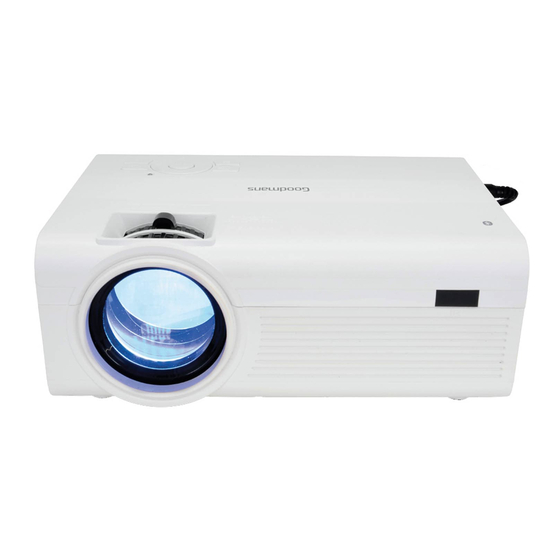
- Page 6 2.3 Top View Projector Lens Focus Adjustment Keystone Adjustment Indicator Light Red: stand by; Green: power on. Source Press to change media source mode. Menu Press to access on-screen menus and options. Arrows/OK Press to navigate on-screen menus and make selections. Power Press to power ON/OFF the projector.
- Page 7 2.4 Rear View VGA/PC Input Remote Sensor Duplicated on the front of the projector. Speakers Height Adjustment Peg 2.5 Left Side View 3.5mm Audio Output 3.5mm AV Input Micro SD Card Port HDMI Input 1 & 2 USB Port DC Power Port...
- Page 8 2.6 Remote Control Power Press to ON/OFF power. Mute Press to mute volume. FLIP VOL – VOL + SOURCE Previous / Next Press to skip between chapters or tracks. Back / Fwd MENU EXIT Press to search through an individual chapter or track. Stop Press to stop playback.
- Page 9 Source Press to select media source (AV, PC, HDMI, MEDIA). Menu Press to access projector Settings. Exit Press to exit menus. Go To/Number Keypad Press to enter specific chapter or track numbers. Use Play button to begin playing. Zoom Press to zoom display image in or out.
-
Page 10: Picture Menu
Quick Setup 3.1 Picture Menu Picture Mode: Select Vivid, User (custom), Soft, or Standard. Contrast, Brightness, etc: Set Picture Mode to "User" to adjust these settings. Color Temperature: Select Warm, Cool, or Medium. Aspect Ratio: Select 16:9, 4:3, Auto. Noise Reduction: Select low, middle, high, default, off. Picture Mode Standard Contrast... - Page 11 3.2 Sound Menu Sound Mode: Select Music, Movie, User (custom), Sports, or Standard. Treble, Bass: Set Sound Mode to "User" to adjust these settings. Balance: Adjust the audio balance. Auto Volume: Turn Auto Volume ON or OFF. Surround Sound: Turn Surround Sound ON or OFF. Sound Mode Standard Treble...
- Page 12 3.4 Time Menu Clock-- -- Select clock to Day, Month, Year, Hour ,and Minutes. Off Time Select turn off time to Day, Hour ,and Minutes. On Time Select turn on time to Day, Hour ,and Minutes. Sleep Timer Select sleep timer to Off, 10min, 20min, 30 min, 60min, 90min, 120min,180min, 240min Auto Sleep Select auto sleep function to Never, 4 hours, 6 hours, 8 hours.
- Page 13 Operation 4.1 Power Plug the AC/DC power adapter (included) into a standard wall outlet and the DC power input on the rear of the unit. After connecting power, please allow approximately 5 seconds to pass before powering the unit ON. 4.2 Projector Placement For best results, place the projector in a dark room or other dimly lit area.
-
Page 14: Viewing Options
4.3 Viewing Options The projector can be used to project onto a wall or screen, mounted from the ceiling or on a table. When projecting from the rear position, a special screen will be needed (not included) to display the image. FRONT TABLE REAR TABLE FRONT CEILING... -
Page 15: Ceiling Mount
4.4 Ceiling Mount To mount the projector from the ceiling, you will need mounting hardware recommended by a professional. Mounting hardware and instructions are not included. Before mounting, be sure the ceiling structure can support the weight of the projector and the mount itself. It is recommended to have this unit mounted by a professional. -
Page 16: Angle Adjustment
4.5 Angle Adjustment Use the Angle Adjustment Dial to fine tune the angle. 4.6 Image Adjustment Focus Adjustment Increase or reduce to image size to sharpen image. CAUTION Keystone Adjustment Adjust image corners to reduce image distortion. - Page 17 4.7 HDMI HDMI offers superior sound and picture quality, and is the easiest way to play media from a computer, Blu-Ray player, or other device with an HDMI output. Requires an HDMI cable (included) and a device with an HDMI output.
-
Page 18: Audio/Video Input
4.8 Audio/Video Input Requires a 3.5mm to RCA audio/video cable (included). 1. Connect 3.5mm jack to the AV input of unit. 2. Connect RCA jack to stereo audio output and composite video of the media player. 3. Set the projector's Source to AV and use the controls on the connected player to select and play media. - Page 19 4.9 Micro SD & USB Storage Devices Supports Micro SD cards, external Hard Drives and USB flash drives up to 32GB. Supports AVI, MOV file formats. 1. Insert a USB drive into the USB Port. 2. Set the Source to Media Player, then use the Arrow buttons to select "C:Drive"...
- Page 20 4.10 Computer Video (VGA) Note: VGA connections do not support audio. You will need to use the computer's speakers to hear audio. Requires a VGA cable (not included) and a desktop PC or laptop with a VGA output. 1. Using a VGA cable, connect the VGA input on the projector to the VGA output on your computer.
- Page 21 3. When successfully paired, the Bluetooth receiver should indicate it is connected, usually with a chime or tone. Check the user manual on your Bluetooth receiver for more information. 4. When successfully connected, the projector will display the Bluetooth receiver's (your device) name on the top right portion of the Main Menu screen, and sound played from the projector will be heard through the Bluetooth receiver.
- Page 22 Troubleshooting Problem What to do The projector Connect the power adapter again shuts down and make sure it is connected well. automatically. Turn off the projector, and leave it to cool down, then turn it on again in about an hour. No signal on screen.
-
Page 23: Technical Specifications
Technical Specifications 363566 Model Number AC/DC adapter (Included) AC /DC Operation Input: AC 100 – 240V ~ 50/60Hz Output: DC 12.0V 3.5A... - Page 24 EC Declaration This product is intended for use within UK. This appliance complies with the below listed EU directives. 2014/53/EU Radio Equipment Directive 2014/35/EU Low Voltage Directive 2014/30/EU Electromagnetic Compatibility Directive 2009/125/EC Eco-design Directive 2011/65/EU Restricion of Hazardous Substances Directive The complete declaration of conformity is available upon request for relevant enquiries.
Need help?
Do you have a question about the 363566 and is the answer not in the manual?
Questions and answers