
Related Manuals for Midian Electronics PR-10i

Summary of Contents for Midian Electronics PR-10i
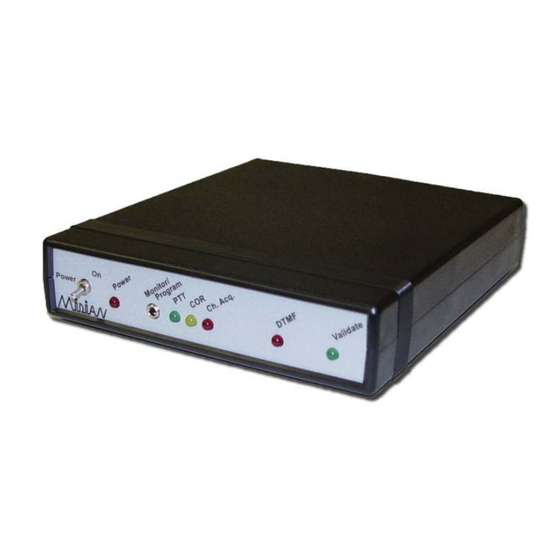
- Page 1 P R-10i Tone and Voice Paging Regenerator Simplex Repeater Maker with Selective Repeat M anual Revision: 2018-01-11 Covers Firmware Revisions: Covers Hardware Revisions: Rev G...
-
Page 2: Table Of Contents
T ABLE OF CONTENTS Specifications General Information Hardware Installation Product Programming Controls & Indicators Operation Technical Notes Contact Information... -
Page 3: Specifications
S PECIFICATIONS Voltage/Current: External Power 13-18 VDC Standby Current with Power LED 5 mA Current with COR or PTT LED 6 mA Radio Inputs/Outputs: AGC Dynamic Range 30 db Audio Output Level Adjustable from 140 mVpp to 3 Vpp unloaded Audio Output Impedance 1 k or 47 k Jumper Selectable PTT Out:... -
Page 4: General Information
Selective Repeat Mode: The PR-10i has a tone decoder on the board that can be programmed to decode any 2 tones (up to 4 different sets of tones). When the tone decoder decodes the programmed sequence(s) it will give a validate output to the PR-10i. -
Page 5: Hardware Installation
Be certain to follow standard anti-static procedures when handling any of Midian’s products. Use the enclosed matching cables with RJ45 type connectors to plug into the PR-10i. The other ends can be connected to the appropriate type of radio connector using the pin out and color codes show below. See connector pin out in the chart below. -
Page 6: Product Programming
Plug the KL-4F-PC1 into the programming jack on the unit and into the P10 connector on the KL-4F. Insert the 3.5 mm stereo plug into the J8 connector on the PR-10i. The PR-10i dos not receive power from the KL-4F it must be powered from the radio or the AC adaptor. - Page 7 General Info Tab: Unit Information This information area is updated when a unit is read or programmed. It will also be updated when a data file is loaded from a previous unit read and then saved. Below is a summary of the fields: Product - Shows a more detailed description of the product model within the series.
- Page 8 Attack Time: This sets the minimum time before the PR-10i will detect VOX based on the sensitivity setting. Decay Time: This sets the time before the PR-10i will drop the VOX detection. Be certain to set this long enough so that you do not have drop outs between words or on brief pauses.
- Page 9 Signaling Tab Note – This is a new TAB for the PR-10i. The PR-10i uses a 2- tone decoder that is built-in to the unit. That decoder is programmed using this TAB. The previous version of this device is the PR-10. The PR-10 used a tone decoder module that required a 2nd programming interface specifically for the decoder.
- Page 10 The frequency of the second tone (B-tone) of the sequence in Hz. Retransmit Settings Tab: Key-Up Delay: This sets the amount of time the PR-10i waits after keying the base station radio before it starts to retransmit the recorded audio.
- Page 11 Basic Inputs Tab: Active Polarity: This sets whether the PR-10i looks for an active low or active high to start recording the received audio. Note: The associated COR LED, when programmed for an active low, will be off when COR is inactive and on when COR is active.
- Page 12 Trunking Delay Input Active Polarity: This sets whether the PR-10i needs an active low or active high indication from the radio to indicate a trunked channel has been established. Debounce: If checked the PR-10i will require a continuous active state for 40 msec before accepting the channel...
- Page 13 This feature is a busy channel lockout for connection to a second radio that is being used as the transmitter. Active Polarity: This sets whether the PR-10i needs an active low or active high indication from the radio to indicate the channel is busy.
- Page 14 Level below. Levels Radio TX Out Level: This sets the transmit output audio level of the PR-10i to the base station radio. Start by opening impedance jumper JP-11 and programming the PR-10i with the “Radio TX Out Level” set to 499mVpp under the 100% modulation heading.
-
Page 15: Controls & Indicators
COR dropout time ends the PR-10i will issue a PTT output to the radio and retransmit the paging tones and audio if the PR-10i receives a validate. If COR is not available VOX detect can be used. -
Page 16: Technical Notes
When the COR input goes active the PR-10i will start recording the incoming audio. After the COR input goes inactive and the programmable COR dropout time ends the PR-10i will issue a PTT output to the radio and retransmit the audio. The PR-10i will repeat the last recorded audio message continuously at the preprogrammed repeat interval. - Page 17 2.2u MIC5206 3.3V C160 100p 560p .001u 2.2u R195 1.8V CHASSIS GND R198 R199 R196 DOCUMENT NAME MIDIAN ELECTRONICS, INC. PR-10i APPR SCHEMATIC DATE: 2010-04-26 UPD BY: SHEET PROJECT NUMBER 7705 Copyright © 2016 DESIGN: REV: 2016-05-05 1 of 1...
- Page 18 R242 100K SR_SCLK R243 100K SR_RCLK R239 SR_RCLK_1 R240 SR_RCLK_2 Variant Solder Bottom Variant Solder Top DOCUMENT NAME MIDIAN ELECTRONICS, INC. PR-10i Midian Logo 1500X250 APPR SCHEMATIC DATE: 2010-04-26 UPD BY: SHEET PROJECT NUMBER 7705 Copyright © 2016 DESIGN: REV:...
Need help?
Do you have a question about the PR-10i and is the answer not in the manual?
Questions and answers