
Subscribe to Our Youtube Channel
Summary of Contents for Motomaster 009-1539-6
- Page 1 CHANGE AND STORE TIRE DOLLY Model No. 009-1539-6 IMPORTANT: INSTRUCTION Please read this manual carefully before using this product MANUAL and save it for reference.
- Page 2 Keep this instruction manual for future use. Should this product be passed on to a third party, this instruction manual must be included. This MotoMaster product carries a one (1) year warranty against defects in workmanship and materials. At its discretion, MotoMaster Canada agrees to have any defective part(s) repaired or replaced free of charge, within the stated warranty period, when returned by the original purchaser with proof of purchase.
- Page 3 TABLE OF CONTENTS INTRODUCTION PERSONAL SAFETY INSTRUCTIONS SAFETY INFORMATION TECHNICAL SPECIFICATIONS PARTS LIST AND PARTS DIAGRAM ASSEMBLY MAINTENANCE IMPORTANT: This manual contains important safety and operating instructions. Read all instructions and follow them while using the product.
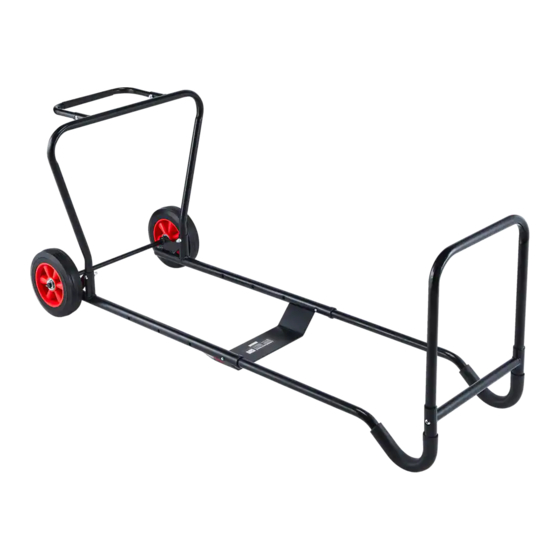
- Page 4 009-1539-6 | contact us 1-888-942-6686 INTRODUCTION SAFETY INFORMATION The MotoMaster Tire Dolly is perfect for ® • When lifting or moving loaded dolly, take care to prevent tires from tipping over. storing and transporting tires. The capacity of the tire dolly is 300 lb (136 kg).
- Page 5 PARTS LIST AND PARTS DIAGRAM PART NO. DESCRIPTION QUANTITY Bottom Frame Upper Frame Tube 8" (20.3 cm) Wheel Platform Upper Frame Handle M8 Bolt (40 mm) M8 Nut M8 Bolt (30 mm) Kickstand Cotter Pin Washer...
- Page 6 009-1539-6 | contact us 1-888-942-6686 Connect the upper frame handle (part #5) and the upper frame tubes (part #2) with 2 pcs bolts (part #6). Ensure bolts are securely tightened. Insert the upper frame tubes (part #2) into the bottom frame (part #1).
- Page 7 Connect the platform (part #4) STEP 4 and the kickstand (part #9) with 2 pcs nuts (part #7) and 2 pcs bolts (part #8), ensure bolts and nuts are securely tightened. On each side of the axle of the STEP 5 bottom frame (part #1), install 1 wheel (part #3), 1 washer (part #11), 1 cotter pin (part #10)
- Page 8 009-1539-6 | contact us 1-888-942-6686 MAINTENANCE Periodically check that all hardware is tight and secure. Frequently check the condition of the tire dolly. Make sure all components are in good condition. If the tire dolly becomes damaged through accident, or if any damage is noted, the product should be replaced.
Need help?
Do you have a question about the 009-1539-6 and is the answer not in the manual?
Questions and answers