Advertisement
Advertisement

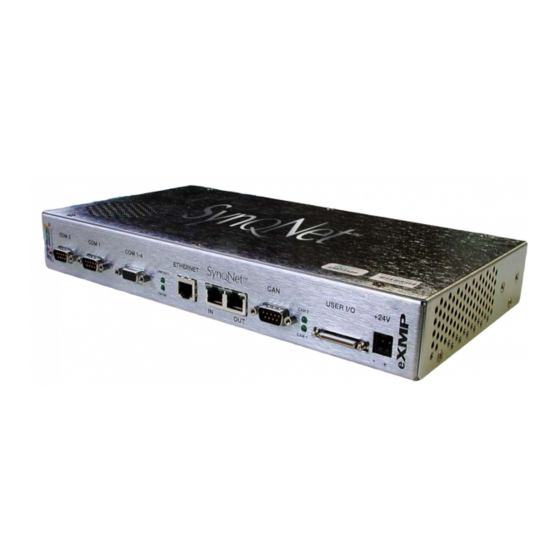
Summary of Contents for MEI eXMP-SynqNet
-
Page 2: Table Of Contents
Quick Start Guide: Linux Table of Contents Safety Warnings………………………………………… 2 Introduction……………………………………………… 3 Hardware Setup…………………..………………..…… 4 Host-side Configuration………………..……………… 5 Changing Network Interface Parameters…………. 7 Using the eXMP-SynqNet Motion Controller……… 13 Copyright © 2003, Motion Engineering, Inc DCR 704; rev. A... -
Page 3: Safety Warnings
Quick Start Guide: Linux Safety Warnings During installation, solid electrical contact must be ensured at connectors; otherwise, noise and power problems will develop. (Connections should be verified through inspection and testing.) Standard safety rules prevail during installation of any hardware. Some are summarized below for the XMP. -
Page 4: Introduction
COM1 connection and a console mode connection at the same time. The following steps will explain how to set up the eXMP-SynqNet in console mode so that it may be accessed by a network computer for development and testing. -
Page 5: Hardware Setup
SynqNet, some connectors may not be present. Configuring for Console Mode The following steps will explain how to set up the eXMP-SynqNet in console mode so that it may be accessed by a host computer for local development and testing. -
Page 6: Host-Side Configuration
3. If it is not already connected, connect eXMP COM1/Console to COM1 on the host computer using a NULL serial cable. Console mode is now enabled on the eXMP-SynqNet. Copyright © 2003, Motion Engineering, Inc DCR 704; rev. A... - Page 7 Quick Start Guide: Linux 4. After pressing OK, switch Connect using to the appropriate COM port. All other fields should be grayed out after selections have been made. 5. Configure the connection as follows: • Bits per second: 9600 •...
-
Page 8: Changing Network Interface Parameters
Quick Start Guide: Linux Changing Network Interface Parameters 1. When you power up the eXMP-SynqNet, the console terminal should display the BIOS information. Copyright © 2003, Motion Engineering, Inc DCR 704; rev. A... - Page 9 Quick Start Guide: Linux 2. After the BIOS information is displayed, the GRUB bootloader screen will be displayed. The default boot option will be highlighted and will auto-boot this option after waiting 5 seconds. Advanced Linux users can edit the ‘/boot/grub/grub.conf’ to specify a new or different boot option, if necessary.
- Page 10 Quick Start Guide: Linux 3. As the default option is booted and the Linux kernel is loaded, the Linux kernel messages will appear in the terminal. The final message will prompt you to press a key to start a shell on the terminal.
- Page 11 Quick Start Guide: Linux 4. Once the console is activated, use the vi editor to change the network interface settings in the ‘etc/init.d/network’ file. This is a small file, and there are BOLD comments marking the location to set the desired IP address, subnet mask, broadcast address, and network routing address. Be sure to write the changes to the file before quitting (:w) and (:q).
- Page 12 Quick Start Guide: Linux 5. After saving the valid network interface parameters, reboot the eXMP using the ‘reboot’ command, or use the ‘shutdown’ command and then cycle power. After the eXMP completes the Linux boot process, the eXMP should be accessible from another computer on the local area network.
- Page 13 Quick Start Guide: Linux 6. Accessing the eXMP via Telnet provides an eXMP shell with unlimited access. To connect to the eXMP FTP server from a Windows PC, type the following from a Command Prompt (using the new IP address for the eXMP): telnet 192.168.1.74...
-
Page 14: Using The Exmp-Synqnet Motion Controller
NOTE: As with any UNIX based system, you will need to set the attributes of any file you ftp to the eXMP-SynqNet. This can be done using the chmod command. Please consult your UNIX documentation for more information on using this command.
Need help?
Do you have a question about the eXMP-SynqNet and is the answer not in the manual?
Questions and answers