Advertisement
Quick Links
Advertisement

Related Manuals for Nextech QV3500


Summary of Contents for Nextech QV3500
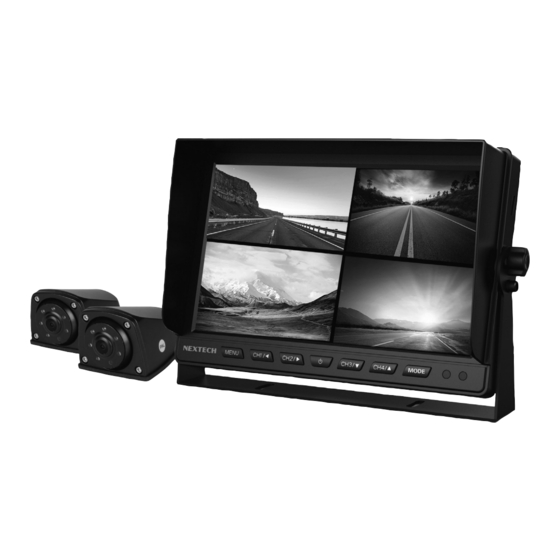
- Page 1 QV3500 Vehicle DVR / Monitor + Camera Kit Instruction Manual...
-
Page 2: Table Of Contents
INTRODUCTION: This monitoring/surveillance system is ideal for a towed caravan, motor home or large boat. It could even be adapted to a beach house, barn, or workshop. All that is required is a +12V supply. The monitor is configured to accept 4 x cameras. Additional weatherproof cameras are sold separately, or you can fit a dashboard forward facing dome camera which can also be mounted. -
Page 3: Product Features
PRODUCT FEATURES: Support AHD 1080P/960H/720P/CVBS multiple video formats mixed input. Support AHD/CVBS video signal with different system, PAL/NTSC mixed input(automatically). Brightness, contrast, saturation, chroma, sharpness, up/down/left/right rotation function can be independently set for each input video signal. Support parking delay video recording (24H parking monitoring function). Maximum support 256GB memory card. -
Page 4: Cable And Connector Definition
CABLE AND CONNECTOR DEFINITION: CH1\CH2\CH3\CH4 4PIN connector: 4CH video input interface. BAT yellow line: 12V-24V power supply (Connect to the positive pole). ACC red wire: 12V-24V power supply (Connect to the key ignition circuit). GND black wire: negative pole (Connect to the negative pole). Forward wire (CH1) brown wire: trigger CH1 single image to full screen. -
Page 5: Remote Controller
CABLE AND CONNECTOR DEFINITION: The power cord is recommended to be connected directly to the positive and negative terminals of the vehicle battery, or after the battery is connected to the fuse box, connect the positive and negative poles of the power supply. It is not recommended to connect to the metal conductor in the car as the ground wire, otherwise, a negative pulse will be generated to interfere with the normal operation of the monitor. -
Page 6: Menu Function
MENU FUNCTION: Press “OK” key on the remote controller or press the “MENU” button on the screen to enter into the menu interface; use the arrow keys on the remote controller or the “Left” and “Right” buttons on the panel to move the check box, then press the “MENU”... - Page 7 MENU FUNCTION: Basic setting Press arrow keys of the remote controller or the panel keys to move the selection box, then press “OK” key of the remote controller or press “MENU” key shortly to confirm the option and enter the current setting. After completing the setting, press the “OK”...
- Page 8 MENU FUNCTION: Control setting Control setting 1. Video output: Video Output: A. Always output: the display screen always outputs the display A. Always output: the display screen always outputs the display picture picture after starting up. after starting up. B. Trigger output: the display screen does not display pictures all the B.
- Page 9 MENU FUNCTION: Video Guide line (current setting will be automatically saved after pressing return key to exit.) Adjust the position and length of assist line for each channel independently. Colour: None (i.e. close assist line); Select “X”, press the panel key or the arrow on the remove controller to move and adjust the distance and position of assist line (Same for “Y”...
- Page 10 MENU FUNCTION: Colour (the current setting will be automatically saved after pressing return key to exit. Press the panel key or remote controller arrow to adjust the chroma, brightness, sharpness, contrast and saturation of each channel independently. Mirror (the current setting will be automatically saved after pressing return key to exit).
-
Page 11: Product Specification
MENU FUNCTION: System Maintenance Format: (the memory card has to be formatted before first use). Upgrade: upgrade the product. Confirm: restore the product to the factory default settings. Parameter configuration. Export: export the current setting parameter configuration to the monitor operating memory or memory card to store. - Page 12 Distributed by: Electus Distribution Pty. Ltd. 320 Victoria Rd, Rydalmere NSW 2116 Australia www.electusdistribution.com.au Made in China...
Need help?
Do you have a question about the QV3500 and is the answer not in the manual?
Questions and answers