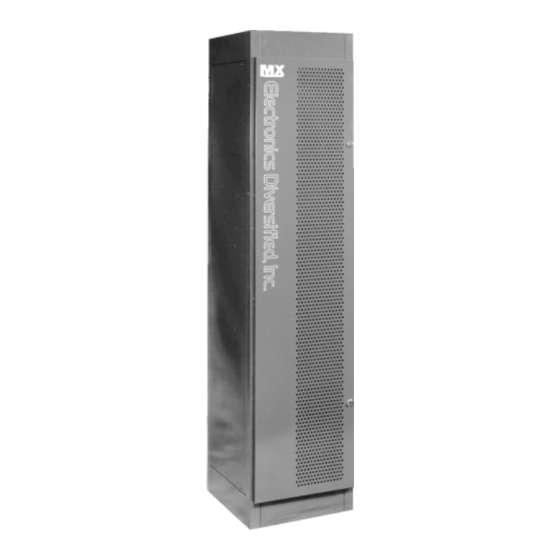
Summary of Contents for EDI MX Series
- Page 1 MX System Dimmer Bank MX System Dimmer Bank Users Manual June, 1998 REV.11/99z 070-0700 ©1998, Electronics Diversified, Inc.
- Page 2 Introduction This manual is to accompany the MX series dimmer rack by Electronics Diversified Inc. We believe you will find our equipment reliable and well suited to your purpose. In the next few pages we will be giving you further...
- Page 3 MX System Dimmer Bank MX Dimmer Bank Isometric Diagram FANS KEEP CLEAR POSSIBLE FEEDER CABLE LOCATIONS STATUS INDICATORS (BEACON) DOOR HINGE MX 1 TEST DMX2 INPUT D2 2 MX 1 (CONTROL DESK) D2 2 HAND HELD PROGRAMMER CONNECTION CONTROL MODULE DIMMER MODULE MODULAR SHELVES CONTROL...
- Page 4 The door latches operate only with a key supplied ships with each MX system. This unit plugs into the by EDI. If You need replacement keys, please control module and provides user access to the program- contact our Customer Service Dept.
- Page 5 MX System Dimmer Bank Example: To assign a one to one patch, using the S- keys: To move from profile to profile: press S2. Clear patch by pressing Clear twice. To change the incoming value: press Level up/down. Note that the ":" is on IN1, and that the Dimmer is on 01. To change the dimmer level out: press Dimmer up/down.
- Page 6 The control module is the user interface with the electronic To set module back to Default Setting: brain and monitoring features of the MX series dimmer rack. The illustration shows the location of the DMX input Power down the rack, if powered, and remove te control connection, ( a control cable from a lighting control board module.
- Page 7 MX System Dimmer Bank Dimmer Removal / Installation with the appropriate shelf slots, slide the module in very To remove a dimmer from an MX rack please follow this firmly to assure solid connections are made. procedure: • Be certain of the position of the Dimmer Module to be DO NOT SLAM MODULES INTO THE RACK! removed.
- Page 8 Service EDI 24 hour Service / Support Network. For technical questions about this product or operational assistance contact Customer Service at: ....1-800-547-2690 or 1-503-645-5533 You may communicate by FAX: .
- Page 9 _____________________________________________________________ Street Address: _______________________________________________ _____________________________________________________________ City: ____________________________ State: ______ Zip: __________ Phone: ______________________________________________________ Fax: _________________________________________________________ E-mail: ______________________________________________________ Web site: ____________________________________________________ Mail to: EDI User Manual Registration 1675 NW Cornelius Pass Road Hillsboro, Oregon 97124 or FAX to: (503) 629-9877 Rev12/99z...

Need help?
Do you have a question about the MX Series and is the answer not in the manual?
Questions and answers