Table of Contents
Advertisement
Quick Links
Caution
•
Please read the assembly instruction sheet completely before assembly.
•
Remove all parts from carton and ensure all parts are included prior to assembly.
•
Assemble the chair on the carton or table to prevent scratching the chair.
•
Do not use power tools.
•
Examine all packaging materials and remove staples before discarding carton.
•
For immediate help with assembly or product information,
please contact customer@sidiz.com.
•
The parts of the product may be slightly different from the pictures.
|
|
Using the allen wrench
1. Use the allen wrench when you assemble the bolts.
2. Use the long end of the allen wrench when the bolts need to be fastened quickly.
3. Use the short end of the allen wrench for final tightening.
SIDIZ is not responsible for any claims/defects on products or wounds on the user caused
during assembly.
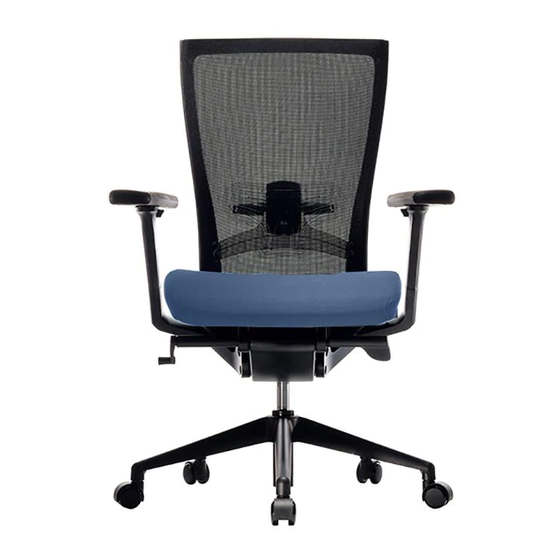
Parts List
Backrest
Seat Pan
•
Spare
Screws for
Spare Screws for
Backrest Assembly
Backrest Assembly
01
Armrest and Seat Pan Assembly
1. Prepare 2 bolts and a wrench for each armrest.
Armrest
Gas Lift
2. Insert an armrest into the seat pan and assemble
with bolts.
Screws for
Star Base
Armrest Assembly
• Option
Screws
Headrest
02
Backrest and Seat Pan Assembly
1. Prepare 4 bolts and a wrench for backrest assembly.
Casters
Wrench
Headrest Cover
2. Match the backrest into the seat pan and assemble
with bolts.
Advertisement
Table of Contents

Related Manuals for Fursys Sidiz T50 Series


Summary of Contents for Fursys Sidiz T50 Series
- Page 1 Caution • Please read the assembly instruction sheet completely before assembly. • Remove all parts from carton and ensure all parts are included prior to assembly. • Assemble the chair on the carton or table to prevent scratching the chair. •...
- Page 2 Star Base, Gas Lift Assembly Final Assembly Gas Lift Star Base 1. Assemble on a smooth surface in order not to scratch 2. Turn the star base upright and insert the gas lift 1. Combine the upper part of the chair with the already 3.
Need help?
Do you have a question about the Sidiz T50 Series and is the answer not in the manual?
Questions and answers