
Related Manuals for FOR-A MV-1200 Series

Summary of Contents for FOR-A MV-1200 Series
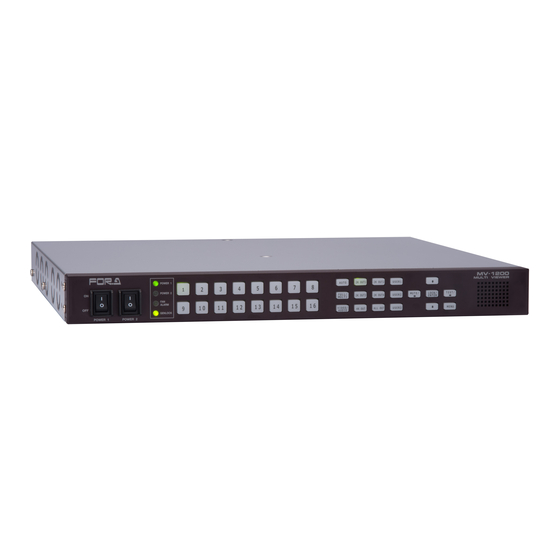
- Page 1 INSTALLATION GUIDE MV-12SDI MV-12PCI MV-12IF MV-12SDO MV-12PCO MV-12PS MV-1200 Series Options Edition...
- Page 2 Upon Receipt MV-1200 Series optional card and AC adaptor units are fully inspected and adjusted prior to shipment. Check your received items against the packing lists below. Check to ensure no damage has occurred during shipment. If damage has occurred, or items are missing, inform your supplier immediately.
- Page 3 MV-12PCO ITEM REMARKS MV-12PCO 3G/HD-SDI card (4 outputs) for MV-1200 series Screw (M3x6 PAN) Screw (M3x6 SEMS) Threaded washer screw Screw (M3x35 FLAT HEAD) Air duct Cable tie Fan mounting bracket HDMI stopper Set of stopper and fastener Installation guide This guide ...
-
Page 4: Table Of Contents
Table of Contents 1. Prior to Starting..........................5 2. Installation of Optional Cards ......................7 2-1. MV-12SDI / 12PCI / 12IF ..................... 7 2-2. MV-12SDO / 12PCO ......................9 2-3. Installation of Redundant Power Supply MV-12PS ............12 3. Installation Verification ........................ 15... -
Page 5: Prior To Starting
1. Prior to Starting MV-12SDI and MV-12PCI units are input cards for the MV-1200 Series. The MV-12IF is an interface card for the MV-1200 Series. MV-12SDO and MV-12PCO units are output cards for the MV-1200 Series. Each optional card is installable in the following listed slots. - Page 6 MV-12SDO (3G/HD-SDI Card - 4 outputs) 3G/HD-SDI OUTPUT S/No. MV-12SDO Name Description 3G/HD-SDI OUTPUT Outputs HD-SDI or 3G-SDI (Level-A) signals. MV-12PCO (HDMI Card - 4 outputs) HDMI OUTPUT S/No. MV-12PCO Name Description HDMI OUTPUT Outputs HDMI video and audio. ...
-
Page 7: Installation Of Optional Cards
Note that optional cards and power supply installation should be performed by qualified technical personnel familiar with FOR-A equipment. Do not touch any parts of the card with your hands to prevent damage caused by static electricity. Power OFF all connected units / disconnect power cords prior to accessing any part of the interior. - Page 8 Lift and pull the back of the top panel out slightly to detach. ① ② Detach the blank slot panel to install the optional card. Detatch 2 screws (M3x6 Pan head) fastening the panel. The screw type is different from those fastening the top plate. Do not mix the screws. AC100-240V 50/60Hz IN 3G/HD/SD-SDI,COMPOSITE INPUT AUDIO OUT...
-
Page 9: Mv-12Sdo / 12Pco
2-2. MV-12SDO / 12PCO Follow the procedure described as below for MV-12SDO and MV-12PCO units. The installable slot is OUTPUT SLOT. Same procedure as that of Sec. 2-1. “MV-12SDI / 12PCI / 12IF” Step 1. When optional card(s) is (are) installed into INPUT SLOT B and/or IF SLOT, they may interfere with the installation of an optional card in OUTPUT SLOT, in which case the optional card(s) should be uninstalled. - Page 10 Put the card in the unit from the top vertically, until the OUTPUT SLOT height, and align the card connectors with the connectors on the MV-1200 Series. Secure the card using the M3x6 SEMS screws. Use M3x6 Pan screws to fasten the card...
- Page 11 Install the air duct. Determine duct location by aligning the optional heat sink location with the duct then insert the protruding duct part between the main card and optional card. Bring the duct down to cover the heat sink, being careful not to let the duct interfere with any card parts.
-
Page 12: Installation Of Redundant Power Supply Mv-12Ps
2-3. Installation of Redundant Power Supply MV-12PS Installing an MV-12PS unit is explained in this section. Same procedure as that of MV-12SDI / 12PCI / 12IF. Remove the center support. The center support is fastened by two screws (M3x6 Flat Head) on both ends. When an optional card is already installed in the OUTPUT SLOT, you need to uninstall the duct. - Page 13 Install the internal wiring. Fix the rear connector with the connector screws and the D-sub plate tie. Connect the blue and white cables with the POWER2 switch on the front. Fix the internal wirings to the cable fixing bracket with cable ties. Detach the cable ties fixing the POWER1 cables, join the MV-12PS cables and fix them altogether again with cable ties.
- Page 14 Software Installation Start up the MV-1200 Series unit and connect to a PC using a LAN cable. Use a cross cable to connect directly and a straight cable to connect via a HUB. Access the “SoftwareOptionInstallation” window from the web browser.
-
Page 15: Installation Verification
3. Installation Verification Verify the optional boards/power supply are installed correctly. Access the MV-1200 Web Index window using a web browser. Default setting is http://192.168.0.10/: 192.168.0.10. Input the main unit IP address as the destination. Tap the Version & Option tab and confirm that the installed optional boards/ power supply units are correctly identified in the Version Information and Option Information lists. - Page 17 Warning This equipment has been tested and found to comply with the limits for a Class A digital device, pursuant to Part 15 of FCC Rules. These limits are designed to provide reasonable protection against harmful interference when the equipment is operated in a commercial environment. This equipment generates, uses, and can radiate radio frequency energy and, if not installed and used in accordance with the instruction manual, may cause harmful interference to radio communications.
- Page 18 Tel: +1 352-371-1505 Fax: +1 714-894-5399 FOR-A Latin America and the Caribbean Miami Office Tel: +1 657-600-5759 FOR-A Latin America and the Caribbean Sao Paulo Office Tel: +55 (0)11-99913-3751 FOR-A Europe S.r.l. Via Volturno, 37, 20861 Brugherio MB, Italy Tel: +39 039-916-4811...
Need help?
Do you have a question about the MV-1200 Series and is the answer not in the manual?
Questions and answers