
Related Manuals for Caravaggi SP 20

Summary of Contents for Caravaggi SP 20
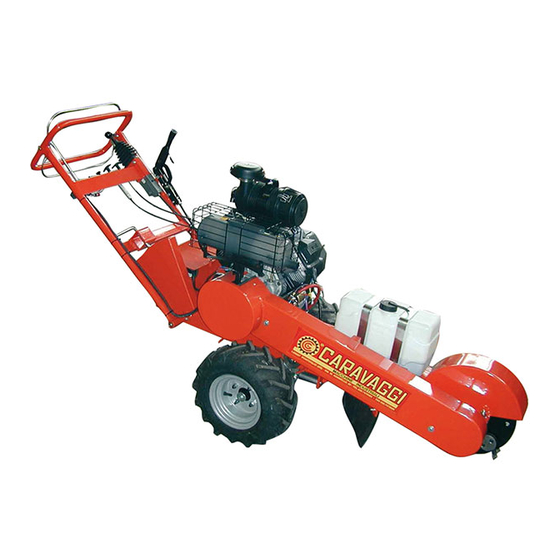
- Page 1 USER & MAINTENANCE MANUAL - SPARES LIST - Stump Grinder SP 20-25 BEFORE USING MACHINE , READ INSTRUCTION MANUAL...
-
Page 2: Table Of Contents
Table of Contents Page Safety ………………………………………. Operating Procedures Before Starting…………………….. Starting Engine……………………. Grinding Stump Hints………….…. Adjustments Belt………………………………….. Clutch………………………………. Hydrostatic Drive………………….. Differential…………………………. Disk Brake Control………………... Operator Stop Switch…………….. Maintenance Check Belts………………………………… Clutch………………………………. Engine………………………….…... Hydrostatic Drive………………….. Disk Brake Control………………... Teeth Setting Parts Diagram ………………………………………. -
Page 3: Safety
Read & understand this manual Before Operating unit, understand all operating instructions & safety information Safety Instructions 1. Before using the machine, check that all bolts are tight & all guards in place. 2. The STUMP GRINDER must not be operated in an enclosed space. -
Page 4: Before Starting
Ensure you have read & understood the entire manual before proceeding!!! Check the following before starting 1. Engine oil 2. Belt tension 3. Cutter wheel bearings 4. All belts, bolts & teeth are tight, guards are in place 5. That safety gear is used by the operator 6. -
Page 5: Starting Engine
Ensure you have read & understood the entire manual before proceeding!!! 1. Adjust handle bar to a comfortable position and secure with pin before starting the engine. 2. Ensure the brake is locked. 3. Push handle down so the cutter wheel is off the ground. Starting Engine 1. -
Page 6: Grinding Stump Hints
Ensure you have read & understood the entire manual before proceeding!!! Grinding Stump 1. Place cutter wheel directly in front of the stump. 2. Using lever on handle, lock the one wheel brake- for tighter brake adjustment, turn the knob on top of the brake lever. 3. -
Page 7: Belt
Before attempting any adjustment, be sure that the engine is shut off. The key, spark plugs, battery cable are removed. And the engine cool to touch! Belt tension Adjustment 1. Remove belt guard 2. Loosen inner guard bolts (2) attached to engine 3. -
Page 8: Clutch
Ensure you have read & understood the entire manual & follow all safety instructions before proceeding Hydrostatic Belt Adjustment Adjustment is made by moving cam bearing up or down. Caution: Over tightening this belt will damage the hydrostatic pulley. Differential Adjustment This unit is enclosed &... -
Page 9: Disk Brake Control
Before attempting any adjustment, be sure that the engine is shut off. The key, spark plugs, battery cable are removed. And the engine cool to touch! Teeth should be positioned in the pockets & tightened to 100 - 110 ft/lbs. torque Teeth should be set using a tooth gauge so all teeth will be projecting the same amount. -
Page 10: Operator Stop Switch
Ensure you have read & understood the entire manual & follow all safety instructions before proceeding Hydrostatic Drive Disengagement Adjustment When the engine is not running, the grinder cannot be moved, since the hydrostatic drive is in locked position On the beltguard side, there is a handle push handle forward and down, this will unlock the hydrostat unit and allow freewheeling. - Page 11 Never attempt to alter, modify, or override this switch !!! Lock nut 36120 Spring Operator presence 30303 Handle Bar Bow PULL UP TO 30300 ENGAGE Stump Grinder Handle bar Hex Nut 36356 Bolt Hextension Nut 36115 30302 Stop Ignition Switch Micro-switch Electric Switch...
-
Page 12: Engine
Before attempting any adjustment, be sure that the engine is shut off. The key, spark plugs, battery cable are removed. And the engine cool to touch! Item Action Each use Bearings, shaft Grease Bearings, wheel Grease Belt Tension Tension Bolts Tightness Teeth Tightness, sharpness... -
Page 13: Parts Diagram
Parts Diagram - Models 20sp & 25sp... -
Page 14: Parts Listing
Parts List - Models 20sp & 25sp Item No Quantity Part No. Description 30160SP Frame 20SP - 25SP 324080 Handle Bar 324081 Connector Bar 324116 Lock Collar 324138 Bent Pull Pin 324139 Spring 324140 Washer 36160 Clip 36189 Control Panel Sticker 36211 Wire Harness 36144... - Page 15 Parts List - Models 20sp & 25sp Item No Quantity Part No. Description 30185 Cutter Shaft 36172 Pockets CS 36171 Pockets TH 36132 Bearing Bolt 36135 Pillow Block Bearing 16174 Tooth, RH 16175 Tooth, LH 16173 Tooth, STR 36131 Wheel Stud 36125 Nyloc 36192...
- Page 16 Parts List - Models 20sp & 25sp Item No Quantity Part No. Description 36239 Sheave- 3 -1/2" dia. 1- 7/16" 36307 Keyway 36235 Hydrastat Belt 36303 Spacer 36236 Shim 36250 Electric Clutch 36086 On -Off Switch 36364 On - Off Sticker 36365 Wire Harness 36248...
- Page 17 Parts List - Models 20sp & 25sp Item No Quantity Part No. Description 36186 Bolt 36190 Washer 36272 Nyloc 36261 Brake Pad 36240 Dowel Pin 36341 Disk Brake 36342 Brake Pad Plate 36343 Brake Pad Holder 36344 Nyloc 36345 Bolt 36233 Lever, Cable Clamp 36242...
-
Page 18: Wiring Diagram
Wiring diagram ON/OFF SWITCH (Beige knob) MICROSWITCH KEY SWITCH Earth ELECTRIC CLUTCH SWITCH Ground To clutch Purple White Blue To Engine Yellow Black... - Page 19 CARAVAGGI MACCHINE INDUSTRIALI Via Monte Adamello , 20 25037 Pontoglio ( BS ) - ITALY Tel. +39 030 7470464 - Fax +39 030 7470004 Internet http://www.caravaggi.com Email info@caravaggi.com 0205...
Need help?
Do you have a question about the SP 20 and is the answer not in the manual?
Questions and answers