
Related Manuals for LiquaGen 6 STAGE RO

Summary of Contents for LiquaGen 6 STAGE RO
- Page 1 6 STAGE RO/DI INSTALLATION MANUAL PRODUCT PART NUMBER: 2-OS-75 CONTACT: Phone Support : (951) 400-3365 ADDRESS: 1379 Pico St Suite 104, Corona, CA 92881, USA EMAIL: sales@liquagen.com / warranty@liquagen.com...
- Page 2 Match the GPD to your membrane size. Each membrane size is written on to leave a positive review on the product. At LiquaGen we the bracket of the Reverse Osmosis System.
- Page 3 FILTERS Your filters need to be replaced every 6 to 12 months, depending on usage and water quality. Only use LiquaGen OEM tested filters. Using alternative filters will reduce performance, not filter properly and void your warranty. On city water applications, the filters will last longer in comparison to well water applications.
- Page 4 “as is” without warranty of any kind and is subject to change without notice. This document contains LiquaGen is not liable for anything that we deem was abuse of the system, proprietary information which is protected by copyright. No part of...
- Page 5 RO membrane will increase approximately five times the usable life of Replacement Filters 17-18 the DI. Outside of that, carbon dioxide in your water supply or a poorly performing RO membrane are the biggest causes of early DI exhaustion. www.liquagen.com...
- Page 6 If your pressure exceeds 95 PSI, a pressure regulator must be installed to reduce the PSI to prevent damages to your system. CARBON SEDIMENT NOTE: It is recommended that the TDS (Total Dissolved Solids) entering the system does not exceed 250 PPM. www.liquagen.com...
- Page 7 The last step is to install the float valve itself. Take your purified water line and locate the end of the tubing. Unscrew the cap on the float valve, place it MANUAL FLUSH KIT onto the purified water line, insert the tubing into the float valve and screw (PRE-INSTALLED) it down tight. www.liquagen.com www.liquagen.com...
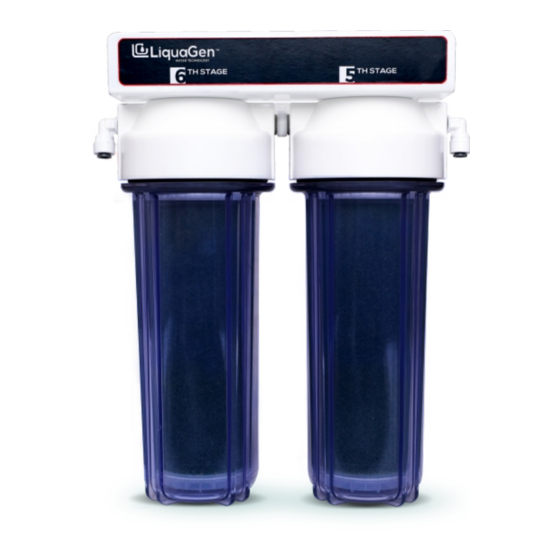
- Page 8 Sediment filter DI Cartridge DI Cartridge Carbon UDF/GAC MEMBRANE CAPACITY PER DAY PER HOUR 50 GPD 40 GPD 1.67 GPH 75 GPD 60 GPD 2.5 GPH 100 GPD 80 GPD 3.33 GPH 150 GPD 120 GPD 5 GPH www.liquagen.com www.liquagen.com...
- Page 9 You should see an increase of water coming out of the black (waste) tubing. Let the water flow for 20-30 minutes. After flushing the membrane please turn the blue valve off. It should look like the picture below. Once this is completed your system is ready to be used! www.liquagen.com www.liquagen.com...
- Page 10 To prevent any leaks, it is crucial to check each tubing connection is securely locked in place. First, pull and then push each tube in to ensure it is securely inside. FIG 1# FIG 2# www.liquagen.com www.liquagen.com...
- Page 11 System assembly is the same for RO/DI & portable/replacement WHITE TUBING - This is installed on your 5th stage (Inline DI Filter), which drinking water system. is the line to provide ultra pure 0TDS water. www.liquagen.com www.liquagen.com...
- Page 12 Make sure you hear a sight click sound If the fittings break they are easy to that confirms the tubing is properly replace and at the end of the next secure. page we explain how to fix broken elbows. www.liquagen.com www.liquagen.com...
Need help?
Do you have a question about the 6 STAGE RO and is the answer not in the manual?
Questions and answers