
Related Manuals for Sencon SI9550


Summary of Contents for Sencon SI9550
- Page 1 Hoverprobe Refurbishment Instructions MANUAL NO 092-41020-00 REVISION LANGUAGE ENGLISH...
-
Page 2: Table Of Contents
..................... 12 INAL ASSEMBLY HOVERPROBE TEST ....................14 REVISION LIST ....................... 15 FAX BACK SUGGESTION PAGE ................16 CONTACTS DETAILS FOR SENCON ................. 17 It is strongly advised that you watch the enclosed video CD prior to carrying out this refurbishment. -
Page 3: Recognizing The Two Models
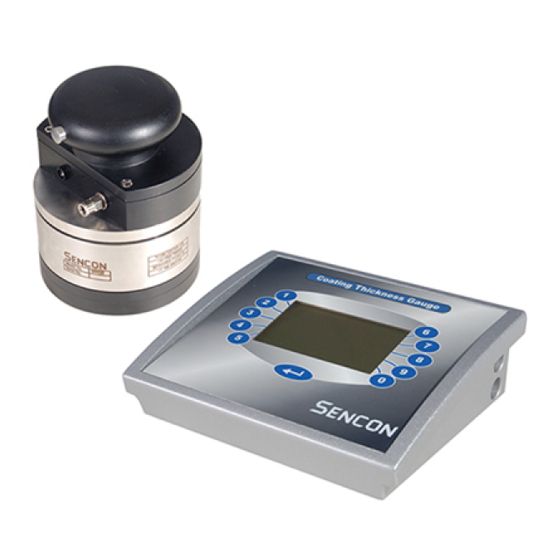
Hoverprobe Refurbishment Recognizing the two models SI9550 Hoverprobe – old version Foot switch socket only on SI9550 version SI9650 Hover probe - current version... -
Page 4: Packing List
Microswitch – ONLY REQUIRED FOR SI9550 Micro air valve 2 x 15 mm Heat shrink 6/2 adhesive black – ONLY REQUIRED FOR SI9550 VHB tape Acrylic foam – ONLY REQUIRED FOR SI9550 2 x 30 mm Loctite 480 glue – ONLY REQUIRED FOR SI9550... -
Page 5: Hoverprobe Refurbishment Instructions
In the process, cut the wires to the micro-switch just above the switch and unscrew the old switch from the top plate (only necessary if Hoverprobe is of old type SI9550) 2. Place a new O ring (4) and a new gasket (3) in place... - Page 6 Hoverprobe Refurbishment 3. Screw Pillars (8) down to fasten the new airplate to the hoverplate (1). The pillars are supposed to have a tight fit in the holes. The curved surface of centre hole on airplate must be downwards Top view of base Torque 1 Nm 4.
- Page 7 Hoverprobe Refurbishment 8. Insert the new probe tip (9) in probe tip holder (10). 9. Fit bearing holder spring plate (15) on to the bearing (14). Take care it doesn’t deform! Keep holder as flat as possible. To aid you use a cylinder or similar with a hole slightly bigger than the bearing.
- Page 8 Hoverprobe Refurbishment 11. Lock centre pillar (17) in the probe tip holder (10) with threadlocker (Loctite 242 or similar). 12. Place weight (12) over pillars (8). 13. Place the top plate (16) over the weight (12).
-
Page 9: Switch Assembly
Hoverprobe Refurbishment Switch assembly 3.1.1 SI9650 14. Replace air valve (29) on bracket (24). 15. Connect the plastic air pipe (22) to the air-valve and the external air fitting. 16. Press the copper pipe (19) in to the air-valve (29). -
Page 10: Si9550
Hoverprobe Refurbishment 3.1.2 SI9550 17. Remove old micro switch and air valve from bracket (24). 18. Clean the bracket (24) and flatten both sides of the new air-valve (29) with sanding paper. 19. Stick 30mm VHB tape (30) onto the bracket (24), put some drops of glue (31) on the tape to hold the plastic valve. - Page 11 Hoverprobe Refurbishment 22. Connect the plastic air pipe (22) to the air switch and the external air fitting. 23. Press the copper pipe in to the air-valve (29). 24. Position the copper pipe (19) as shown to allow easy alignment to the air fitting. 25.
-
Page 12: Final Assembly
Hoverprobe Refurbishment Final assembly 27. Place copper pipe (22) through the weight and in to the air plate air fitting (7). 28. Make sure the copper pipe (22) is still connected to the air-valve (29) without side tension. 29. Make sure that the micro switch is triggered before the air-valve is triggered. 30. - Page 13 Hoverprobe Refurbishment 31. Place handle assembly onto enclosure (21), holding the whole Hoverprobe backwards so that the lever is resting on the buttons and tighten everything with the 3 bolts (34). 32. Make sure the weight (12) can be lifted and twisted freely (a few millimetres) and the switches are triggered.
-
Page 14: Hoverprobe Test
Now slowly pull out the sheet out to take off any impurities on the probe tip. 38. SI9550 ONLY: Check for lightening of LED and the 5 second time delay. Press the button on the Hoverprobe. The LED should go red. Now release the button. -
Page 15: Revision List
Hoverprobe Refurbishment Revision list Revision Raised Description Change Date Approved Number note No... -
Page 16: Fax Back Suggestion Page
Hoverprobe Refurbishment Fax back suggestion page Sencon products are designed to a great deal of care and input from users. If you have a suggestion to improve this product or its user manual please photocopy this page, write your suggestion and fax the copy to Sencon. -
Page 17: Contacts Details For Sencon
Hoverprobe Refurbishment Contacts Details for Sencon NORTH, CENTRAL & SOUTH AMERICA Sencon Inc. 6385 W.74th Street Bedford Park, IL 60638. USA Tel: +1 708 496 3100 Fax: +1 708 496 3105 info@sencon.com EUROPE - MIDDLE EAST - ASIA Sencon (UK) Ltd.
Need help?
Do you have a question about the SI9550 and is the answer not in the manual?
Questions and answers