Table of Contents
Advertisement
Available languages
Available languages
Quick Links
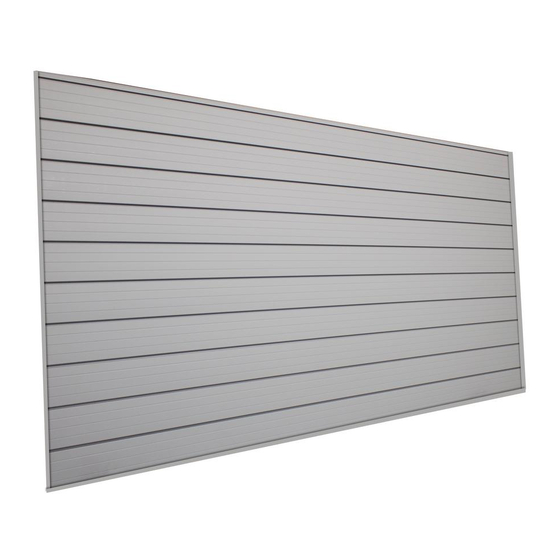
USE AND CARE GUIDE
8 FT X 4 FT TRACK WALL
Questions, problems, missing parts?
Before returning to the store, call
Husky Customer Service
8 a.m. - 7 p.m., EST, Monday - Friday
9 a.m. - 6 p.m., EST, Saturday
Retain this manual for future use.
1-888-HD-HUSKY
HUSKYTOOLS.COM
We appreciate the trust and confidence you have placed in Husky through the purchase of this Husky Track Wall. We strive to continually create
quality products designed to enhance your home. Visit us online to see our full line of products available for your home improvement needs.
THANK YOU
Thank you for choosing Husky!
Item #301110565
Model #45202
Advertisement
Chapters
Table of Contents

Related Manuals for Husky 45202


Summary of Contents for Husky 45202
- Page 1 THANK YOU We appreciate the trust and confidence you have placed in Husky through the purchase of this Husky Track Wall. We strive to continually create quality products designed to enhance your home. Visit us online to see our full line of products available for your home improvement needs.
-
Page 2: Table Of Contents
Husky Track Wall weight and its contents. Failure to observe these conditions may result in injury or death. □ For optimum performance, Track Wall must be mounted to CAUTION: For optimum performance, track wall must be vertical wall studs spaced to 16 in. -
Page 3: Pre-Installation
NOTE: It is strongly recommended to use a drill with the included square-head bit for all driving. Part Description Quantity Square-head bit # 2 2 in screws (Dual Robertson & Phillips Pan head #8) HUSKYTOOLS.COM Please contact 1-888-HD-HUSKY for further assistance. -
Page 4: Package Contents
Pre-Installation (continued) PACKAGE CONTENTS 10 x 8 ft track panels 2 x 97 in. J-trim 1 x 8 ft L-trim Part Description Quantity 8 ft track panels ∕ in. horizontal J-trim 8 ft L-trim... -
Page 5: Installation
□ Both the left and right sides of Husky Track Wall Panels should fasten into studs. □ Husky Track Wall Panels are 48.5 in. height (when assembled). Select the desired elevation at which to begin assembly of your Husky Track wall Panels and mark a horizontal level line at which to start from the bottom. - Page 6 Installation (continued) Install vertical J-trims □ Cut the remaining J-Trim (B) into two – 48 ∕ in. pieces. □ Overlap the vertical J-trim over the horizontal J-trim and secure at the bottom by fastening into the studs using screws (BB). □...
- Page 7 □ Install your horizontal top L-trim (C) by simply clipping it into the lip above the screw cavity. NOTE: Vertical J-Trims not included in image to show clear installation of horizontal to L-trim. HUSKYTOOLS.COM Please contact 1-888-HD-HUSKY for further assistance.
-
Page 8: Care & Cleaning
□ Warranty is null and void if not installed as per assembly instructions — mounted to studs. Maintenance □ Husky Track Wall Panels are designed to provide multiple modular storage configurations. □ While Husky Track Wall panels are designed to provide years of maintenance-free use, annually check to ensure that all fasteners are secure. -
Page 9: Troubleshooting
Husky 16 in. apart. If your studs are wider apart, apply some Track Wall Panels as per the Assembly Instructions. - Page 10 Questions, problems, missing parts? Before returning to the store, call Husky Customer Service 8 a.m.- 7 p.m., EST, Monday-Friday 9 a.m. - 6 p.m., EST, Saturday 1-888-HD-HUSKY HUSKYTOOLS.COM Retain this manual for future use.
- Page 11 GRACIAS Apreciamos la seguridad y confianza que has puesto en Husky al comprar el Muro de Entramado. Nos esforzamos constantemente para crear productos de calidad que ayuden a mejorar su hogar. Visítenos en línea para ver todos los productos que tenemos para mejorar su hogar.
- Page 12 Contenido del Empaque ......4 Información de Seguridad EL MURO DE ENTRAMADO HUSKY DEBE SER ®...
-
Page 13: Preinstalación
NOTA: Se recomienda utilizar un taladro con la punta de cabeza cuadrada incluida para toda la instalación. Parte Descripción Cantidad Punta de cabeza cuadrada # 2 2 tornillos interiores (Dual Robertson y Phillips Pan cabeza # 8) HUSKYTOOLS.COM Por favor contacte a 1-888-HD-HUSKY para obtener más ayuda. -
Page 14: Contenido Del Empaque
Pre-Instalación (continuación) CONTENIDOS DEL EMPAQUE 10 x Paneles de entramado de 8 pies 1 x Riel-L de 8 pies 2 x Riel-J horizontal de 97 ½ pulgadas Parte Descripción Cantidad Paneles de entramado de 8 pies Riel-J horizontal de 97 ½ pulgadas Riel-L de 8 pies... -
Page 15: Instalación
□ Los Paneles de Muro de Entramado Husky tienen 48,5 pulgadas de altura (ensanblado montados). Seleccione la altura a la cual desea comenzar a ensamblar sus Paneles de Muro de Entramado Husky y marque una línea de nivel horizontal, la cual será la parte inferior desde donde comenzará. - Page 16 Instalación (continuación) Instalar rieles-J verticales □ Coloque el riel-J vertical sobre el riel-J horizontal y asegúrelo en la parte inferior fijándolo a los pernos usando los tornillos (BB). □ El lado ancho debe sujetarse a la pared como se muestra en la imagen A. □...
- Page 17 □ Instale el riel-L horizontal (C) superior al simplemente conectarlo con el labio que está encima de la cavidad para atornillar. NOTA: Los rieles-J verticales no han sido incluidos en la imagen para mostrar una instalación clara del riel-L horizontal. HUSKYTOOLS.COM Por favor contacte a 1-888-HD-HUSKY para obtener más ayuda.
-
Page 18: Cuidado & Limpieza
□ Los Paneles de Muro de Entramado Husky han sido diseñados para proporcionar múltiples configuraciones de almacenamiento modular. □ Aunque el Estante de Almacenamiento Husky los Paneles de Muro de Entramado han sido diseñados para proporcionar años de uso sin mantenimiento, revíselo anualmente para asegurarse de que todos todos los sujetadores estén seguros. -
Page 19: Diagnosticios De Problemas
Instalación de bloques de hormigón o Pernos centrados a 24 pulgadas concreto □ Los paneles de Paneles de Muro de Entramado Husky® han sido diseñados para sostener 75 libras por pie □ Para instalarlo sobre bloques de cemento u hormigón,... - Page 20 ¿Preguntas, problemas, le faltan partes? Antes de regresar a la tienda, llame al Servicio al Cliente de Husky 8 a.m.- 7 p.m., ET, lunes-viernes 9 a.m. - 6 p.m., ET, sábado 1-888-HD-HUSKY HUSKYTOOLS.COM Mantenga este manual para usarlo en el futuro.
Need help?
Do you have a question about the 45202 and is the answer not in the manual?
Questions and answers