Advertisement
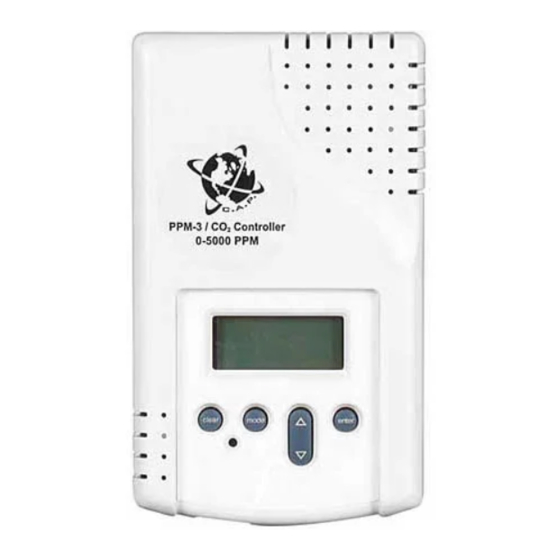
PPM-3 / Part Per Million CO
CAP offers a full range of equipment for the growing enthusiasts. The PPM-3 is the simplest and
most affordable CO
economically controlling LP or natural gas generators with PPM accuracy.
•
The PPM-3 is not just a CO
•
Controls the Carbon Dioxide level in your area with Part Per Million accuracy.
•
Simple to use and easy to understand.
•
Least expensive CO
2
•
On-board user selectable set point from 0-5000 PPM.
•
On-board calibration program allows the user to easily verify the unit is working
properly.
•
Controls any 120vac valve or CO
INSTALLATION
1) The base-plate must be mounted to a wall using the (4) screws provided with the unit. Find a location near a 120-volt
receptacle for power. The PPM-3 will need to have a fair amount of airflow around the enclosure and be at "plant-level"
to be most accurate.
2) Once the base-plate is mounted the sensor can be snapped onto the base-plate by hooking the two top tabs and then
pivoting the unit down until it snaps into place.
*Note: Before releasing tabs, remove small Phillips screw from bottom edge of the unit. To release the tabs, press in on
the two snap tabs located on the bottom of the unit near each edge.
3) The PPM-3 comes pre-wired with a plug-in power supply. The power supply must be connected to a constant source of
120-vac power. Once powered up, the PPM-3 will enter a "Initial warm-up" and calibration mode. Slowly over a 10-20
minute period, the CO
CONNECTING POWER TO THE CO
The large power cable connected to the PPM-3 is a 120-volt AC piggy-back cable. Normally, CO
the daytime. The piggy-back cable should be plugged into a 120vac timer such as the timeclock which controls your HID
lights. When the lights are turned on, the CO
Your CO
valve or generator is plugged into the front of the piggy-back cable. Your CO
2
whenever the CO
level is below the set point that you selected. (See "To change set point" below)
2
* Warning: Connect ONLY the CO2 solenoid / generator to the PPM-3. Connecting higher loads will damage
the unit and void the warranty. DO NOT EXCEED ½ AMPS. YOU WILL VOID YOUR WARRANTY IF
YOU EXCEED ½ AMPS!
MAKING ADJUSTMENTS
The PPM-3 has an adjustable setpoint from 0-5000 PPM. Once the desired setpoint is entered, the PPM-3 will disable the
CO
outlet. Adjusting the CO
2
four buttons.
a) clear: used with the mode button to enter the programming mode.
b) mode: used with the clear button to enter the programming mode and to scroll through the different modes.
c) up/down: The arrow up / down button is used to change the program set points.
d) enter: accept the changes and stores the settings.
To change the set point:
1) Press and hold the (clear) and (mode) buttons for 5 seconds.
2) Now press the (mode) button nine times to display the current set point. (RELAY is displayed)
3) Use the (up) and (down) arrow buttons to change the set point.
4) Press (enter) to accept the change.
5) Press (clear) to return the unit to RUN mode. (CO
CALIBRATION
The PPM-3 is factory calibrated. The sensor onboard the PPM-3 is capable of remaining in calibration for a minimum of
three years. Extreme shock during shipping and other factors may affect the calibration. By bringing the unit outdoors, you
controller available today... from any manufacturer. Perfect for
2
monitoring device, it is a CO
2
/ PPM controller available.
generator with a simple "piggy-back" cord.
2
level should stabilize between 250-550 PPM outdoors and as much as 1500 PPM indoors.
2
VALVE OR GENERATOR
2
will be activated.
2
setpoint and re-calibrating the unit is easy using the front mounted push buttons. There are
2
Monitor
2
PPM controller.
2
____PPM is displayed)
2
is only required during
2
device will be turned ON
2
Advertisement
Table of Contents

Related Manuals for CAP PPM-3

Summary of Contents for CAP PPM-3
- Page 1 1) The base-plate must be mounted to a wall using the (4) screws provided with the unit. Find a location near a 120-volt receptacle for power. The PPM-3 will need to have a fair amount of airflow around the enclosure and be at “plant-level”...
- Page 2 STATUS INDICATOR The PPM-3 has a green LED indicator light on the front of the cover. If the LED is blinking, it indicates that the CO sensor is warming up and stabilizing. When the LED is ON, it means that the CO level is being measured.
Need help?
Do you have a question about the PPM-3 and is the answer not in the manual?
Questions and answers