
Summary of Contents for Sunburst Above Ground Solar Pool Heating System
- Page 1 HEAT PUMPS SOLAR POOL HEATING SYSTEMS SOLAR POOL HEATING SYSTEMS Installation & Maintenance Above Ground Pools...
-
Page 2: Table Of Contents
TABLE OF CONTENTS Safety Information ....................2 General Information .....................2 How it Works ..................2 Tools Required ..................2 Parts, Hardware and Additional Items ..........3-4 Placement ....................5 Assembly/Installation ..................5-8 Initial Operation ....................8 Maintenance ......................9 Winterizing Your Solar Heater ................9 Trouble Shooting ....................9 Warranty ......................9 Customer Service ..................Back Cover Email: support@poolheatingdepot.com Customer Service 1-888-984-1238 / 239-789-1080... -
Page 3: Safety Information
AND OPERATING EQUIPMENT. GENERAL INFORMATION This manual provides a detailed step-by-step procedure for the installation of a Sunburst Above Ground Solar Pool Heating System. If the directions are followed correctly and only recommended Sunburst hardware and components are used, the installed system should provide years of trouble-free service, savings and enjoyment. -
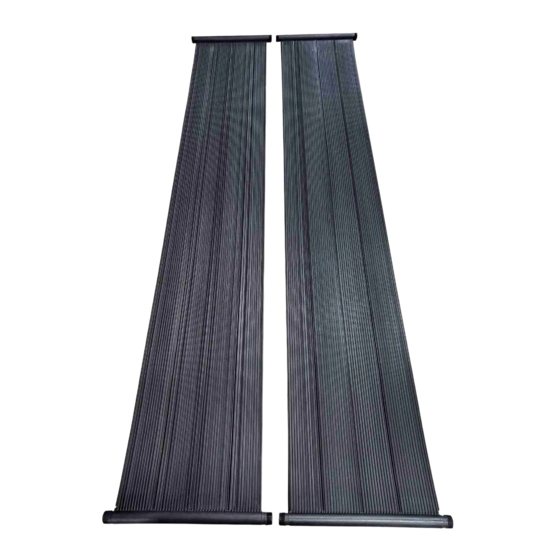
Page 4: Parts, Hardware And Additional Items
PARTS & HARDWARE Part #17048-12/18101 - 105,600 BTU Base Kit (2) 2’x12’ Collectors Diverter Valve and Hardware 1-1/4” x 6” Hose with Clamps Part #60691-1 & 60003-1 Part #70066 Part #60551 7” Hose and 2 Stainless Steel Teflon Tape - Roll Threaded End Cap Hose Clamps Part #60550... - Page 5 Optional Items Available at www.poolheatingdepot.com Part #17048-12/18104 - 51,744 BTU Add-On Kit Part #60739 Part #AG-WB5X14 High Wind Stakes Kit (4 stakes) Underlayment with Staples...
-
Page 6: Placement
PLACEMENT Determine a relatively flat location as close to your pool pump and filter as possible that has maximum exposure to the sun. The optimum time to collect solar energy is between 10:00 AM to 4:00 PM. For each two-panel kit you will need an area approximately 5 feet wide by 14 feet long. - Page 7 If you are locating the solar panels more than 6 feet from the pool pump and filter, you are going to need additional flex hose. You can order additional 6 foot hose sections at Pool Heating Depot www.poolheatingdepot.com, part #AG-60-200-6. After the collectors have relaxed, lay the solar panels on top of the underlayment positioning the headers with the serial number label closest to your pool equipment.
- Page 8 Mount the control valve (diverter valve) in between the two solar panels with the label ends and closest to the pump and filter. Unscrew the unions on the valve. You will need to slip the threaded valve unions on the headers first before you screw the valve flange to the two headers.
-
Page 9: Initial Operation
Disconnect the inlet supply hose clamp from the pool and connect it to the solar panel header that has the 90-degree PVC elbow and hose adaptor. The inlet supply hose is the one that sends the water back to the pool. Connect the 6 foot hose (included in the kit) to the pool inlet supply using the included plastic clamp. -
Page 10: Maintenance
The picture below shows decorative curbing around the solar system to protect it from lawn mowers and weed eaters. The underlayment will block grass from growing around the solar panels. MAINTENANCE The solar heater should not require servicing or maintenance other than checking for tight connections and winterizing. - Page 11 pool heating depot pool heating depot Pool Heating Depot 2213 Andrea Ln. Suite 109 Ft. Myers, FL 33912 Phone 1-888-984-1238 / 239-789-1080 Installation hotline: 1-888-938-6943 Email support@poolheatingdepot.com Website www.poolheatingdepot.com...
Need help?
Do you have a question about the Above Ground Solar Pool Heating System and is the answer not in the manual?
Questions and answers