Advertisement
Quick Links
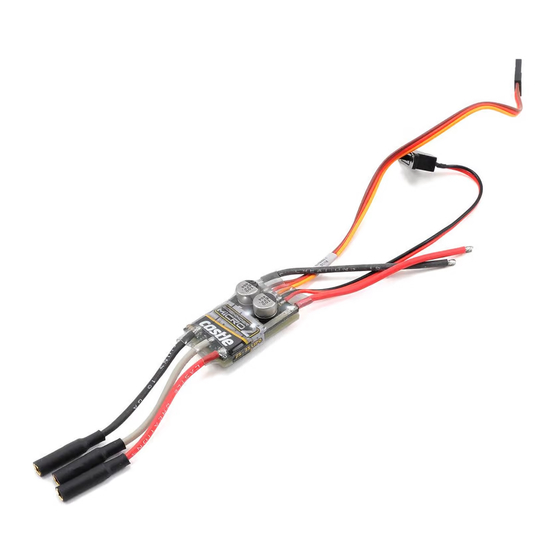
ABOUT THE SIDEWINDER MICRO 2
Please note that while Sidewinder Micro 2 is capable of handling
incredible amounts of power, your motor must also be up for the
task. Always run your motor within the manufacturer's specs.
Monitor motor, battery, and controller temps carefully and never
let the motor get above 180º F. Excessive heat in the motor can
damage the motor, the Sidewinder Micro 2, and your batteries.
Always start with stock gearing. If you wish to change the gearing,
motor, or battery, you must check your motor temperature
frequently on the first run. If the motor gets too hot, reduce the
pinion size, increase the spur size, or reduce the pack voltage.
Additional information about gearing can be found in the Gearing
Chart enclosed or available online at www.castlecreations.com/
sidewindermicro2gearing.
Sidewinder Micro 2 is programmable via your transmitter,
Windows® based PC and a Castle Link USB adapter (purchased
separately), or a Field Link card (purchased separately). See the
enclosed Drivers' Ed Guide for more instructions on transmitter
programming and the Castle Link system ("Transmitter
Programming"- page 23, and "Tuning with Castle Link"- page 21).
Revised 01/2016
Copyright 2016 © Castle Creations, Inc.
GETTING STARTED
1. Solder a high quality battery connector to the ESC (see Driver's Ed Guide,
"Connectors and Power Wiring" – page 6).
2. Mount the ESC and motor into the vehicle.
3. Connect motor to the ESC (see Driver's Ed Guide, "Motor Wiring" – page 7)
4. Plug the RX wire into the throttle (#2) channel on your receiver.
5. Calibrate your ESC to your radio (see Driver's Ed Guide, "How to Calibrate the
ESC" – page 13)
YOU ARE NOW READY TO GO!
Motor Wires
P/N:095-0308-00
Negative Battery
Wire
RX Wire
On/Off
Switch
Positive Battery
Wire
Advertisement

Summary of Contents for Castle Creations SIDEWINDER MICRO 2
- Page 1 ABOUT THE SIDEWINDER MICRO 2 Please note that while Sidewinder Micro 2 is capable of handling incredible amounts of power, your motor must also be up for the task. Always run your motor within the manufacturer’s specs. Monitor motor, battery, and controller temps carefully and never let the motor get above 180º...
- Page 2 Traxxas® Power Cell). Voltage Cutoff • • – • The Sidewinder Micro 2 has 3.5mm bullet connectors on the Radio Glitch motor wires and the battery input wires are bare. You must add the connector of your choice to the battery leads. We •...


Need help?
Do you have a question about the SIDEWINDER MICRO 2 and is the answer not in the manual?
Questions and answers