Table of Contents
Advertisement
Quick Links
INSTALLATION MANUAL
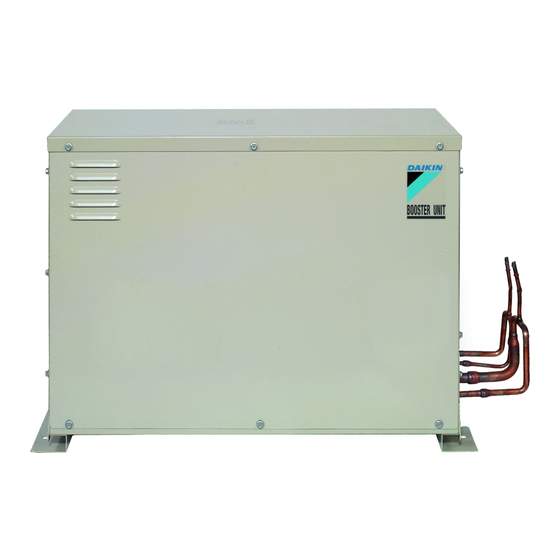
Booster Unit
Installation manual
English
Booster Unit
Installationsanleitung
Deutsch
Zusatzgerät
Manuel d'installation
Français
Unité d'accélération
Manual de instalación
Español
Unidad booster
Manuale di installazione
Italiano
Compressore ausiliario
Booster Unit
Installatiehandleiding
(LCBKQ3AV1(E))
Nederlands
Boostereenheid
Manual de instalação
Portugues
Booster
Advertisement
Table of Contents

Related Manuals for Daikin LCBKQ3AV1


Summary of Contents for Daikin LCBKQ3AV1
- Page 1 INSTALLATION MANUAL Booster Unit Installation manual English Booster Unit Installationsanleitung Deutsch Zusatzgerät Manuel d’installation Français Unité d'accélération Manual de instalación Español Unidad booster Manuale di installazione Italiano Compressore ausiliario Booster Unit Installatiehandleiding (LCBKQ3AV1(E)) Nederlands Boostereenheid Manual de instalação Portugues Booster...
-
Page 3: Table Of Contents
• When wiring the power supply and connecting transmission wir- FIRST OF ALL ing, position the wires so that the control box lid can be securely • This document is an installation manual for the Daikin Booster fastened. Unit. Before installing the unit, read this manual thoroughly, and Improper positioning of the control box lid may result in electric following the instructions contained in it. -
Page 4: Special Notice Of Product
• Install the indoor and outdoor units, power cord and connecting [DESIGN PRESSURE] wires at least 1 meter away from televisions or radios to prevent Since design pressure is 3.8MPa or 38bar (for R407C units : 3.3MPa picture interference and noise. or 33bar), the wall thickness of pipes should be more carefully (Depending on the incoming signal strength, a distance of 1 meter selected in accordance with the relevant local and national regula-... -
Page 5: Indoor Unit Constraints
Belt sling • If the work conditions in the following figure do not apply, contact Belt sling your dealer or Daikin directly. Cushion cloth Handle Hang on the edge of the bottom plate. -
Page 6: Installation The Unit
4-2 Installation the Unit If the hose is long and hangs, be careful not to bend it halfway through. • Make sure the unit is installed level on a sufficiently strong base to prevent vibration and noise. Booster unit • Secure the unit to its base using foundation bolts. (Use four com- 4 Drain socket mercially available M8-type foundation bolts, nuts, and washers.) Drain hose... -
Page 7: Selection Of Piping Material
φ15.9×1.0(O type) Suction piping (Between booster unit and refrigeration showcase) (Note 2) Discharge piping (Main gas piping between booster unit and outdoor unit) LCBKQ3AV1(E) (Note 2) Discharge piping If the size of the connection pipe of the refrigerating showcase exceeds φ9.5×0.8(O type) -
Page 8: Protection Against Contamination When Installing Pipes
5-2 Protection against Contamination when Installing Pipes Refer to the Protect the piping to prevent moisture, dirt, dust, etc. from entering Refrigeration pipe diameter of showcase the showcase the piping. Liquid B Liquid piping outlet piping Connect from the upper Place Installation period Protection method... -
Page 9: Air Tight Test / Vacuum Drying
〈Closing method〉 • Vacuum drying - Refer to the installation manual of the outdoor 1. Remove the valve cover and turn the shaft clockwise with a hexa- unit. gon wrench. Liquid side shutoff 2. Tighten the shaft until the shaft comes in contact with the sealing valve port part of the valve. -
Page 10: Field Wiring
FIELD WIRING • A switch that allows all poles to be switched on and off from the main power supply must be installed. To Electric Engineering Contractors This switch must have a contact gap of at least 3 mm. • Be sure to install an earth leakage breaker. The product incorpo- rates inverter equipment. -
Page 11: Example Of Wiring Entire System
6-1 Example of Wiring Entire System Note:1. For Remote switch, use non-voltage contact for microcurrent (not more than 1mA, 12VDC) Note:2. Total capacity for warning, alarm : 0.5A or less at AC 220 to 240V. Capacity for operation output : 0.5A or less at AC 220 to 240V. Note:3. -
Page 12: Wiring Connection
See “5. REFRIGERANT PIPING”. Voltage circuit mended frequency amp. fuses φ1, 50Hz LCBKQ3AV1 220-240V CHECKS AFTER WORK COMPLETION Refrigeration operation output wire specifications • Make sure the following works are complete in accordance with the installation manual. Electric wire thickness 0.75~1.25mm Piping work Max. -
Page 13: Refrigerant Replenishment
REFRIGERANT REPLENISHMENT • Refer to the Service Manual for other malfunction codes. • Take the following action if you find a malfunction code on the Operation the booster is not needed to replenish refrigerant. remote controller during the test run. Follow the installation manual of the outdoor unit for the replenish- ment procedure. - Page 14 3P248411-5B EM09A056 (1002) FS...
Need help?
Do you have a question about the LCBKQ3AV1 and is the answer not in the manual?
Questions and answers