
Related Manuals for Bonaldo Art Extension Dining Table


Summary of Contents for Bonaldo Art Extension Dining Table
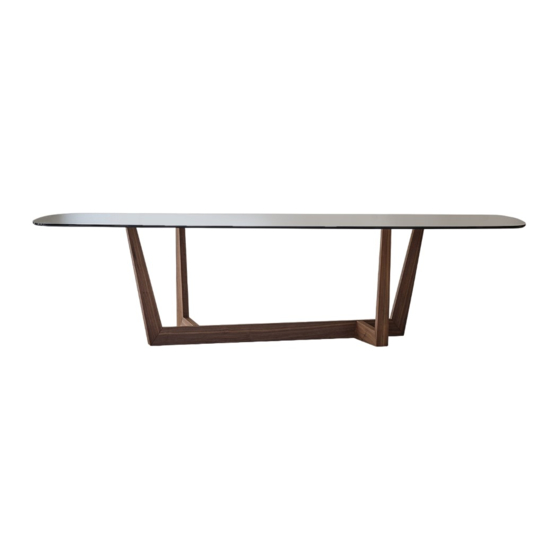
- Page 1 Design Gino Carollo Tavolo allungabile - Leaf table Ausziehtischen - Table à rallonge scheda montaggio assembly instructions Aufbauanleitung notice de montage...
- Page 2 ATTENZIONE - ATTENTION - ACHTUNG - ATTENTION - Maneggiare con mani pulite. Mit sauberen Händen anfassen. - Non spostare o sollevare il prodotto prendendolo per il - Das Produkt nicht durch Aufhebung der Platte bewegen piano. oder schieben . Vista la particolare forma del basamento e la natura dei Angesichts der besonderen Form der Basis und der materiali utilizzati, consigliamo di posizionare il basamento Beschaffenheit der Materialien, empfehlen wir, das...
- Page 3 Posizionare la gamba centrale e le due gambe Position the central leg and the two side legs laterali come mostrato in figura. as shown in the figure. Procedere al fissaggio delle gambe laterali, Proceed with fixing the side legs, NOT NON SERRANDO COMPLETAMENTE le viti.
- Page 4 Procedere successivamente rimuovendo le Proceed later by removing the strips, bandelle ricordandone la posizione. remembering their position. CONSERVARE LE 4 VITI. STORE THE 4 SCREWS. Estrarre il telaio dall’imballo e posizionarlo Remove the frame from the packaging and come in figura. Procedere fissando le due position it as shown.
- Page 5 Posizionare la base al di sopra del telaio, Position the base above the frame, as come mostrato in figura, e utilizzando shown in the figure, and using the 4 nuts D, i 4 dadi D, procedere al fissaggio nel proceed with fixing in the following order: seguente ordine: - prima fissare la gamba centrale - first fix the central leg...
- Page 6 Completato il punto 4, procedere serrando After completing step 4, proceed by tutte le viti. tightening all the screws. Montare nuovamente le bandelle rimosse al punto 1, nella stessa posizione iniziale. Re-assemble the straps removed in step 1, in the same initial position. scheda montaggio - assembly instructions - Aufbauanleitung - notice de montage...
- Page 7 Girare il tavolo avendo cura di posizionare Turn the table taking care to place a support un supporto tra il basamento ed il pavimento, between the base and the floor, so as not to in modo tale da non rovinare le superfici di damage the support surfaces.
- Page 8 Montare le prolunghe fissando le Mount the extensions by fixing the staffe H alla struttura con le 16 viti E . brackets H to the structure with the 16 E screws. scheda montaggio - assembly instructions - Aufbauanleitung - notice de montage...
- Page 9 Avvitare le viti senza testa I nelle Tighten headless screws I in the appropriate apposite sedi. Inserire le ghiere hole. Place the ring nuts F on the screws you zigrinate F nelle viti precedentemente have previously assembled, leaving a space of montate lasciando circa 3,5 cm dal around 3.5 cm between them and the table top.
- Page 10 MANTENENDO LE PROLUNGHE WHILE KEEPING THE LEGGERMENTE APERTE inserire EXTENSIONS SLIGHTLY OPEN il piano sul telaio precedentemente insert the table top into the frame montato. Aprire le prolunghe. you have previously assembled. Open the extensions. 25 cm Regolare l’altezza del piano agendo Adjust the height of the table top using the sulle ghiere zigrinate F montate ring nuts F assembled in point 11;...
- Page 11 É possibile aggiustare lo spazio tra piano e It is possible to adjust the space between prolunga agendo sulle viti poste nel telaio top and extension, acting on the screws sotto la prolunga. located in the frame under the extension. left link gauche...
- Page 12 scheda montaggio - assembly instructions - Aufbauanleitung - notice de montage...
Need help?
Do you have a question about the Art Extension Dining Table and is the answer not in the manual?
Questions and answers