Advertisement
Quick Links
A well-trained technician should always install the set. This simplified use instructions describe the set basic mounting; mounting details for single sections of the set are given in related manuals.
The complete instructions on system parametrization are available on the CD enclosed.
1. Set contents
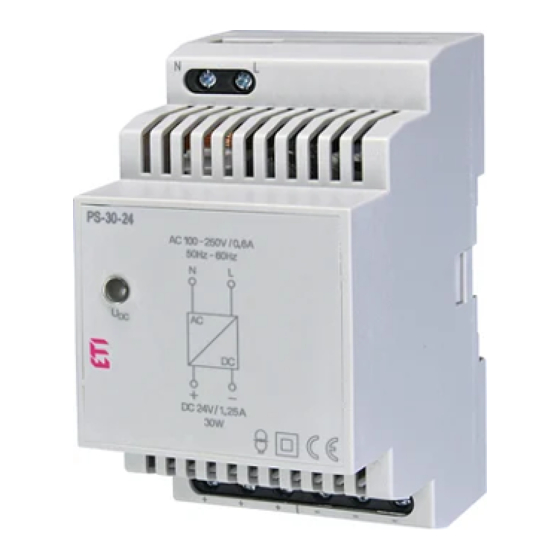
- PS-30/24 power supply
- BPS2-01M bus/supply voltage separator
- CU2-01M central unit
- SA2-02B switching actuator
- Alpha AA 230V NO thermo valve
- IART2-01 analog thermo-controller
2. First start of the set in box
Set is already „preprogrammed" by the manufacturer and ready for using.
1. Check whether all conductors are connected to terminals (no one is loose or fell out).
2. Connect the mains plug into the AC 230 V socket.
3. The CU2-01M starts the starting sequence. After the sequence is completed, the CU2-01M switches to the RUN operation mode whereas this mode is
G
signaled on the segmented display as
4. Set started this way is ready for use according to functions already pre-programmed in CU2-01M.
IART2-01 analog thermo controller is programmed as follows:
3. Prior installation in designated location
1. Make sure all installation bus conductors are correctly connected into the CIB+ and
CIB- terminals.
2. Make sure that BPS2-01M bus/supply voltage separator is correctly connected into
the PS-30-24 power supply.
4. Set installation in designated location
1. Install the set in designated place.
2. Connect AC 230V mains supply voltage cable to PS-30-24 power supply terminals
N and L.
3. Then continue in terms of point 2 - First start of the set in box.
5. Inels designer & manager (IDM) programming environment installation
IDM is used for activation and parametrization of the system, eventually for creating the basic visualization of
INELS® intelligent electro-installation application.
1. Start IDM.exe file, which is located on attached CD.
2. After starting, window Installation guide language selection appears.
3. Select language and confirm your selection with OK button; then appears window IDM installation guide
4. Follow the instructions of IDM product guide.
5. After the IDM installation is done, history.txt file opens, that contains new IDM features description,
or description of corrected errors; at the same time introductory login window appears.
USE INSTRUCTIONS
.
1. Rotary element is designated for correcting requested temperature -3°C/+3°C
2. Button 0/1 is designated for switching the heating circuit off - green LED signalizes that the heating circuit is switched on;
when orange, the heating circuit is active (heats up).
1.
3. Button hand/clock is designed for switching the heating modes - first press switches to presentation (signalized by green LED),
the second press switches to the forced comfort (signalized by red LED), and the third press switches back into controlled time
schedule program.
2.
3.
Heating
CIB+
CIB -
Thermo sensor TC / TZ
thermosensor
Thermo-valve
Type 0/1
24-230V AC
L
N
Advertisement

Related Manuals for iNels PS-30/24


Summary of Contents for iNels PS-30/24
- Page 1 3. Then continue in terms of point 2 - First start of the set in box. 5. Inels designer & manager (IDM) programming environment installation IDM is used for activation and parametrization of the system, eventually for creating the basic visualization of INELS®...
- Page 2 - In IDM programming environment, select Project tag and then Project Open (Ctrl+O). Then Selection- Project Open window appears. By press Restore Project from Backup button, read out CU2-01M original project backup from CD attached. List of all applicable units: http://www.inels.com/index.php?sekce=produkty&akce=show&id=56 List of authorized system partners: http://www.inels.com/index.php?sekce=syst_partneri Manufacture‘s technical support: + 420 775 371 532 support@inels.com...