Advertisement
Quick Links
Advertisement

Summary of Contents for BRIFIELD BR3
- Page 1 BRIFIELD® BR3 BODY CAMERA USER MANUAL Customer Service Email info@brifield.co.uk...
-
Page 2: Table Of Contents
CONTENTS Page - BR3 Diagram Page - BR3 Diagram explanation Page - Screen functions / Menu functions Page - Menu functions Page - Important information Page - Product box contents / Customer service... -
Page 4: Br3 Diagram Explanation
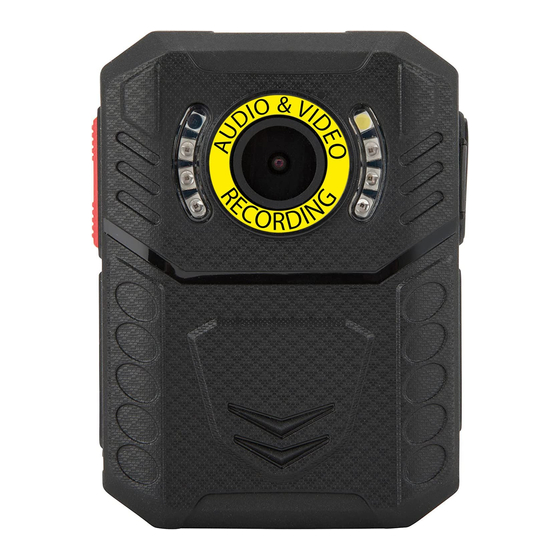
5 - White LED light: Helps in low light areas. 6 - Lens: Capture Video and images. The lens is also what triggers the motion detection. 7 - USB port: Connect the BR3 USB cable to your computer, from there you can transfer your... - Page 5 recorded video, audio files and pictures to the computer. Reset hole: Next to the USB port. This is used to reset the device. 8 - Picture button: In idle mode, press to take a picture. While recording a video, press to take a picture.
- Page 6 will also add a S letter at the end of the file name- on your computer. This helps to easily identify the more important video and audio files. In playback mode, press to play and pause the recording. In menu mode, press to select. 13 - Right button: In idle mode, press to enter menu mode.
-
Page 7: Screen Functions / Menu
SCREEN FUNCTIONS MENU FUNCTIONS Use left button number 11 to go up. Right button number 13 to go down. Middle button number 12 to select. Button number 16 to go back. - Video Resolutions: Change the video resolutions. - Picture Megapixel: Change the Megapixel of the camera. - Page 8 - Burst: These are different picture burst options. Let’s say you select 5 bursts, now when you take a picture, 5 pictures will be taken one after the other. - Self timer: This gives you a countdown, when the countdown reaches 0 then a picture will be taken. - Continuous shooting: When on, pressing the picture button will activate continuous shots every 5 or 10 seconds depending on what you have...
- Page 9 - LED light: Option to turn the 2 LED lights at the top of the BR3 permanently off. - Key tone: Turn the key tone on/off. - Volume: Change the volume of camera speaker.
- Page 10 affect the volume of the recorded video or audio files themselves. - ID Setting: Change the user ID. Use the left and right keys to change the letter or number and use the middle key to select and move onto the next character.
-
Page 11: Important Information
KlickFast stud ALL turn 360 degrees. Slot the stud or clip into the back of the BR3 then turn the clip or stud vertically. Or you can slot the clips and studs into the back of the body camera first,... - Page 12 on the computer. Once you are in the file, click onto the DCIM file. From there you can access all the recorded files. Drag the files from the DCIM files to your computer. Change password: Access the change password within the menu, enter your old password (Left key to go up, and right key to go down, middle key to select and move on to the next one.
- Page 13 IP65 Water rating: Please note that the BR3 body camera is not fully waterproof. Do not submerge it into water. IP65 is the rating of the BR3 body camera, this is resistant to weather and dust. Rain will not damage the BR3.
-
Page 14: Product Box Contents
PRODUCT BOX CONTENTS 1 X BR3 BODY CAMERA 1 X USER MANUAL 1 X USB LEAD 1 X UK 3 PIN PLUG 1 X EPAULETTE CLIP 1 X CROCODILE CLIP 1 X SHOULDER HARNESS 1 X CHEST HARNESS 1 X KLICKFAST STUD... - Page 15 BRIFIELD® BR3 BODY CAMERA USER MANUAL Customer Service Email info@brifield.co.uk...
Need help?
Do you have a question about the BR3 and is the answer not in the manual?
Questions and answers