
Related Manuals for IVIEW CAM1000

Summary of Contents for IVIEW CAM1000
- Page 1 Quick Start Guide Smart Camera To assure the product performs at its best, please read the guide carefully before operation and keep it for future use.
-
Page 2: Product Configuration
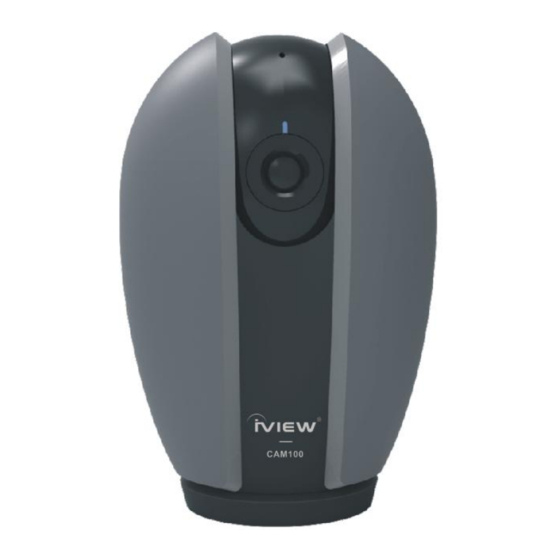
CAM1000 Smart Camera is part of a new generation of smart home devices that makes life simple and cozy! It features compatibility and connectivity with Android OS (4.1 or higher), or iOS (8.1 or higher), using the Iview iHome... - Page 3 Install 1. Use the included mounting bracket to attach the camera to a fixed surface. 2. Or, stick the camera to an inclined surface using the provided adhesive tape. Peel off the sticker Apply to the bottom of camera...
-
Page 4: Account Setup
Account Setup 1. Download the APP “iView iHome” from Apple Store or Google Play Store. 2. Open iView iHome and click Register. 3. Register either your phone number or email address and click NEXT. 4. You will receive a verification code via email or SMS. Enter the verification code in the top box, and use the bottom... -
Page 5: Device Setup
** Before setting up, make sure your phone or tablet is connected to your desired wireless network (Wi-Fi frequency must be 2.4 Ghz). 1. Open iView iHome, choose add device or the [+] icon at the Top-Right corner. 2. To set up camera, please choose “Security camera”... - Page 6 About 20cm 5. Device will connect. Process will take less than a minute. When the indicator reaches 100%, setup will be complete. You will also be given the option to rename your device. Note: When the camera is removed from your device list, the light on the camera will change from blue to red.
- Page 7 By default, only one user has access to the camera. However, if you want to share the camera with other family members, follow the instructions below: Note: All other users MUST register an IView iHome ID before sharing 1. Choose the device that you wish to share.
- Page 8 5. You can delete users by tapping on their name and swiping to the left. You can also remove a user by clicking on DELETE, located next to their user name.
-
Page 9: Basic Functions
Basic Functions The following options will be available via the app. Direction Pan and Rotate your camera. You’ll have the ability to manually pan and rotate your camera with the directional pad, provided by the app. You can also pan and rotate the camera by touching and sliding the video feed in your desired direction providing you with 360 degrees of vision Speak... -
Page 10: Additional Features
Additional Features Night Vision With powerful night-vision technology, you’ll never miss a moment! Daytime Night... - Page 11 Q & A Why did my device fail to connect? 1. Please make sure the device is powered on; 2. Make sure your provided network is 2.4GHz. If your router is dual-band (2.4GHz/5GHz), set it as a 2.4GHz network. 3. Check your device and make sure the indicator light is blinking red. Repeated failed connections? If your device has repeated connection failures, turn the device off for 30 seconds, and turn back on.
- Page 12 How do I manage my shared devices? Open the IView iHome App, go to you user Profile, and select "Device Sharing." You’ll be given a list of all of your devices share by other users, and which users have access to which device. From here, you can manage who has access...