Advertisement
Quick Links
Advertisement

Related Manuals for greenfeathers NCIP9WF


Summary of Contents for greenfeathers NCIP9WF
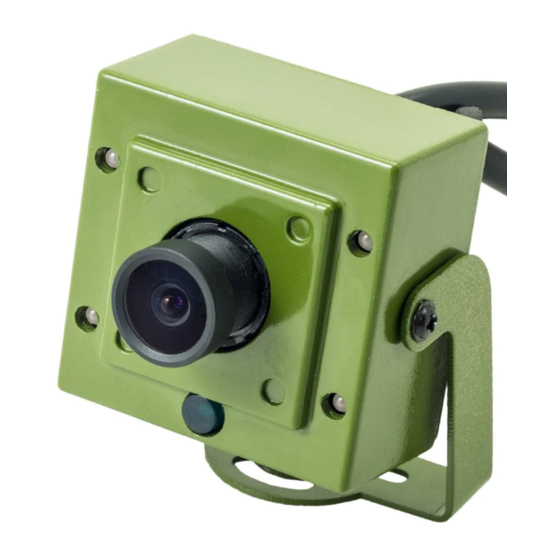
- Page 1 WiFi Bird Box Camera Quick Start Guide Please read me before you start!
- Page 3 Congratulations! You are now the proud owner of a Green Feathers Bird Box Camera. For years we have been a leading provider of wildlife cameras and our bird box cameras are a number one choice for those wanting to watch wildlife in their very own garden from the comfort of the sofa.
- Page 4 HOW TO SET UP A WI-FI CAMERA Before You Begin • Do not mount the camera into the bird box until you know it is working correctly • Check the Wi-Fi strength at the site of your bird box using a smartphone or tablet •...
- Page 5 METHOD ONE: Connect the Camera to Your Wi-Fi Network Works with 2.4GHz Wi-Fi networks only Connect your phone/tablet to the Wi-Fi network you want the camera to use Power up the camera and allow about 30 seconds for the camera to boot Open the app and tap Local Login To add a new device, select the icon in the top-right...
- Page 6 METHOD TWO: Connect to the Camera Directly You can skip this step if you have already connected your camera to your network. If you don’t have a WiFi network in the area you can connect to the camera directly using your smartphone or tablet.
-
Page 7: Configuring Camera Settings
CONFIGURING CAMERA SETTINGS You can confi gure basic camera settings using the app. Enter the settings menu while live viewing the camera by tapping the Settings icon in the top-right. How to Enable Audio Go to Advanced Setting: Toggle on Audio and tap Save How to Enable Motion Detection &... -
Page 8: Installing The Pc Software
INSTALLING THE PC SOFTWARE Now that your camera is set up on your network, you may also want to watch and record footage on your Windows PC. To do this, you can download the Gamut CMS5 software. Download and install the software from this link: https://bit.ly/2wFZVI5 ... - Page 9 ATTACHING TO A BIRD BOX If you have one of our bird boxes You can use the easy-fi t screw thread provided to attach the camera’s bracket to the pre-drilled hole on the box. If you do not have one of our bird boxes You can still use a screw to attach the camera’s bracket to the wooden panel.
- Page 10 WHERE TO PLACE YOUR BIRD BOX Diff erent birds have diff erent needs when it comes to choosing where to place your bird box. Generally you should look to place your box in a quiet spot in the garden amongst other plants or trees, making sure to leave a clear path in for your birds to make their landing.
- Page 11 5m - Woodpeckers, Owls 3m - Sparrows, Tits, Starlings 2m - Robins, Wrens 11 11...
- Page 12 BOOSTING THE LIGHTING IN YOUR BIRD BOX Your camera’s night vision helps to improve the picture at night but you can benefi t from adding an extra light source to improve daytime images. Use one of our energy-effi cient LED lamps to help with this. Our daylight lamps automatically switch off...
- Page 13 SEND US YOUR FOOTAGE Do you have some excellent footage captured on your bird box camera? Send us your video or images and we’ll give you an exclusive discount code for your friends and family. There are many ways to get in touch with us: ...
- Page 14 Something fun for a Saturday afternoon to attract wildlife into your garden. Great in winter when food is scarce. Productive, enjoyable and most of all cheap! Types of Container Ingredients Equipment Yoghurt pots Lard or suet Mixing bowl Coconut shells Bird seed Saucepan Small plant pots...
- Page 15 Method 1. Melt the lard/suet into the saucepan, don’t let it burn 2. Once melted, put all dry ingredients into a mixing bowl and then add the lard/suet. If you are going to mix everything together using your hands then make sure that the fat has cooled down enough before you get your hands stuck in! 3.
- Page 16 FIND MORE HELP ONLINE Read our in-depth set-up guides. green-feathers.co.uk/help...
Need help?
Do you have a question about the NCIP9WF and is the answer not in the manual?
Questions and answers