Table of Contents
Advertisement
Advertisement
Table of Contents

Related Manuals for Digital Blue Disney Pix Jr


Summary of Contents for Digital Blue Disney Pix Jr
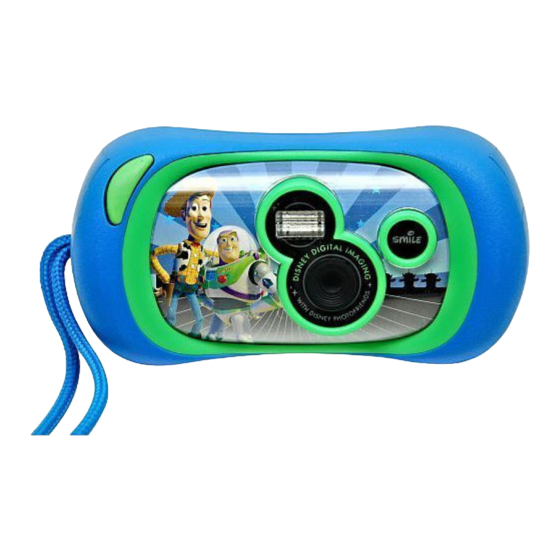
- Page 2 Pix Jr. Pix Jr. 1.3MP Digital Camera...
-
Page 3: Table Of Contents
Table of Contents Installing the Batteries ........2 Turning on your Camera . -
Page 4: Installing The Batteries
Installing the Batteries Your new Pix Jr. camera is powered by four AA batteries. (not included) To install the camera batteries, have an adult: Use a Phillips head screwdriver to unscrew the two screws on the bottom of the camera. Remove the battery door. Insert the batteries as shown by the + and - signs on the battery door. -
Page 5: Camera Components
Camera Components Snapshot button - Use the Snapshot button to take pictures. Camera Lens - Keep the lens clean and avoid putting hands and fingers near it so that your pictures are clear. Snapshot button Wrist Strap Camera Lens USB Connection Wrist Strap - Use the Wrist Strap to keep your Pix Jr. -
Page 6: Display Screen
Display Screen Your new Pix Jr. camera uses simple icons to help you take great photos. The USB Connection icon shows when your camera is connected to your computer. The Memory Full icon shows when you have filled your camera’s memory. Connect the camera to your computer to download your photos. -
Page 7: Mass Storage Mode
Mass Storage Mode If you want to download pictures from your Pix Jr. camera without the Disney Pix software, you can use the camera in mass storage mode. Because your camera is a USB Mass Storage Device, your computer will recognize the camera as an external hard drive. -
Page 8: Adding Photofriends
Adding PhotoFriends Using the Magic Wand button, you can add PhotoFriends to your pictures. PhotoFriends are some of your favorite Disney characters and special props that make your photos even more fun! To add a PhotoFriend to your picture: Turn the camera on by pressing any button. Press . -
Page 9: Reviewing Your Pictures
Reviewing your Pictures To see pictures you have taken, just press the of the display screen. Deleting Pictures If you take a picture you don’t want to keep, deleting it is easy. Find the photo using Press once to delete one picture. When you see on the screen, press again to confirm.
Need help?
Do you have a question about the Disney Pix Jr and is the answer not in the manual?
Questions and answers