Table of Contents
Advertisement
Quick Links
Advertisement
Table of Contents

Related Manuals for ViewPlus InkConnect

Summary of Contents for ViewPlus InkConnect
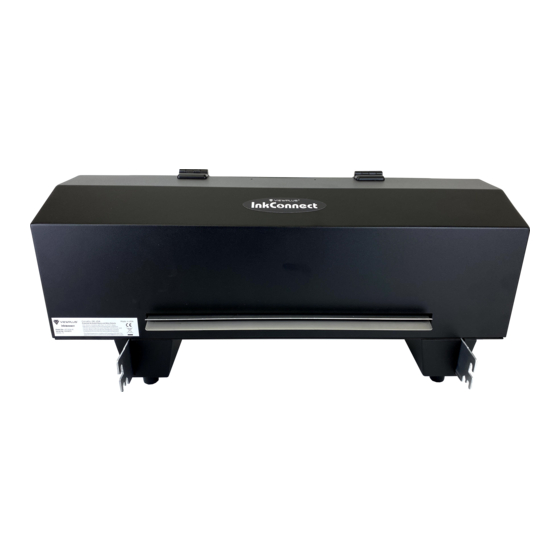
- Page 1 ViewPlus InkConnect for VP Elite and Premier Embossers Revision: 20160630...
-
Page 2: Table Of Contents
A. Windows Printer Defaults ........................9 B. Legacy Printer Defaults ........................12 C. Service Settings ..........................13 IV. Braille, Translation and Printing ......................15 A. ViewPlus Tiger Software Suite ......................15 B. Fonts ..............................15 C. Math and Braille ..........................15 D. Printing .............................. 16 V. -
Page 3: Introduction
This HP Inkjet attachment for your Elite or Premier embosser allows you to easily add ink to all your tactile documents. This manual will introduce you to the basic information regarding your new ink attachment. The ViewPlus web site is another resource for information on your ViewPlus product including examples, tutorials and other useful downloads. -
Page 4: Safety Instructions
ViewPlus BV concerning proper disposal. C. Safety Instructions Read all the following safety instructions before using the ViewPlus InkConnect for your Tiger Elite or Premier embosser. In addition, always follow all warnings and instructions marked on the printer itself. -
Page 5: Specifications
If printer or ink attachment have been dropped or the cabinet is damaged. o If the printer or ink attachment do not operate properly or exhibit a distinct change in performance. D. Specifications ViewPlus InkConnect for Tiger Elite and Premier Embossers Character Sets Use any font at any size Print Resolution... -
Page 6: Installation
The packing material must also be used to ship the InkConnect for warranty maintenance service. Follow the ViewPlus InkConnect Setup Instructions included with your other materials. -
Page 7: Hardware Attachment
Before attaching the InkConnect, make sure that your Elite or Premier embosser is turned off. To attach the InkConnect to the embosser, line up the hooks on the InkConnect with the pegs in the back of the embosser. Insert the InkConnect hooks straight into the embosser and lower the InkConnect onto the embosser pegs. -
Page 8: Software Installation
Shows the locations of the serial port connectors on the embosser and ink attachment D. Software Installation Please follow the easy steps that are part of your Setup Instructions to install your InkConnect driver. They can also be found on your installation CD. -
Page 9: Ink Cartridge Installation
Shows the InkConnect with the back lid open The ink cartridge carriage will be accessible through the opening. Unpack the two ink cartridges included with the InkConnect. Carefully remove the plastic tape covering the ink cartridge nozzles without touching the nozzles. -
Page 10: Set Defaults For The Printer
To set the default settings on your printer, enter the printer properties page for your Elite or Premier embosser with InkConnect through Start>Printers and Faxes on Windows XP or Start>Control Panel> Printers on Windows Vista, right click on your Elite or Premier and choose 'Printer Properties'. - Page 11 Now you need to set your Tiger printing preferences. Please read the descriptions below to help you make your selections. The default settings on the Tiger tab will be appropriate for most users most of the time. When you are finished making your selections, be sure to click the OK button to save your settings. Shows Tiger Tab •...
- Page 12 - When this option is checked, the printer will generate embossed output from every odd • 2 in 1 page and inked output from every even page of the document. This is useful if editing is done on either the embossed page or the printed page. •...
-
Page 13: Legacy Printer Defaults
Elite or Premier and its firmware version number, as well as the serial number and firmware version number for your InkConnect. B. Legacy Printer Defaults Now that you have set your Windows printer defaults, you should also set your legacy printer defaults. -
Page 14: Service Settings
The service tab provides several servicing functions for your ViewPlus Tiger Elite or Premier embosser and InkConnect. Most users will not need to use anything but the ink servicing functions (accessed through the Ink Skew Alignment, Ink-Emboss Alignment, Cartridge Spacing Calibration and Check Ink Cartridge Level buttons) on this tab. - Page 15 When ink print from NOTE: an InkConnect is desired on a document, Carriage 1 must be designated as the primary carriage for correct print results. Carriage 2 may still be used as the primary carriage when printing emboss-only documents with an InkConnect attached.
-
Page 16: Braille, Translation And Printing
Instructions for installation and use come with the software package. B. Fonts Tiger screen fonts are alternative braille fonts installed during the installation of the ViewPlus embosser driver. They can be chosen as output options in Tiger Software Suite (TSS) and other software programs, like MathType. -
Page 17: Printing
ViewPlus Technologies. B. Maintenance It is important to choose a suitable location for the Tiger Elite or Premier with InkConnect. The cable length between the printer and the host computer should not exceed ten feet (three meters). The location should be sturdy and flat. -
Page 18: Warranty
ViewPlus Technologies has a 1 year full parts and service warranty for the ViewPlus InkConnect. The full warranty information was shipped with your InkConnect. In order to get service and technical support, it is necessary to completely fill out and return the warranty form. You will be asked for the serial number of your InkConenct when you call for support or request online support.
Need help?
Do you have a question about the InkConnect and is the answer not in the manual?
Questions and answers