Table of Contents
Advertisement
Available languages
Available languages
Quick Links
6 Corporate Parkway
Goose Creek
SC 29445
Customer Service
Toll Free Phone
:
1-844-564-3055
E-mail
:
cs@quoizel.com
For the quickest
response, please visit
Quoizel.com
and
click on
Contact Us
.
Warnings And Cautions
·
Turn off electricity at circuit breaker or main fuse box before installation. Consult a licensed electrician if in
doubt.
·
These instructions are provided for your safety. It is very important you read them completely before installing
fixture. We strongly recommend that a licensed, professional electrician perform the installation.
·
Disconnect fixture from power source before replacing bulbs.
- Make sure bulbs are given sufficient time to cool before removal.
- Do not subject glass parts to any shock while in operation or shattering may result.
Package Contents
PART
DESCRIPTION
Wire Connector
A
Mounting Screw
B
Lock Screw
C
D
Fixture Body
Glass Panels
E
(Pre-assembled to fixture body)
2018 QuoizelInc.
Model#
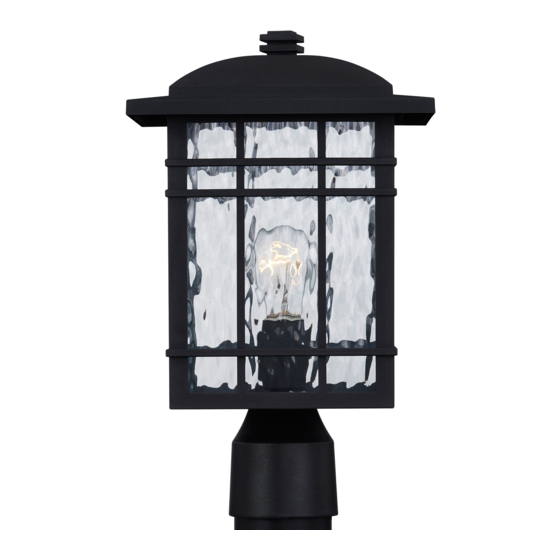
LWS3445E
Tools Required
(not included): Flathead screwdriver, Phillips screwdriver, electrical
tape, safety glasses, silicone sealant, drill, 1/16 in. drill bit.
Bulb Recommended:
Estimated Assembly Time
Preparation
:
·
Identify and inspect all parts before beginning installation
·
Check package contents list and diagrams below to be sure all parts are included.
·
If any parts are missing or damaged, do not attempt to assemble, install or operate
the fixture.
·
Contact
Quoizel Customer Service
QUANTITY
3 pcs
3 pcs
4 pcs
1 pc
4 pcs
Thank you for purchasing a Quoizel product.
Need assistance with parts or assembly?
Call Quoizel Customer Service toll free at 1-844-564-3055;
send us an email at cs@quoizel.com or visit us online at www.quoizel.com
(1) 60W Type-A medium base bulb, Alternate (1) LED bulb.
: 20 - 30 minutes
for replacement parts.
Stock Part#
913059KIT
A
N/A
B
G13062PA
C
1
Item# 0812341
Français p. 5
Español p. 9
D
E
04.28.2018
Advertisement
Table of Contents

Subscribe to Our Youtube Channel
Related Manuals for Quoizel LWS3445E


Summary of Contents for Quoizel LWS3445E
- Page 1 (Pre-assembled to fixture body) Thank you for purchasing a Quoizel product. Need assistance with parts or assembly? Call Quoizel Customer Service toll free at 1-844-564-3055; send us an email at cs@quoizel.com or visit us online at www.quoizel.com 2018 QuoizelInc. 04.28.2018...
- Page 2 9” Sq. 14,75” NOTE: ALL DIMENSIONS ARE ROUNDED UP TO THE NEAREST 1/2" 2018 QuoizelInc.
- Page 3 STEP 1: Fixture hood a. Unscrew the preassembled lock screws from the top of Lock screws fixture body and remove the fixture hood. Fixture body Note : Place a cloth or towel on the ground under the work area to prevent loss of mounting hardware if dropped.
-
Page 4: Glass Replacement
STEP 6: Fixture hood a. Replace the fixture hood on the top of fixture body, Lock screws securing with lock screws. Fixture body Your installation is now complete! Restore electricity and save this sheet for future reference. Glass replacement: Fixture hood Note: Place a cloth or towel on the ground under the work area to prevent loss of mounting hardware if dropped. -
Page 5: Avertissements Et Mises En Garde
S'il y a des pièces manquantes ou endommagées, ne tentez pas d'assembler, sur le site d'installer ni d'utiliser le luminaire. Quoizel.com · Communiquez avec le service à la clientèle de Quoizel pour obtenir des pièces de cliquez sur « Contact rechange. us » (« Communiquez avec nous »). - Page 6 22,86cm Sq. 37,46cm REMARQUE : TOUTES LES DIMENSIONS INDIQUÉES SONT ARRONDIES AU 1,27 CM PRÈS 2018 QuoizelInc.
- Page 7 ÉTAPE 1 : Capuchon du luminaire a. Dévissez les vis de blocage préassemblées à la partie supérieure du corps du luminaire, puis retirez le Vis de blocage capuchon du luminaire. Corps du luminaire Remarque : Placez un linge ou une serviette sur le sol, sous la zone de travail, pour éviter de perdre la quincaillerie de fixation si vous l’échappez.
-
Page 8: Remplacement Du Verre
Capuchon ÉTAPE 6 : du luminaire a. Replacez le capuchon du luminaire sur la partie Vis de blocage supérieure du corps du luminaire, puis fixez-le à l’aide des vis de blocage. Corps du luminaire L'installation est maintenant terminée! Rétablissez le courant et conservez ces instructions pour utilisation ultérieure. -
Page 9: Advertencias Y Precauciones
(Preensamblado en la barra transversal) Gracias por haber comprado un producto Quoizel. ¿Necesita ayuda con las piezas o el ensamble? Llame gratis al Servicio al cliente de Quoizel al 1-844-564-3055, envíenos un correo electrónico a cs@quoizel.com o visítenos en línea en www.quoizel.com 2018 QuoizelInc. - Page 10 22,86cm Sq. 37,46cm NOTA: TODAS LAS DIMENSIONES ESTÁN APROXIMADAS A LO MÁS CERCANO A 1,27 cm. 2018 QuoizelInc.
- Page 11 PASO 1: Carcasa de la lámpara a. Retire los tornillos de fijación preensamblados de la parte superior del cuerpo de la lámpara y retire la Tornillo de fijación cubierta de la lámpara. Cuerpo de la lámpara Nota : Coloque una tela o toalla en el piso, bajo el área de trabajo, para evitar la pérdida de aditamentos de montaje si se caen.
-
Page 12: Cuidado Y Mantenimiento
PASO 6: Carcasa de la lámpara a. Vuelva a colocar la cubierta de la lámpara en la parte superior del cuerpo de la lámpara y asegúrela con los Tornillo de fijación tornillos de fijación que. Cuerpo de la lámpara Su instalación está completa. Restaure la electricidad y guarde esta hoja de instrucciones para referencia futura.
Need help?
Do you have a question about the LWS3445E and is the answer not in the manual?
Questions and answers