Advertisement
Quick Links
Advertisement

Related Manuals for Frontgate Holiday 68607

Summary of Contents for Frontgate Holiday 68607
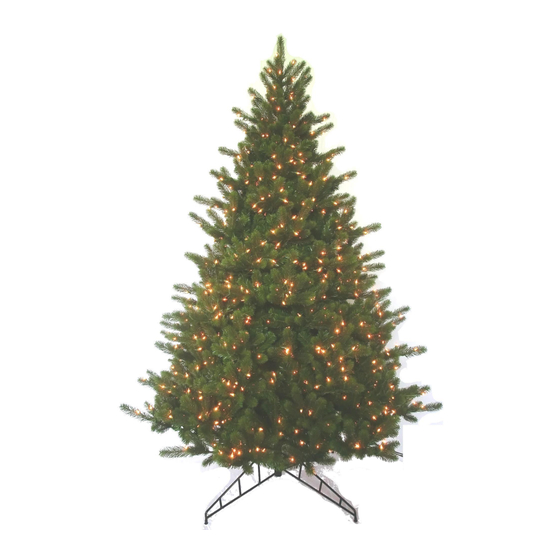
- Page 1 7.5 ft. Signature Balsam Fir Tree – Item 68607 – ITEM 7.5 ft...
- Page 2 SKU 68607 – 7.5’ Signature Balsam Fir PARTS LIST NUMBER OF PERSONS 2114 TIPS STANDARD STAND RECOMMENDED FOR A. BOTTOM UL 1200 LIGHTS B. MIDDLE ASSEMBLY: 2 MAX DIAMETER 63” C. TOP D. TREE STAND HARDWARE A. EXTRA BULBS AND FUSES QUANTITY EACH 18 PCS 1.
- Page 3 2.2 – Locate Tree Section “A” and remove the protective caps that are on the top and bottom of the pole (they can be replaced when you re-pack your tree). Insert Tree Section “A” into the tree stand. Make sure the pole is firmly inserted into the stand, and then turn all three screws until contact is made with the pole.
- Page 4 STORAGE OF YOUR TREE Unplug the extension cord plugs from electrical outlet on the wall. Take off all of your ornaments and tree decorations before packing your tree back into its storage boxes. Starting from the top, gently lift off each section. Each section should be packed away in the carton that it came in. Each tree section should be turned upside down and then carefully press branches toward center pole for easier placement into the storage box.
-
Page 5: Troubleshooting Tips
TROUBLE SHOOTING TIPS 1. If entire tree lighting does not light, make sure power strip cords are securely inserted in a working wall outlet. 2. If an entire section of the tree does not light, please review following actions: a. Check that all plugs within the tree are securely connected. b. -
Page 6: To Replace A Fuse
Discard product if the attachment plug is damaged Please contact one of our Product Specialists for assembly assistance or questions 1-800-537-8484 or email ps@frontgate.com. Specialists are available weekdays 8:00 a.m. 8:00p.m.EST or Saturday 9:30 a.m. to 6:00 p.m. - Page 8 9 ft. Signature Balsam Fir Tree – Item 68609 – ITEM 7.5 ft...
- Page 9 SKU 68609 – 9’ Signature Balsam Fir PARTS LIST NUMBER OF PERSONS 3377 TIPS STANDARD STAND RECOMMENDED FOR A. BOTTOM UL 1700 LIGHTS B. MIDDLE ASSEMBLY: 2 MAX DIAMETER 68” C. UPPER MIDDLE D.TOP E. TREE STAND HARDWARE A. EXTRA BULBS AND FUSES QUANTITY EACH 24 PCS 1.
- Page 10 2.2 – Locate Tree Section “A” and insert Tree Section “A” into the tree stand. Make sure the pole is firmly inserted into the stand, and then turn all three screws until contact is made with the pole. If Section “A” is not sitting straight, then simply loosen the screws, adjust tree pole, and retighten the screws.
- Page 11 STORAGE OF YOUR TREE Unplug the extension cord plugs from the electrical outlet on the wall. Take off all of your ornaments and tree decorations before packing your tree back into its storage boxes. Starting from the top, gently lift off each section. Each section should be packed away in the carton that it came in. Each tree section should be turned upside down and then carefully press branches toward center pole for easier placement into the storage box.
- Page 12 TROUBLE SHOOTING TIPS 1. If entire tree lighting does not light, make sure power strip cords are securely inserted in a working wall outlet. 2. If an entire section of the tree does not light, please review following actions: a. Check that all plugs within the tree are securely connected. b.
- Page 13 Discard product if the attachment plug is damaged Please contact one of our Product Specialists for assembly assistance or questions 1-800-537-8484 or email ps@frontgate.com. Specialists are available weekdays 8:00 a.m. 8:00p.m.EST or Saturday 9:30 a.m. to 6:00 p.m.
- Page 15 10 ft. Signature Balsam Fir Tree – Item 68610 – ITEM 7.5 ft...
- Page 16 SKU 68610 – 10’ Signature Balsam Fir PARTS LIST NUMBER OF PERSONS 3857 TIPS STANDARD STAND RECOMMENDED FOR A. BOTTOM UL 1900 LIGHTS B. LOWER MIDDLE ASSEMBLY: 2 MAX DIAMETER 72” C. MIDDLE D. UPPER MIDDLE E.TOP F. TREE STAND HARDWARE A.
- Page 17 2.2 – Locate Tree Section “A” and insert Tree Section “A” into the tree stand. Make sure the pole is firmly inserted into the stand, and then turn all three screws until contact is made with the pole. If Section “A” is not sitting straight, then simply loosen the screws, adjust tree pole, and retighten the screws.
- Page 18 STORAGE OF YOUR TREE Unplug the extension cord plugs from the the electrical outlet on the wall. Take off all of your ornaments and tree decorations before packing your tree back into its storage boxes. Starting from the top, gently lift off each section. Each section should be packed away in the carton that it came in. Each tree section should be turned upside down and then carefully press branches toward center pole for easier placement into the storage box.
- Page 19 TROUBLE SHOOTING TIPS 1. If entire tree lighting does not light, make sure power strip cords are securely inserted in a working wall outlet. 2. If an entire section of the tree does not light, please review following actions: a. Check that all plugs within the tree are securely connected. b.
- Page 20 Discard product if the attachment plug is damaged Please contact one of our Product Specialists for assembly assistance or questions 1-800-537-8484 or email ps@frontgate.com. Specialists are available weekdays 8:00 a.m. 8:00p.m.EST or Saturday 9:30 a.m. to 6:00 p.m.
Need help?
Do you have a question about the Holiday 68607 and is the answer not in the manual?
Questions and answers