Advertisement
Quick Links
Advertisement

Related Manuals for Multimo SIMPLE 120


Summary of Contents for Multimo SIMPLE 120
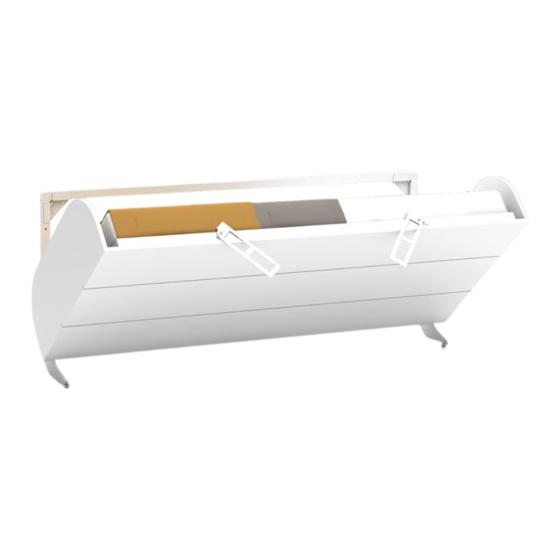
- Page 1 752- SIMPLE 120 min. Technical Service min. End User VIDEO link Assembly Instructions...
-
Page 2: Accessories List
Track Title (inch) (mm) Piece Piece Thickness Length Width Thick Height Most 0,71 48,03 13,58 1220 3,15 84,17 48,11 2138 1222 Accessories List MNX 02 MNG - 01 KVL 01 TAP - 01 10/ piece 10 / piece 8 / piece 10 / piece SG - 01 CTM - 04 ( 8x25 ) mm... - Page 3 Page 2...
- Page 4 STEP 1 CTA - 01 x 2 VIDEO BKA - 01 link Page 3...
- Page 5 ATTENTION!!! Should be mounted to strong walls such as concrete,brick or ytong. T his product must not assembly to drywalls. STEP 2 First of all should be xed from one point, after that balance should be controlled and connection points should be marked.
- Page 6 STEP 4 Ø 10 mm / 0,254 nch STEP 5 DD - 01 x 11 VIDEO VIDEO link link Page 5...
- Page 7 STEP 6 DD - 01 X 3 TFC - 01 X 3 TFC - 01 X 8 VIDEO link Page 6...
- Page 8 STEP 7 210° KVL 01 MNG - 01 MNG - 01 x 5 A x 2 KVL - 01 x 4 VIDEO link Page 7...
- Page 9 STEP 8 AMR - 03 SG - 01 AMR - 03 STEP 9 MNX - 02 MNX - 02 x 10 VIDEO link Page 8...
- Page 10 STEP 10 CT - 04 x 2 SC-79 AL - 02 SC-79 VIDEO link Page 9...
- Page 11 STEP 11 AMR - 03 SG - 01 VIDEO AMR - 03 link Page 10...
- Page 12 STEP 12 MNG - 01 210° TAP - 01 VIDEO link Page 11...
- Page 13 STEP 13 AL - 02 AL - 02 IM - 02 x 4 IM - 02 x 4 SC - 78 x 2 SC - 78 x 2 STEP 14 SC - 78 VTD - 01 x 4 VIDEO link Page 12...
- Page 14 STEP 15 RYSB - 01 PL - 04 KOR - BACK KCE - 01 X 4 VIDEO link Page 13...
- Page 15 ATTENTION / HOW TO / READ ME / OWNER'S GUIDE 1. When mount ng on a regular drywall, furn ture must be fastened to wood or metal studs. Sol d walls made of br ck, concrete or s m lar strong mater al are also accaptable.
- Page 16 www.mult mo.com...
Need help?
Do you have a question about the SIMPLE 120 and is the answer not in the manual?
Questions and answers