
Related Manuals for DK Digital DCR-M6000


Summary of Contents for DK Digital DCR-M6000
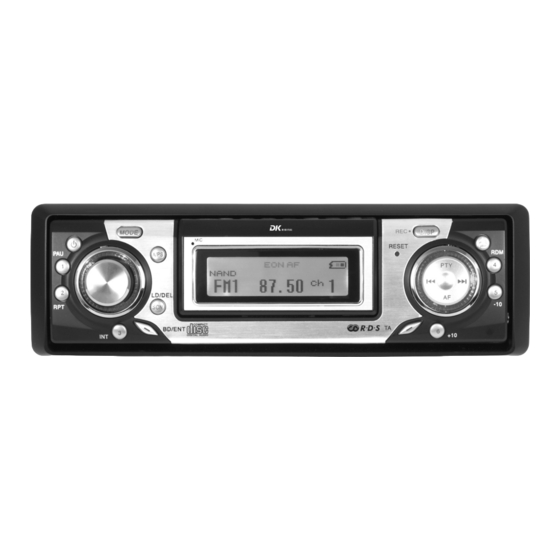
- Page 1 Stereo CD/MP3 Car Radio DCR-M6000 with detachable MP3 player...
- Page 2 . . . for choosing one of our Car Stereo Systems. For your own safety and in order to learn all about the functions available, please read this manual and keep it for future reference. And if you once sell the unit please include the manual. www.dk-digital.com © 2006 Copyright, manufacturer: DK digital GmbH...
-
Page 3: Table Of Contents
Contents Important Safety Instructions, please read carefully Installation instructions Place of installation To remove the Flash MP3 Player ISO connection Replacing the fuse Bluetooth connection Here we go! Dismounting The control elements General operation Switching the radio on / off Controlling the volume Tone control Other settings... -
Page 4: Important Safety Instructions, Please Read Carefully
Important Safety Instructions, please read carefully • This device is designed to receive and play radio programmes and to play various digital sound storage media in motor vehicles. Any use contrary to the instructions may result in electric shock and danger to life may arise. Likewise, any warranty claims become void. -
Page 5: Installation Instructions
Installation instructions We recommend to entrust a garage with the installation of your new car radio. Then please hand these instructions to the garage staff. If you install your new car radio yourself, please follow these instructions carefully. Place of installation If there are several possible places in your car to install the car radio, please bear in mind the following points: Decide for a place that you think will later make it easy for you to operate the... -
Page 6: Iso Connection
ISO connection The car radio is fitted with an ISO connection. Please check before installation if the necessary electrical connections in the dashboard are provided by a corresponding ISO plug. If that is not the case, you can purchase such a plug in a car accessories store. The wiring of the plug is printed on the respective cable sections. -
Page 7: Here We Go
Here we go! Please remove the First loosen the two screws from the upper casing. Now you can push the installation frame backward and remove it from the device Insert the installation frame into the installation hole in the Push the metal links in the upper and lower part of the installation frame outward, so that the installation frame is secured tightly in the installation hole. -
Page 8: Dismounting
You should also fasten the car radio from behind, if possible. Please refer to the illustrations Dashboard After the installation is completed, re-attach the Dismounting If you once should want to dismount the device, please follow these instructions: 1. Pull off the black plastic frame. You might need some strain to do so. -
Page 9: Contents
The control elements 1. PWR 2. FUNCTION Select Button 3. VOL UP/VOL DOWN Button - Controls for Bass/Treble/Balance/Fader/DSP/Initial 4. 1,2,3,4,5,6 5. AF Button 6. TA Button 7. PTY Button 8. DISPLAY/RECORD DISP Button (DISP/REC.) 9. MODE Button 10. BAND/ENTER Button TUNE/TRACK 12. -
Page 10: General Operation
General operation Switching the radio on / off Press the PWR button with the car ignition turned on to switch on the device. The buttons now light up in blue and you can read Welcome in the display, which quickly disappears. Then the radio frequency is displayed. -
Page 11: Radio Mode
Radio mode When switching it on the device runs in the radio mode. To switch to radio mode from other operation modes, push the MODE button so many times until a frequency or the name of a radio station is shown in the What is RDS? RDS (Radio Data System) is a system for transmission of additional information with the FM radio programme transmitted in many European countries. -
Page 12: Saving Radio Stations
Saving radio stations Saving radio stations manually If you want to call up your favourite radio stations by station buttons you will have to save them first. You can save Since the device only has 6 station buttons, the FM band is divided into FM1 / FM2 / FM3 (3 x 6 = 18). -
Page 13: Af - Alternative Frequencies
AF - Alternative frequencies Press the AF button to turn ON/OFF alternative frequencies. When AF/REG switching mode is selected, the radio checks the signal strength of the AF all the time. When pressed long, it is activated as regional mode ON/OFF. –... -
Page 14: Cd Mode
CD mode Take an audio CD or an MP3 disc you have compiled with your computer and insert it carefully printed side up into the disc slot. As soon as you have inserted the disc to approximately half of its diameter, the device will start to transport the disc, automatically switch to CD mode and start to play the disc. -
Page 15: Differences In The Mp3 Mode
Differences in the MP3 mode 10 TRACK DOWN/UP M5: 10 Track down / M6: 10 Track up Searching by Track • Press AS/PS, then searching track is activated. First digit will blink. • Press • Press SEL button to confirm. Second digit will blink for selection. •... -
Page 16: Recording Operations
Recording operations The unit allows recording and stores it in the build in flash MP3 player. CD MODE: 1. Select the desired track and play. 2. Press and hold REC• button. Choose between ‘NAND ONE TRACK’ or ‘NAND ALL TRACK’ recording by pressing REC• button. NAND ONE TRACK –... -
Page 17: Locations Of Parts And Controls (Flash Mp3)
Installing Driver (for Windows 98 only) You need to install the MP3 flash player driver for Windows 98 system before connecting it to the computer. This unit includes a driver support disc for Windows 98. Open and follow the readme.txt file on how to install the driver. Charging Battery This MP3 flash player comes with a built-in battery. -
Page 18: Play Operations
Play operations: 1. POWER ON/OFF POWER ON - Press and hold 2 sec. POWER OFF - Press and hold STOP over 4 seconds to turn off the unit. 2. START PLAYBACK Press button to start playing the track. 3. FAST TRACKING While the track is being played, press and hold REW or FF for fast backward or fast-forward play of the track. -
Page 19: Fm Operations
11. GENERAL SETTINGS a. In [PLAY MODE], press and hold MENU. With FF/REW, choose ‘SETTING’. Press MENU again to enter. b. Press FF/REW and choose between the following: CONTRAST – sets the contrast of the display. BACKLIGHT – sets how many seconds the backlight will turn off IDLE SHUTDOWN –... -
Page 20: Enter Record Mode
Enter record mode Press MENU, With REW/FF button, press and select [RECORD]. Press MENU once more to confirm. 1. Recording by MIC Make sure unit is in STOP (standby) mode and no cable connected to LINE-IN. a. In [RECORD MODE], press and hold MENU. With FF/REW, choose ‘RECORDING INPUT’. -
Page 21: Technical Specification
Technical specification CD/MP3 PLAYER SECTION Signal to Noise Ratio Channel Separation Frequency Response TUNER (FM) Frequency Range Intermediate Frequency Sensitivity Stereo Separation Signal to Noise Ratio Channel Step TUNER (MW) Frequency Range Intermediate Frequency Usable Sensitivity LINE-OUT Output Impedance GENERAL Power Supply Speaker Impedance Output Power... - Page 24 We reserve the right to correct errors and make technical alterations. This manual is copyrighted. All rights reserved. Neither the manual as a whole nor excerpts may be reproduced without our prior written permission. © 2006 Copyright DK digital GmbH 40878 Ratingen Germany www.dk-digital.com...
Need help?
Do you have a question about the DCR-M6000 and is the answer not in the manual?
Questions and answers