Advertisement
Quick Links
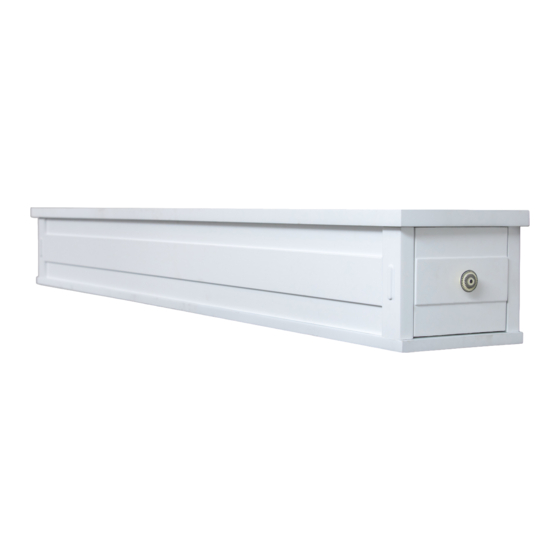
Mantel Kit Assembly And Installation
CALIFORNIA PROPOSITION 65 WARNING:
This product can expose you to chemicals including formaldehyde, which is
known to the State of California to cause cancer, birth defects and/or other
reproductive harm. For more information, go to www.P65warnings.ca.gov
MODEL: ASHDRMK-W
United States Stove Company
PO Box 151, 227 Industrial Park Rd.,
South Pittsburg, TN 37380
PH: (800) 750-2723
www.usstove.com
Caution! The appliance is very heavy. The
assistance from a second person is strongly
suggested. Please use proper lifting technique
when positioning the appliance for assembly
and installation.
853605
Advertisement

Related Manuals for Ashley ASHDRMK-W

Summary of Contents for Ashley ASHDRMK-W
- Page 1 Mantel Kit Assembly And Installation MODEL: ASHDRMK-W Caution! The appliance is very heavy. The CALIFORNIA PROPOSITION 65 WARNING: assistance from a second person is strongly This product can expose you to chemicals including formaldehyde, which is suggested. Please use proper lifting technique...
-
Page 2: Hardware List
Parts List And Hardware NOTE: PREVENT DAMAGING THE MANTLE BY PLACING IT ON A SOFT SURFACE DURING ASSEMBLY. Please check that you have all the contents shown before starting the assembly. HARDWARE LIST PARTS LIST NAME FIGURE NAME FIGURE CAM LOCKS TOP MANTEL (Φ15x12mm) CAM BOLTS... - Page 3 Assembly Instructions 1. Attach the (#11) drawer front, (#15) drawer back, (#13) left side, (#12) right side and (#14) bottom drawer panels together as shown using eight wood screws (F). Repeat the steps to assemble the second drawer. X 16 2.
- Page 4 4. Use two wood dowels (C) to connect the (#5) left and (#6) right support board to the (#7) rear bottom strip, then attach the assembled rear bottom strip to the (#4) bottom board using eight cam locks (A) and eight cam bolts (B).
- Page 5 7. Attach two (a) slides to the (#2) front sideboard using six wood screws (J) as shown. 8. Attach the (#9) middle support board to the (#4) bottom board using two cam locks (A) and two cam bolts (B). 9. Attach the (#3) rear upper strip to the (#1) top mantel using five wood screws (L), then attach the assembled top mantel to the previously assembled bottom board using ten cam locks (A) and ten cam bolts (B).
- Page 6 10. Align the (b) slide with the (a) slide and push the drawers into the floating shelving body as shown. 11. Draw a straight (LINE 1) on the wall where you want to mount the mantel. Measure 2-3/8” below (LINE 1) and draw a second straight line (LINE 2).
- Page 7 Limited Warranty The use of this mantel in a manner inconsistent with the owner’s manual will void the warranty. United States Stove Company warrants this product to be free from defects in material and workmanship, to the original retail purchaser only, for the time period identified below, measured from the date of the initial purchase as evidenced on an invoice, canceled check, sales receipt, etc., to receipt of a claim by United States Stove Company (“USSC”) or an authorized dealer, as follows: TIME PERIOD...
- Page 8 DISCLAIMED UNDER APPLICABLE LAW. ALL OTHER WARRANTIES OF ANY KIND, INCLUDING WITHOUT LIMITATION IMPLIED WARRANTIES OF MERCHANTABILITY AND FITNESS FOR A PARTICULAR PURPOSE, ARE HEREBY DISCLAIMED AND EXCLUDED TO THE FULLEST EXTENT NOT PROHIBITED BY APPLICABLE LAW. This Limited Warranty gives the purchaser specific legal rights;...
Need help?
Do you have a question about the ASHDRMK-W and is the answer not in the manual?
Questions and answers