Advertisement
Quick Links
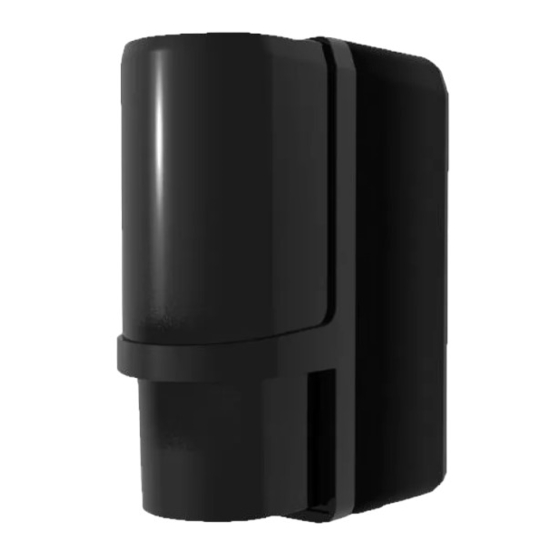
The JA-180IR optical barrier is designed for the indication of a
breach into a protected area by crossing the IR line between the
transmitter and the receiver. The barrier is a product by Optex
supplemented with transmitters compatible with OASiS systems, this
being both in the transmitting and receiving part of the barrier. The
device power supply is ensured by high-capacity lithium batteries. The
signal indicating that a transmitter and receiver battery is low is
transmitted to the control panel. The barrier occupies two enrollment
positions in the system. Barrier activation is reported by the receiving
part of the barrier (the position where its radio transmitter is enrolled in
the system). Both parts of the barrier can send a tamper signal to the
control panel. The transmitters regularly perform automatic tests and
report their status to the system.
Barrier installation
The following instructions should be observed when selecting a
place for barrier installation:
Both units must be installed onto a stationary construction (e.g. a wall
or a thick post) at the same height and should face each other.
The area between the barrier units must not be blocked by any
bushes or tall grass.
There can be up to a 60 m distance between the units.
The receiver unit must not be affected by direct sunlight.
The units should be installed 0.7 – 1 m above the ground.
If the IR beam is parallel to a wall, there must be at least a 1 m
distance between the beam and the wall.
If multiple barriers are used, their IR beams should not interfere with
each other.
Fig. 1 Undesirable locations
Installation steps:
The transmitting unit (marked TRANSMITER) and the receiving unit
(marked RECEIVER) are of identical mechanical construction.
Cover
Optical part
Cover screw
Rear part screw
Fig 2 Barrier parts (identical for transmitter and receiver)
1. Unscrew the rear part screws and remove the unit bases.
2.
Install the bases onto the selected places, either directly on a
surface (wall) – in such a case punch two holes through the base
– or onto a post 43 – 48 mm in diameter using the supplied clips
and clips.
3.
When installing the base, always check whether the rubber tamper
contact pin is functional.
M3 x 8
Supports
Screws
Fig. 3 Preparation for installation onto a post
JA-180IR wireless optical barrier
JA-180IR wireless optical barrier
Rear part
Base
Punch holes
Clip
M4 x 30
Screws
4. Enroll the transmitters into the system – see below.
5. Perform optical adjustment and unit transmitter setting.
6. Screw the upper covers back in and test the barrier functioning.
Enrolling the barrier transmitters
into the system
The transmitters for wireless communication are located in the rear
part underneath the optical section. The barrier occupies two
enrollment positions in the system. Barrier activation is reported by the
receiving part of the barrier (the position where its radio transmitter is
enrolled in the system). Both parts of the barrier can send a tamper
signal to the control panel.
Always use two SAFT LSH20 lithium batteries to power the
barriers (they are included in the package). The batteries should be
inserted very carefully to avoid damage to the transmitter wiring. When
the first battery has been installed, the transmitter sends a signal
which enrolls it to the control panel (the control panel must be in
enrollment mode at that time – see the manual). Use switch no. 2 to
set the required system reaction to movement (ON = instant or OFF =
delayed). Switch no. 1 should be left in the OFF position
Switch 1
ON
PULSE*
1
ON
STATUS
1
Vcc
Switch 2
TMP
ON
DELAYED
INP
2
ON
GND
ISTANT
2
set PULSE
*
interconnection
to a detector
Fig 4 Radio transmitter (identical for transmitter and receiver)
Setting up the optical part of the barrier
The optical part of the barrier must be adjusted so that the optical
parts facing each other are physically aligned. Both units are equipped
with adjusting elements for the adjustment of direction and a view-
finder for precise adjustment. The unit opposite the one you want to
adjust must be in the centre of the aiming cross and the cross must be
in the centre of the view-finder.
viewfinder
View through
the view-finder
Fig. 5 Setting up the optical part
When the setting is complete, it is followed by adjustment of the
receiver unit:
Fig. 6 setting up using a multimeter
1 /2
rear tamper
connector
battery not
used
LED
incorrect
correct
Connect a voltmeter to the ter-
minals and select the 0-10V range.
Watch the LED on the right
MKU54000
Advertisement

Summary of Contents for jablotron JA-180IR
- Page 1 JA-180IR wireless optical barrier The JA-180IR optical barrier is designed for the indication of a 4. Enroll the transmitters into the system – see below. breach into a protected area by crossing the IR line between the 5. Perform optical adjustment and unit transmitter setting.
- Page 2 1 to 4. This setting is useful are running low, it informs the system. The detector remains fully only for a combination of multiple JA-180IR barriers where a problem functional. The batteries should be replaced as soon as possible with interference might appear.
