
Summary of Contents for Hanover 9711041
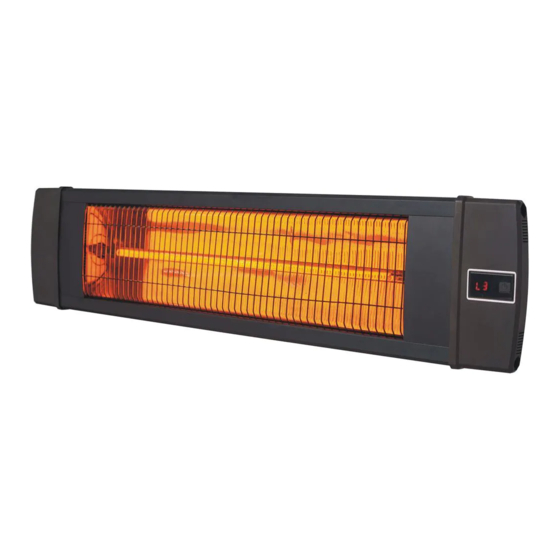
- Page 1 CARBON INFRARED HEATER Model No.: 9711041 ASSEMBLY & OPERATING INSTRUCTIONS Please read carefully and save these instructions...
- Page 2 Warning THESE INSTRUCTIONS SHOULD BE READ CAREFULLY AND RETAINED FOR FUTURE REFERENCE. The supplier will not be liable for any damages caused by failure to follow these instructions. IMPORTANT SAFETY INSTRUCTIONS PLEASE READ CAREFULLY - The infrared heater is designed for safe operation. Nevertheless, installation, maintenance and operation of the heater can be dangerous.
- Page 3 16. ALWAYS allow heating element to cool at least 10 minutes before touching any part of the heater. 17. Do not use near or in the immediate vicinity of a bath or swimming pool or any source of water. Never immerse unit, cord or plug in water or any other liquid. 18.
- Page 4 INSTALLATION Tools required (not provided): Pencil Hammer Level Screw Driver Power Drill and drill bits A wall/ceiling mounting bracket is provided with the heater which has been specifically designed to allow this product to be fitted to a wall or ceiling. Before drilling the holders, confirm that the wall is solid and that there are no hidden water pipes or electric wires.
- Page 5 Wall Installation: Maximum Angle Minimum Angle Ceiling Installation:...
- Page 6 Wall / Ceiling Mounting: To install the plastic anchors into the wall, use a drill to place a hole in the wall. Using the hammer, tap the plastic anchor into the wall until it is flush. Cord Positioning: The cord side of the heater should face downward when installed vertically or on an incline. Correct Installation Incorrect Installation Installation with stand:...
- Page 7 4. LEVEL BUTTON: Press the level button to adjust the 3 heat levels (L1, L2, L3) by pressing up and down buttons to increase or decrease the heating level. 5. TIMER BUTTON: To set the timer from 0-9, which is the number of hours it will run. T0 will display and then adjust to the number of hours you would like to set, using the up and down buttons.
- Page 8 3. The only maintenance required is cleaning of the external surfaces of the heater. 4. Do not touch the heating element with bare fingers, as residue from your hand could affect the life of the lamp. If it is accidentally touched, remove the finger marks with a soft cloth moistened with mentholated spirit or alcohol.
Need help?
Do you have a question about the 9711041 and is the answer not in the manual?
Questions and answers