Daikin RZAG71M7V1B Installation Manual
Sky air alpha-series
Hide thumbs
Also See for RZAG71M7V1B:
- Technical data manual (53 pages) ,
- Installer's reference manual (36 pages) ,
- Installation manual (20 pages)

Related Manuals for Daikin RZAG71M7V1B


Summary of Contents for Daikin RZAG71M7V1B
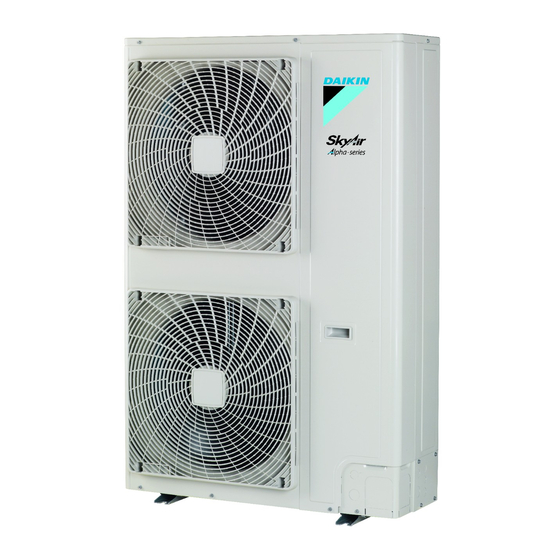
- Page 1 Installation manual Sky Air Alpha-series RZAG71M7V1B RZAG100M7V1B RZAG125M7V1B RZAG140M7V1B RZAG71M7Y1B RZAG100M7Y1B Installation manual RZAG125M7Y1B English Sky Air Alpha-series RZAG140M7Y1B...
- Page 2 (mm) — ≥100 A, B, C — ≥100 ≥100 ≥100 B, E — ≥100 ≥1000 ≤500 A, B, C, E — ≥150 ≥150 ≥150 ≥1000 ≤500 — ≥500 D, E — ≥500 ≥1000 ≤500 B, D — ≥100 ≥500 B, D, E <H ≤½H ≥250...
- Page 3 2P472847-1...
- Page 4 2P472847-1...
-
Page 5: Table Of Contents
About the refrigerant ........... Daikin website (publicly accessible). 4.4.3 To determine the additional refrigerant amount ..10 ▪ The full set of latest technical data is available on the Daikin 4.4.4 To determine the complete recharge amount ..... 10 extranet (authentication required). -
Page 6: Preparation
3 Preparation NOTICE Preparation Fix the outdoor unit to the foundation bolts using nuts with resin washers (a). If the coating on the fastening area is Preparing installation site stripped off, the nuts rust easily. WARNING The appliance shall be stored in a room without continuously operating ignition sources (example: open 4.1.2 To install the outdoor unit... -
Page 7: To Prevent The Outdoor Unit From Falling Over
4 Installation ▪ Drill (a, 4×) and remove the knockout hole (b). 4× Ø6 mm ▪ Cut out the slits (c) with a metal saw. 4× Ø6 mm 2 Remove the burrs, and paint the edges and areas around the edges using repair paint to prevent rusting. -
Page 8: Checking The Refrigerant Piping
4 Installation NOTICE NOTICE Do not block the air vents. This could affect air circulation Make sure to use a recommended bubble test solution inside the unit. from your wholesaler. Do not use soap water, which may cause cracking of flare nuts (soap water may contain salt, which absorbs moisture that will freeze when the piping gets cold), and/or lead to corrosion of flared joints (soap water may contain ammonia which causes a corrosive... -
Page 9: About The Refrigerant
4 Installation Charging additional refrigerant Before charging additional refrigerant, make sure the outdoor unit's external refrigerant piping is checked (leak test, vacuum drying). INFORMATION Depending on the units and/or the installation conditions, it might be necessary to connect electrical wiring before you can charge refrigerant. -
Page 10: To Determine The Additional Refrigerant Amount
4 Installation WARNING Then G1>40 m Use the table below to determine The refrigerant inside the unit is mildly flammable, but R1 (length=G1−40 m) and R2 normally does not leak. If the refrigerant leaks in the room (length=G2). and comes in contact with fire from a burner, a heater, or a cooker, this may result in fire, or the formation of a harmful G1≤40 m R1=0.0 kg. -
Page 11: Charging Refrigerant: Setup
4 Installation To determine the complete recharge amount (kg) (in case of 3 When 2–28 is reached, press the BS3 button once. size‑up liquid pipe size) 4 Change the setting to '1' by pressing the BS2 button once . Model Length (m) 5 Push the BS3 button once 3~15... -
Page 12: Connecting The Electrical Wiring
4 Installation NOTICE 4.5.1 About electrical compliance In Europe, the greenhouse gas emissions of the total RZAG71~140M7V1B refrigerant charge in the system (expressed as tonnes Equipment complying with EN/IEC 61000‑3‑12 (European/ -equivalent) is used to determine the maintenance International Technical Standard setting the limits for harmonic intervals. -
Page 13: Finishing The Outdoor Unit Installation
4 Installation Routing through Choose one of the 3 possibilities: 1~50 Hz 3N~50 Hz the frame 220-240 V 380-415 V L1 L2 L3 L1 L2 L3 a Power supply cable b Interconnection cable Connecting to the When cables are routed from the unit, a frame protection sleeve for the conduits (PG insertions) can be inserted at the knockout... -
Page 14: To Check The Insulation Resistance Of The Compressor
5 Commissioning 4.6.2 To check the insulation resistance of the There are NO refrigerant leaks. compressor The correct pipe size is installed and the pipes are NOTICE properly insulated. The stop valves (gas and liquid) on the outdoor unit are If, after installation, refrigerant accumulates in the fully open. -
Page 15: Error Codes When Performing A Test Run
6 Disposal Action Result Error code Possible cause Press. Test Operation is Nothing displayed ▪ The wiring is disconnected or there is a displayed on the home wiring error (between power supply and (the currently set menu. outdoor unit, between outdoor unit and temperature is not indoor units, between indoor unit and displayed) -
Page 16: Technical Data
7 Technical data Technical data A subset of the latest technical data is available on the regional Daikin website (publicly accessible). The full set of latest technical data is available on the Daikin extranet (authentication required). Overview: Technical data This chapter contains information about: •... -
Page 17: Piping Diagram: Outdoor Unit
7 Technical data Piping diagram: Outdoor unit Heat sink (PCB) Capillary tube Electronic expansion valve 4‑way valve High pressure switch Low pressure switch Compressor accumulator Heat exchanger Compressor Charge port / Service port (with 5/16" flare) Distributor Stop valve Liquid receiver Filter Check valve Flare connection... - Page 18 7 Technical data Printed circuit board (noise filter) L*, L*A, L*B, NA, NB, Connector E*, U, V, W, X*A BS1~BS3 (A1P) Push button switch (A1P~A2P) C1~C5 (A1P) (Y1 Capacitor only) DS1 (A1P) Dipswitch Bottom plate heater (option) Fuse HAP (A1P) Light-emitting diode (service monitor is green) K1M, K3M (A1P) (Y1...
- Page 20 4P485927-1 0000000X 4P485927-1 2017.04...
Need help?
Do you have a question about the RZAG71M7V1B and is the answer not in the manual?
Questions and answers