Table of Contents
Advertisement
Quick Links
Advertisement
Table of Contents

Related Manuals for BCP SKY2970

Summary of Contents for BCP SKY2970
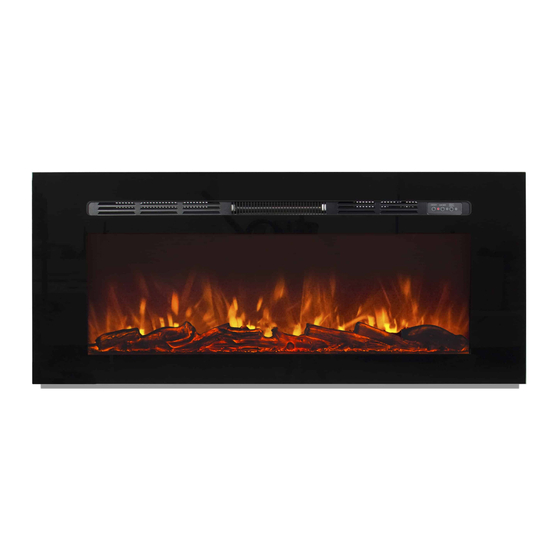
- Page 1 INSTRUCTION MANUAL Wall-Mounted or In-Wall Electric Fireplace SKY2970 Ver. 2...
- Page 2 Thank you for choosing us! Since 2002, Best Choice Products has been bringing customers high-quality products at the absolute lowest price. With everything ranging from instruments and toys to furniture and outdoor, we’ve got your everyday living essentials covered. We’re centered around a customer-first philosophy –...
-
Page 3: Specifications
SAFETY Please retain these instructions for future reference. The following safety hazards may result in serious injury or death: • Please retain these instructions for future reference. • Please read through all instructions before mounting and using this fireplace. • This product should be wall-mounted at least 1 ft. -
Page 4: Tools Required
TOOLS REQUIRED 1 PERSON APPROXIMATELY PHILLIPS ASSEMBLY 45 MIN. 2 PERSON APPROXIMATELY SCREWDRIVER ELECTRIC DRILL #6 DRILL BIT 45LY ASSEMBLY 45 MIN. ASSEMBLY HARDWARE 6 PCS 6 PCS 6 PCS 2 PCS PARTS WALL-MOUNTING HEATER REMOTE CONTROL BRACKET 1 PC 1 PC 1 PC CRYSTAL STONES... - Page 5 TOOLS REQUIRED WALL MOUNT ASSEMBLY • Mark the location where the screws will go on the wall. NOTE: Do not a x this appliance at a height lower than 1 ft. from the floor (at least 2 ft. recommended), or higher than 3.5 ft. from the ceiling. •...
- Page 6 TOOLS REQUIRED IN-WALL ASSEMBLY Unscrew the tempered glass from part B heater. Gently push glass up and slide it o the lugs that hold it onto the fireplace. WALL Insert 6 part 3 wall anchors into the drilled holes. Place fireplace into wall and secure it with six part 2 screws.
- Page 7 IN-WALL ASSEMBLY Align the tempered glass over the front of the unit. Make WALL sure the slots in the bracket on the sides of the glass panel align with the lugs on the side of the heater. Carefully lower the tempered glass onto the lugs and secure it to the heater with the screws that was...
- Page 8 INSTALLING CRYSTAL STONES Remove plastic film lamination from part E. Slide part 4 platform brackets onto part E white platform. Install the part E white platform using the same screws from carbon log (one on each side) and four part 1 screws to base of heater. Arrange the part D crystal stones on the part E white platform.
-
Page 9: Control Panel
INSTALLING CRYSTAL STONES Replace glass and secure again with the two screws that was previously removed. HEATER/FIREPLACE OPERATION • This appliance has a safety-cut o that will engage if the fireplace overheats. The fireplace will NOT automatically reset for safety reasons. To reset the appliance, unplug the unit for 15 minutes and then plug it back in. -
Page 10: Remote Control Operation
REMOTE CONTROL OPERATION The remote has a 3V CR2025 lithium cell battery included. Remove the slip between the battery and contacts before operating the remote. ON/OFF DIMMER HEAT DIMMER: Adjust dimmer settings HEAT: Adjust heat settings REPLACING BATTERIES RELEASE • Press the release and slide open the back panel of the remote. - Page 11 WARNINGS REGARDING BATTERIES • Do not mix alkaline, standard (carbon zinc) and rechargeable (nickel hydride) batteries. • Do not mix old and new batteries. • Non-rechargeable batteries should not be charged. • Rechargeable batteries should be charged under adult supervision only. •...
-
Page 12: Product Warranty Information
ASSEMBLY IS COMPLETE! PRODUCT WARRANTY INFORMATION All items can be returned for any reason within 60 days of the receipt and will receive a full refund as long as the item is returned in its original product packaging and all accessories from its original shipment are included. All returned items will receive a full refund back to the original payment method.
Need help?
Do you have a question about the SKY2970 and is the answer not in the manual?
Questions and answers