Table of Contents
Advertisement
Quick Links
Advertisement
Table of Contents

Summary of Contents for ViaSat VS-R11
- Page 1 USER MANUAL VS-R11 GPS Watch...
-
Page 2: Table Of Contents
Contents Introduction ..............................3 Appearance and interface ..........................4 Appearance ............................... 4 Interface ..............................5 How to use the watch ........................... 5 Install the APP and register user account ....................5 Watch set-up ............................. 6 Using the APP ..............................7 Locating the watch ............................ -
Page 3: Introduction
Introduction GPS Phone Watch R11 is designed for people protection. It comes in color black but it can be customized on request for specific order quantities. It is water resistant and used for real-time tracking, emergency alarm (SOS button), safe zone alarm, voice message, and two way voice communication. -
Page 4: Appearance And Interface
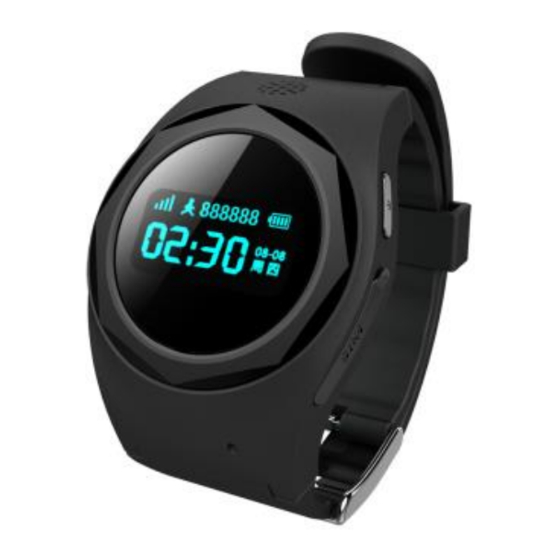
Appearance and interface Appearance Fig 3. Appearance ON/SOS key – multiple functions: ▪ Power on the watch, long press ▪ If shortly pressed return to the previous interface or hang up the call (while in call) ▪ Pressed for more than 3 seconds, it will trigger SOS alarm and call the emergency phone number set from mobile APP ... -
Page 5: Interface
Interface Fig 4. Interface How to use the watch Install the APP and register user account Please access to www.viasatsystems.ro to download the APP on your mobile or look for MyRope in App Store or Google Play. After the APP is installed on mobile phone, use your phone number or email address to register as new user of the APP. -
Page 6: Watch Set-Up
Fig 5. First screen Fig 6. Registration step 1 After registering the user account, it will auto-redirect the interface to watch adding page. From this page please scan the QR code available on the back of the watch or enter CID number (you can find the CID number by continuously press “Function”... -
Page 7: Using The App
Insert the SIM card in the slot with chipset upwards as shown in aside figure, when the watch is powered off. Fig 8. SIM card installation Using the APP If you want to add more watches to the APP, please click the icon located at the right side of top banner, when you are in main page of the APP. -
Page 8: Historical Location Playback
The watch will continuously upload the GPS location every minute while moving, and switch to battery saving mode when standing still. If you want to know the most recent location and not wait for automatic position update, please click “Loc” button available in the left side of the lower bar in APP main screen. The watch will report the current position immediately. -
Page 9: Calling The Watch
Fig 10. Time period selection Fig 11. Tracking playback Calling the watch To call the watch, please click “Dial” button located in the lower bar of main screen (please note that only the phone numbers from family list can make calls to the watch). The user of watch can answer the call by pressing shortly the “Function”... -
Page 10: Message Center
You can associate an image, phone number, and other detailed information of the watch user in the section described below. Clicking the icon marked with red in fig 13 will open the data insertion section Fig 13. Fig 13 Watch settings area Fig 13 Watch user details Message center There are two types of notifications (messages):... -
Page 11: Fence List
2. System messages – contains notifications about who registered the watch on their mobiles Fig 15 System messages Fence list From the APP you can set maximum 10 safe zones for notifications. The safe zones are locations for which you like to know if the watch is leaving or entering. You can create a zone by clicking on the predefined types available in the APP already (School or Home) or by clicking from the blue bar above map. -
Page 12: Family List
After setting the location on map, tap “Settings” and there you enter in the menu where you can add: • Geofence name – location name • Watch list – the watches for which you want to receive notifications • Track route – if you want to receive notifications for entering, exiting or both By clicking done in above screen the Fence location will be saved. -
Page 13: Watch Settings
Watch settings Fig 19 Watch settings (administrator options) Fig 20 Watch settings (default user options) Remote watch turn off After inserting the SIM card, the watch cannot be turned off by clicking the ON/SOS button, only administrators can switch it off from the APP remotely. Tracking mode There are two different modes for location monitoring: Precision mode and Manual mode Precision mode –... - Page 14 Mute By default, the watch will ring when receiving a call or voice message, the mute option can be used if you wish to deactivate the default setting. From this menu you can set periods when the watch needs to be on “mute”.
- Page 15 Watch tracking If you misplace the watch, use this function to make the watch ring until you click any key on the watch (find it). Please consider that for this function, the watch must be in a GSM covered area. End call In case the watch user is in a phone conversation and you need to get in contact urgently, you can send the command “end call”...
Need help?
Do you have a question about the VS-R11 and is the answer not in the manual?
Questions and answers