Table of Contents
Advertisement
Quick Links
Advertisement
Table of Contents

Summary of Contents for Panasonic CV-CPW201L
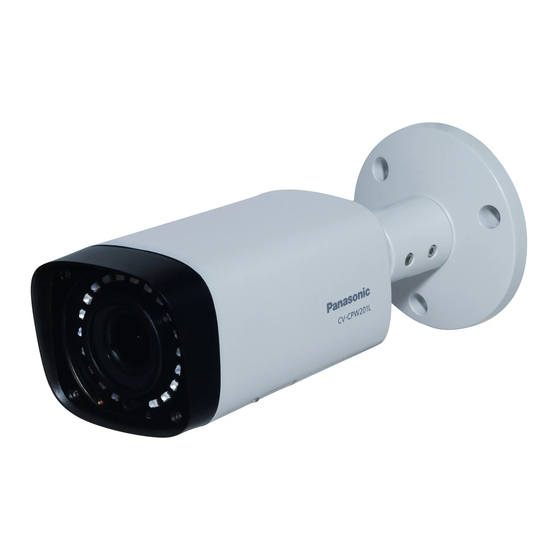
- Page 1 HD Analog Camera User’s Manual CV-CPW201L Model No. Version 1.0.0...
-
Page 2: Table Of Contents
Table of Contents General Introduction ........................1 Overview ........................1 Features ......................... 1 Specifications ........................ 2 Device Framework ........................3 Installation............................ 5 Menu ............................. 7 Settings .......................... 7 Menu Operation ......................7... - Page 3 Welcome Thank you for purchasing our HD analog camera! This user’s manual is designed to be a reference tool for your system. Please read the following safeguard and warnings carefully before you use this series product! Please keep this user’s manual well for future reference!
- Page 4 Important Safeguards and Warnings 1.Electrical safety All installation and operation here should conform to your local electrical safety codes. The power shall conform to the requirement in the SELV (Safety Extra Low Voltage) and the Limited power source is rated DC 12V in the IEC60950-1. (Power supply requirement is subject to the device label).
- Page 5 Warning Please use the standard accessories provided by manufacturer and make sure the device is installed and fixed by professional engineers. Please prevent the device surface from the radiation of laser beam when using laser beam device. Please do not provide two or more power supply modes for the device, otherwise it may cause damage to the device.
-
Page 6: General Introduction
1 General Introduction 1.1 Overview This series HD analog camera conforms to the HDCVI standard. It supports video signal high-speed long distance transmission without any delay. It can be controlled by the DVR conforming to the HDCVI. 1.2 Features High-performance CMOS image sensor. -
Page 7: Specifications
1.3 Specifications Parameter CV-CPW201L Camera Image Sensor 1/2.9" 2.0 Mega Pixels CMOS Effective Pixels 1936 (H) x 1097 (V) Min Illumination 0.02Lux/ F1.4, 0Lux IR on PAL : 1/25s~1/100,000s Electronic Shutter NTSC: 1/30s~1/100,000s PAL : 25fps Video Frame Rate* NTSC: 30fps... -
Page 8: Device Framework
2 Device Framework Please refer to the following figures for dimension information. The unit is mm. Figure 2-1 Figure 2-2... - Page 9 Figure 2-3...
-
Page 10: Installation
3 Installation Important Before the installation, please make sure the installation surface can sustain at least 3X weight of the bracket and the camera. Figure 3-1 Step 1 Take out the camera cable through cable exit of the bracket chassis and install camera bracket. - Page 11 Figure 3-2 Step 3 Connect the video output port of the device cable to the terminal encode devices, and connect the power port of the device cable to the power. Step 4 After the image is shown on the proper monitor area, open the lower cover of the camera and adjust lens focal length by focus/zoom lever to make the image clear and secure the lever.
-
Page 12: Menu
4 Menu This is only applicable for Philippines. 4.1 Settings After connected the camera to the HDCVI series DVR, from MAIN MENU->GENERAL- >PAN/TILT/ZOOM, you need to select the channel number for access and set control mode as HDCVI and the protocol as HD-CVI. Click “Save” button to save current setup. See Figure 4-1. Figure 4-1 4.2 Menu Operation Click the right mouse button and select “PAN/TILT/ZOOM”, then you will see the... - Page 13 Figure 4-3 See Sheet 4-1 for the details of button functions. Button Function Open menu Select menu item 、 Select menu value 、 Sheet 4-1 If there is “ ”, click the “Confirm” button in “Menu Operation” interface to go to the 2nd menu. Click “Return”...
Need help?
Do you have a question about the CV-CPW201L and is the answer not in the manual?
Questions and answers