Table of Contents
Advertisement
Quick Links
WARNING: If the information in these
instructions is not followed exactly, a fire
or explosion may result causing property
damage, personal injury or death.
Do not store or use gasoline or other
flammable vapors and liquids in the
vicinity of this or any other appliance.
WHAT TO DO IF YOU SMELL GAS:
•
Do not try to light any appliance.
•
Do not touch any electrical switch; do
not use any phone in your building.
•
Immediately call your gas supplier
from a neighbor's phone. Follow the
gas supplier's instructions.
•
If you cannot reach your gas supplier,
call the fire department.
Installation and service must be
performed by a
service agency or the gas supplier.
Thank you for buying this energy efficient water heater.
We appreciate your confidence in our products.
ALL TECHNICAL AND WARRANTY QUESTIONS: SHOULD BE DIRECTED TO THE LOCAL DEALER FROM WHOM THE WATER HEATER WAS
PURCHASED. IF YOU ARE UNSUCCESSFUL, CALL THE TECHNICAL SUPPORT PHONE NUMBER SHOWN ON THE WATER HEATER LABELING.
PRINTED 0117
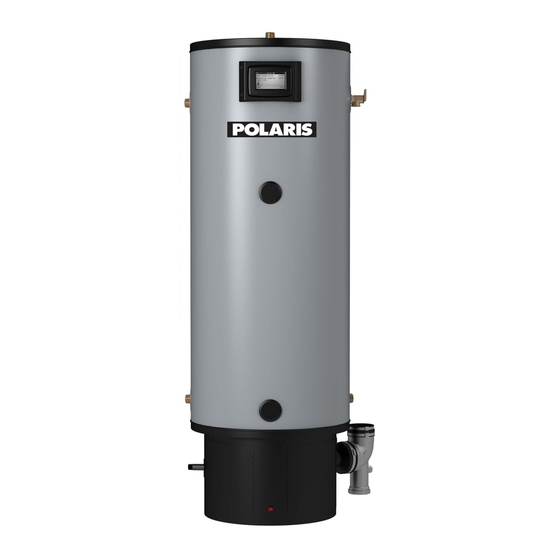
RESIDENTIAL GAS WATER HEATERS
LOW LEAD
CONTENT
qualified
installer,
KEEP THIS MANUAL IN THE POCKET ON HEATER FOR FUTURE REFERENCE
WHENEVER MAINTENANCE ADJUSTMENT OR SERVICE IS REQUIRED.
Instruction Manual
POWER DIRECT VENT GAS MODELS
•
For Your Safety
AN ODORANT IS ADDED TO THE GAS USED
BY THIS WATER HEATER.
1
WITH DIRECT SPARK IGNITION
MODELS
PG10/GHX/GSP/GTP
Series 200, 201
NATURAL GAS & PROPANE
•
100277191
Advertisement
Table of Contents

Need help?
Do you have a question about the PG10 and is the answer not in the manual?
Questions and answers