Advertisement
Quick Links
Advertisement

Related Manuals for Maisi M20

Summary of Contents for Maisi M20
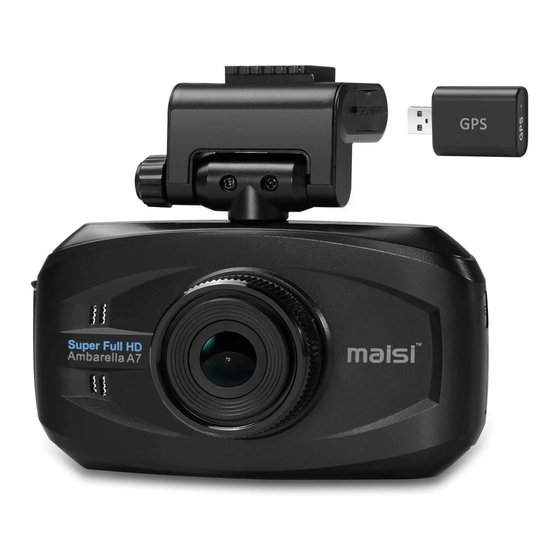
- Page 1 QUICK START GUIDE Maisi Camcorder M20...
- Page 2 PRIOR TO USE * Install the device near the rear-view mirror to obtain the best open-field view. Do NOT install the camcorder in a location that will obstruct your required driving view. * Make sure that the lens is within the wiping range of the windscreen wiper to ensure a clear view even when it rains.
- Page 3 1 Introduction Thank you for purchasing this MAISI camcorder. This camcorder is specifically designed for real time video and audio recording when driving. 1.1 Features * High Dynamic Range Imaging (HDR) * HD Image 2304*1296 * Up to 170 Degree Wide Angle Glass Lens & IR-Filter...
- Page 4 1.3 Product Overview ⑯ Button Illustration Number Button Name Button Illustration 1. Long press to enable/disable Microphone while recording ① OK/MIC button 2. Press to stop/start recording; take a picture; start/stop playback Press to bring up the Record/Picture/Preview/ ② Menu button System menu;...
- Page 5 When the camcorder is recording, this indicator will ⑨ Recording Indicator blink blue light. When the GPS dongle is inserted, this indicator will ⑩ GPS Indicator show constant green light. ⑪ Microphone Enable to record audio ⑫ Lens Fixed camera lens ⑬...
- Page 6 by the camcorder, this icon will show up. Otherwise it will be a “X”. Indicating the sensitivity of the G-sensor you set. ④ G-Sensor The higher the blue color stands, the more sensitive it is. This icon shows up only when motion detection is ⑤...
-
Page 7: Getting Started
2 Getting Started 2.1 Inserting the Memory Card Insert the memory card with the gold contacts facing the back of the camcorder. Push the memory card until it clicks into place. To remove the memory card Push to eject the memory card out of the slot. Note: 1. - Page 8 2.3 Connecting to Power Use only the supplied car charger to power up the camcorder and charge the built-in battery. 1. Connect one end of the car charger to the USB connector of the camcorder. USB port input: DC 5V / 1A. 2.
- Page 9 3 To Use the Device as a Video Recorder In Recording Mode, this icon will show up on the top left corner of the screen, when camcorder is recording, the red dot is blinking on top left corner and the Recording indicator on left is blinking blue.
- Page 10 [On/Off] When it is ON, model number/speed/plate number/date/time (preset) Date Stamp Setting will be shown at the right bottom corner of the screen and will appear on the recording files. [On / Off] ADAS stands for Advanced Driver Assistance Systems, which including: Lane-Departure-Warning-System: lane-changing...
- Page 11 [NTSC/PAL] System Mode Please set to PAL when you are in UK. Driver ID Setting Set up the plate number for the car Time Setup Set up the date and time display for the recording Format To format your SD card Default Setting To turn the camcorder to factory default settings [Off/1 min/3 min/5 min]...
- Page 12 4 To Use the Camera for Taking Pictures ONLY 4.1 Enter Picture Mode If you want to use the camera to take pictures only (not record), then you can change it to the Picture Mode. To enter the Picture Mode, press Mode button (left button) to change. In Picture Mode, you can see a camera icon like this located to the top left corner of the screen.
- Page 13 5 Accessing, Playback and Delete Files 5.1 Enter Preview Mode To enter Preview Mode, in recording mode, please press OK button to stop recording first, then press Mode button for twice. 5.2 Enter Menu for Preview Mode To access the menus for Picture Mode, press the Menu button once when you are in Preview Mode.
- Page 14 √ You can choose and press OK to confirm the action. 2) If you choose <Delete all files> and press OK to confirm. You should see this: Delete all files? – √ √ You can choose and press OK to confirm the action. Note: If a file is locked (protected), you will not be able to delete it on the camcorder, but you can delete it on your computer.
-
Page 15: Specifications
6 Specifications Items Technical specification Image Sensor Maximum Display Resolution 2304×1296 30P Storage Media Support Micro SDHC, up to 32GB class 10 or above 3.0” LCD color TFT LCD Display Lens 170-Degree Fixed Focus lens Focus Range 0.5m~Infinity Ae Bias -2.0~2.0EV Resolution: [2560x1080@30P 21:9, 2304x1296@30P 16:9, Video... -
Page 16: Frequently Asked Questions (Faqs)
7 Frequently Asked Questions (FAQs) Why won’t the camera auto-start? * Make sure if the power cable goes DC IN port on the top of the camcorder (not the USB port on the right side of the device) * Check if the Record Mode Setting is set to <Auto>. * It could be the car charger design. - Page 17 I cannot get to the settings menu? Make sure the camera is not recording (you can press OK button to stop recording) and press the Menu button (top right one) to bring up the Record/Picture/Preview Mode Menu. Press Menu button again to bring up the System Menu. What is “Loop Recording”? All of our dash cams are currently utilizing the loop recording system.
Need help?
Do you have a question about the M20 and is the answer not in the manual?
Questions and answers