
Summary of Contents for Onvif IPMV3FI
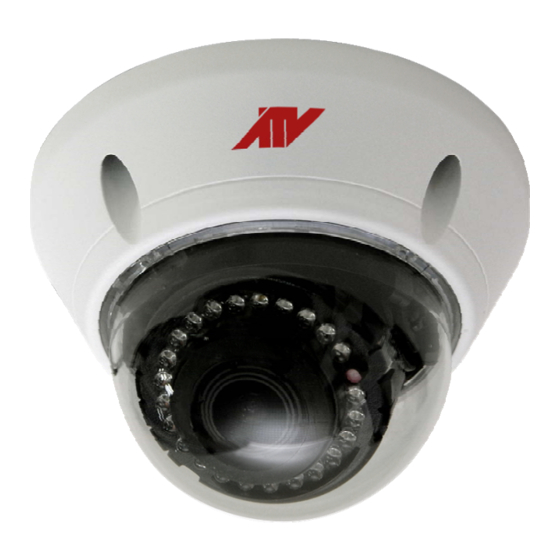
- Page 1 INSTALLATION MANUAL 3MP Mini Vandal DOME CAMERA: IPMV3FI Please read this manual thoroughly before use, and keep it handy for future reference. 1114...
- Page 2 WARNING TO REDUCE THE RISK OF FIRE OR ELECTRIC SHOCK, DO NOT EX- POSE THIS PRODUCT TO RAIN OR MOISTURE. DO NOT INSERT ANY METALLIC OBJECT THROUGH THE VENTILATION GRILLS OR OTHER OPENNINGS ON THE EQUIPMENT. CAUTION CAUTION RISK OF ELECTRIC SHOCK DO NOT OPEN WARNING: TO REDUCE THE RISK OF ELECTRIC SHOCK, DO NOT REMOVE COVER (OR BACK).
- Page 3 FCC COMPLIANCE STATEMENT This device complies with Part 15 of the FCC Rules. Operation is subject to the following two conditions: (1) this device may not cause harmful inter- ference, and (2) this device must accept any interference received, including interference that may cause undesired operation.
- Page 4 IMPORTANT SAFETY INSTRUCTIONS 1. Read these instructions. 2. Keep these instructions. 3. Heed all warnings. 4. Follow all instructions. 5. Do not use this apparatus near water. 6. Clean only with dry cloth. 7. Do not block any ventilation openings, Install in accordance with the manufacturers in- structions.
-
Page 5: Table Of Contents
Contents 1 Introduction 1.1 Components ........1.2 Key Features . -
Page 6: Introduction
1 Introduction This installation manual applies to the IPMV3FI network camera. The network camera is fully featured for security surveillance and remote monitoring needs. It is based on the DSP compression chip, and makes it available on the network as real-time, full frame rate Motion JPEG and H.264 video streams. -
Page 7: Key Features
This is a global interface standard that makes it easier for end users, integrators, con- sultants, and manufacturers to take advantage of the possibilities offered by network video technology. ONVIF enables interoperability between different vendor products, increased flexibility, reduced cost, and future-proof systems. -
Page 8: Installation
2 Installation For the operation of the Network Camera, it is necessary to connect a network cable for data transmission, power connection from supplied power adapter. Depending on operation methods, it is possible to connect an alarm cable additionally. For its fixation on different locations, please consult with an installer. - Page 9 • Installing Camera Carefully remove the contents from the box, and verity that nothing was damaged in ship- ment. 1. Mark the screw hole positions on the ceiling or wall surface using the Template Sheet. 2. Disassemble the camera by removing the dome cover. 3.
-
Page 10: Connection
2.2 Connection • Micro SD memory card insertion Remove the bubble of the camera to insert the SD memory card. SD memory card • Connecting to the RJ-45 Connect a standard RJ-45 cable to the network port of the network camera. Generally a cross-over cable is used for directly connection to PC, while a direct cable is used for connection to a hub. -
Page 11: Resetting To The Factory Default Settings
2.3 Resetting to the factory default settings To reset the network camera to the original factory settings, go to the Setup > System > Maintenance web page (described in “System > Maintenance” of User’s Manual) or use the Reset button on the network camera, as described below. Reset Button •... -
Page 12: A Appendix
A Appendix Product Specification 3MP VCA VP DOME NETWORK CAMERA Model Network Camera Lens Fixed-focal 3.7mm, F2.5 Angle of View Type 1/2.8” Sony Exmor CMOS Image Sensor Pixels 2048(H) x 1536(V) Color: 0.2 Lux @ F2.5 Min. Illumination B/W: 0 Lux @ F2.5 Scanning Mode Progressive Scan Wide Dynamic Range... - Page 13 UPnP, RTP, RTSP,RTCP, DHCP, ARP, Zeroconf, Bonjour Client Software Web, Smart Manager, Client S/W, Mobile S/W Max. User Connection Live : 10 Users, Playback : 3 Users API Support Open API, ONVIF Compliance Network Mobile Support Android, i-OS Audio 1 Input, 1 Output (Terminal Block)
- Page 14 3MP Mini Vandal DOME CAMERA: IPMV3FI Rev.A...
Need help?
Do you have a question about the IPMV3FI and is the answer not in the manual?
Questions and answers