Table of Contents
Advertisement
Advertisement
Table of Contents

Subscribe to Our Youtube Channel
Summary of Contents for Dura Vac CVQ810PF
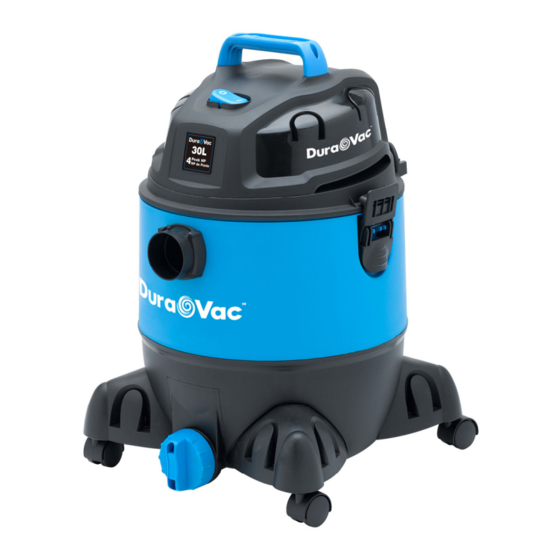
- Page 1 Wet/Dry Vacuum Operator’s Manual 30 Liter Model No. CVQ810PF FOR YOUR SAFETY Read and understand this manual before use Keep this manual for future reference www.duravac.ca Cleva North America 44 Parkway Commons Greer, SC 29650 USA Part No. VQ71BZ.20.60.01...
-
Page 2: Table Of Contents
FOR YOUR SAFETY CAREFULLY READ AND UNDERSTAND ALL INSTRUCTIONS WARRANTY We takes pride in producing a high quality, durable product. This Dura Vac™ product carries a limited two (2) year warranty against defects in workmanship and materials from date of purchase under normal household use. -
Page 3: Safety Instructions And Warnings
Safety is a combination of common sense, staying alert and knowing how your vacuum works. Use this Wet/Dry Vac only as described in this manual. To reduce the risk of personal injury or damage to your Wet/Dry Vac, use only Dura Vac™ recommended accessories. Household Type SAVE THIS MANUAL FOR FUTURE REFERENCE. -
Page 4: Double Insulation Instructions
DOUBLE INSULATION INSTRUCTIONS This Wet/Dry Vac is double-insulated, eliminating the need for a separate grounding system. Use only identical replacements parts. Read the instructions for Servicing Double-Insulated Wet/Dry Vacs before servicing. Use this Wet/Dry Vac as described in this manual. Observe the following warnings that appear on the motor housing of your Wet/Dry Vac. -
Page 5: Unpacking And Checking Carton Contents
UNPACKING AND CHECKING CARTON CONTENTS Remove entire contents of carton. Check each item against the carton contents list. Carton Contents List Description……………………..…….…QTY Vac Assembly……………...…….. Hose ……………………………..Floor Brush/Squeegee………..… 2-In-1 Utility Nozzle……….…..… Crevice Tool…………………...…. Extension Wands..………..Cartridge Filter ......Filter Retainer………………...….. Foam Sleeve Filter…………….. -
Page 6: General Assembly Instructions
GENERAL ASSEMBLY INSTRUCTIONS A Philips head screwdriver is required for assembly. WARNING : DO NOT PLUG IN POWER CORD TO POWER OUTLET, MAKE SURE PLUG IS DISCONNECTED BEFORE ASSEMBLING THE WET/DRY VAC UNPACKING YOUR WET/DRY VACUUM & GENERAL ASSEMBLY 1. Verify that the power cord is disconnected from the outlet. (fig.1) 2. -
Page 7: Dry Vacuum Operation
POLARIZED PLUG To reduce the risk of electrical shock, this appliance has a double polarized plug (one with the blade wider than the other). This plug will fit in a polarized outlet only one way. If the plug does not fit fully in the outlet, reverse the plug. -
Page 8: Wet Vacuum Operation
6. Plug in the power cord into the outlet. (fig.7) 7. Turn the motor on by flipping the switch to the ‘I’ ON position. (fig.8) 8. Once you have completed vacuuming, flip the switch to the ‘O’ OFF position and unplug the power cord from the outlet. -
Page 9: Blowing Operation
REMEMBER! The foam filter must be removed after wet vacuuming, and a cartridge filter must be installed before dry vacuuming again. BLOWING OPERATION This Wet/Dry Vac has blowing capabilities. To use the blower feature follow the instructions listed. WARNING: ALWAYS WEAR SAFETY GOGGLES COMPLYING WITH ANSI Z87.1 (OR IN CANADA, CSAZ94.3) BEFORE USING BLOWER. -
Page 10: Maintenance
MAINTENANCE WARNING : DO NOT PLUG IN POWER CORD TO POWER OUTLET. MAKE SURE PLUG IS DISCONNECTED BEFORE CHANGING AND CLEANING FILTERS. 1. Verify that the power cord is disconnected from the outlet. (fig.1) 2. Disconnect the hose from the vacuum, turning large end in counter clockwise direction. (fig.2) 3. -
Page 11: Installing & Cleaning Foam Sleeve Filter
Removing and Cleaning Cartridge Filter 1. Unlock and remove the filter retainer by tuning retainer handle counter clockwise. 2. Carefully hold and pull the cartridge filter up for removal. (fig.6) 3. Clean the cartridge filter by gently tapping or brushing dirt off. Cleaning should not be done indoors in living areas. -
Page 12: Exploded View And Parts List
PARTS LIST -EXPLODED VIEW...
Need help?
Do you have a question about the CVQ810PF and is the answer not in the manual?
Questions and answers