Advertisement
Quick Links
Advertisement

Subscribe to Our Youtube Channel
Summary of Contents for Sencor SDF 871
- Page 1 SDF 871 Digital Photo Frame Instruction Manual...
-
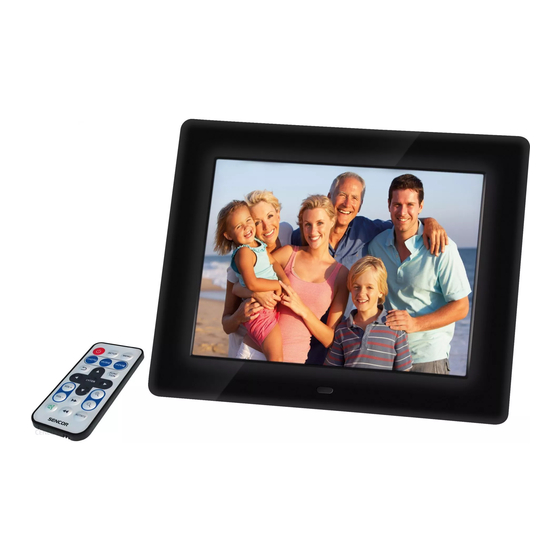
Page 2: Package Contents
Safety: Thank you for purchasing this Digital Photo Frame. Before using the unit, please read this manual thoroughly, and retain it for future reference. This manual will help you use many of the useful features that will make using your Digital Photo Frame viewing more enjoyable. - Page 3 Quick Start Guide 1. Getting started: Checking the appearance: 2. Understanding interface and on-board buttons: 1. Power On/Off; 2. Previous / Next; 3. Turn volume up / down; 5. Menu 3. Installing: Open the package and remove the protective sleeve from the unit. Screw in the stand to the stand screw hole on the back of the photo frame, Adjust the frame position for vertical or horizontal placement, Plug in the AC adapter into power outlet.
- Page 4 4. Understanding the remote: 1, Power on/off 2, Setup 3, Menu 4, Photo mode 5, Music mode; 6, Movie mode; 7, Return to previous menu; 8, Go up, go to the previous sub-menu; 9, Function Key: special functions*** 10,Left 11, Enter, confirm selection, play/pause function 12,Right 13, vol+ 14, Go down;...
- Page 5 Press “ left/right ” keys on the frame or remote to select the function mode you need, there are 5 function icons including Picture playback, Music playback, Movie playback, Calendar, Setup. The selected icon will be highlighted. Press “ENTER” on the remote to start the selected function.
- Page 6 Figure 4: thumbnail mode Figure 5: thumbnail settings 5.2 Music Playback Figure 6: music play mode Select “Music” from the main menu as Figure 1 and press “Enter” to start music playback (Figure 6), Use Up/Down buttons to select music files to play, the music player at right will play the selected music file (highlighted) at left.
- Page 7 5.3 Video Playback Figure 7: video play mode Figure 8:video preview mode Video playback operations are very similar to those of music playback, in video play mode as shown in Figure 7, press “ ” to go to preview mode as shown in Return to previous menu;...
- Page 8 of the setting are displayed. The values of the selected function (middle column) are highlighted in white. Use "Up" and "Down" buttons to set the desired value and confirm your setup by pressing "Enter". To get back into the individual columns, press the button "Left". They move back one step. Here are some categories and settings: 5.5.1 General Setup Figure 11: select your own Language...
- Page 9 5.5.2 Display Setting Figure 14: Configure LCD brightness, contract, color saturation and backlight In the LCD setting you can change the brightness, chroma and contrast of the LCD screen. Press Up/Down button to selection and press Right button to enter it. Finally confirm your setting by Enter.
- Page 10 Figure 18: Auto power setting You can not only set up the power on/off time for the frame, but also set up the Auto power types including Disable, Once, Everyday, Weekday, Weekend . 5.5.5 Device Setting Figure 19: Device settings In the Device setting, you can do some basic file operation, firmware upgrade as well as factory default reset.
- Page 11 Figure 20: a tick icon displays on the screen Copy/Move/Delete the video: Select move on the remote control and enter it and press the button of “Return to previous menu” to the video preview mode and press “Return to previous menu” again to selection video.(as Figure 20).
- Page 12 6.Trouble-shooting: Symptom Cause Corrective Actions Digital Picture Frame The POWER connector to Make sure you connect the AC doesn’t power on the unit is not securely adapter to the frame properly and inserted. make sure you have powered on the unit by using the On/Off button.
Need help?
Do you have a question about the SDF 871 and is the answer not in the manual?
Questions and answers