
Subscribe to Our Youtube Channel
Related Manuals for Cadac EAZI CHEF 8200


Summary of Contents for Cadac EAZI CHEF 8200
- Page 1 EAZI CHEF MODELS 8200, 8210, 8220, 8230, 8240, 8250, 8260 0063 BQ5588 IMPORTANT Read these instructions carefully so as to familiarise yourself with the appliance before use. Retain these instructions for future reference...
- Page 2 100H Gas supply sources: An approved hose and regulator connected to: A refillable gas container not exceeding 11kg and complying with local regulation in force CA 445 Cadac or equivalent EN 417 compliant disposable cartridge Country name abbrevitions AT = Austria...
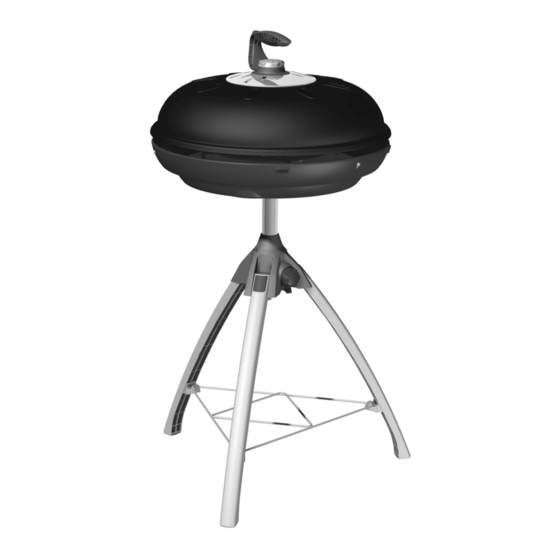
- Page 3 BBQ Cover 8626 accessory for the BBQ or as a replacement part.) 3. Introduction The CADAC Eazi Chef offers six different methods of cooking depending on the specific model purchased. The six cooking options are: Ÿ The Skottel BBQ: (I1) Used for wok-style cooking of stir-fries, pasta, rice dishes or traditional breakfasts.
- Page 5 Model 8240 Model 8260 Model 8250...
-
Page 6: Safety Information
Should the Heat Shield (Z), Fat Pan (B) or Burner Pan (D) become damaged in such a way that permanent contact between the Heat Shield and the Fat Pan (B) occurs during use, do not use the appliance. Return it to your Cadac stockist for repair. -
Page 7: Exploded View
5. EXPLODED VIEW Fig. 2 PARTS LIST A. BBQ Lid J1. BBQ Lid Handle R1. German Fitting B. Fat Pan J2. Handle Screw Cap R2. Valve Tailpiece C. Inspection Hole K1. BBQ Lid Handle Bracket Inner R3. Valve Tailpiece Denmark D. - Page 8 6. Assembly Instructions Ÿ Note: The hose and regulator are not supplied. For details contact your local stockist. Before use it is necessary to assemble the legs. (Please refer to figures 3) Ÿ 1. Ensure that the locking pins are securely fitted. (These may have been pre-assembled in the factory) (Fig. 3a) 2.
- Page 9 I 3B/P (30) and I 3+ (28-30/37) Appliance categories: Ÿ (DK, FI, NO, NL, SE, AT, DE, BE, ES, FR, IE, IT, PT, GB, CH) Fit the Valve Tailpiece (R2) onto the Valve (O) (Fig.4a) by screwing it on in an anti- clockwise direction.
- Page 10 Check that all the connections are securely fitted and re-check with soapy water. If you cannot rectify the gas leak, do not use the appliance. Contact your local CADAC stockist for assistance. Ÿ When changing a gas container, firstly close the container valve (if fitted) and then turn the Control Knob (L) clockwise to its stop position.
- Page 11 9. Lighting the Appliance Precautions to observe before lighting. Ÿ After prolonged storage, inspect the Base plate air holes (M1) for insects such as spiders, which could affect gas flow. If there is any evidence of insects / nests, the Base Plate must be removed and any foreign material cleaned out. After checking, re-fit all components into the prescribed position.
-
Page 12: General Maintenance
10.General Maintenance Ÿ This appliance does not require scheduled maintenance. Replacing a Blocked Jet: Ÿ Your Eazi Chef is fitted with a specific size jet (Q) to regulate the correct amount of gas. Should the hole in the Jet (Q) become blocked, this may result in a small flame or no flame at all. Do not attempt to clean the Jet (Q) with Ÿ... - Page 13 Ÿ Always allow the unit to cool down before packing any part into its bag. Your CADAC Eazi Chef is supplied with a variety of Carry Bags that offer portability and allow you to conveniently store all components Ÿ included with your model within the supplied bags. The bags included with your model are as indicated in Table 2.
Need help?
Do you have a question about the EAZI CHEF 8200 and is the answer not in the manual?
Questions and answers