Table of Contents
Advertisement
Quick Links
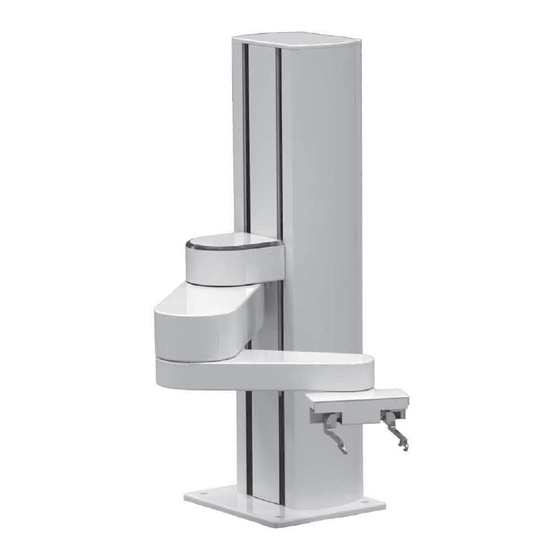
The PF400 and PF3400 Robots
Hardware Reference Manual
Version 5.04, August 9, 2017
Precise Automation Inc., 727 Filip Road, Los Altos, California 94024
www.preciseautomation.com
Advertisement
Table of Contents


Need help?
Do you have a question about the PF400 and is the answer not in the manual?
Questions and answers