Advertisement
Table of Contents
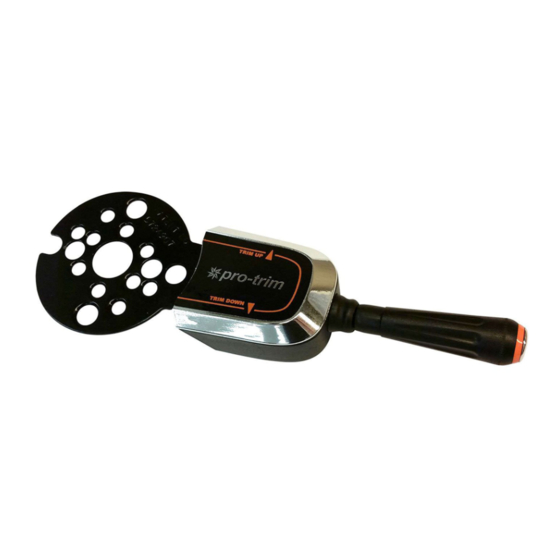
These Instructions describe how to replace the toggle switch in the PROTRIM® Single or Dual Bezel Switch
Performance Tilt and Sea Star® Hydraulic Helms.
Step 1. Remove the plastic cover of the switch
with boot (counterclockwise). Then remove the
face nut, and then the plastic cover (see parts
list diagram, Figure 1).
Step 2. Remove the hex nut holding the switch
in place. Remove switch. Disconnect wires and
reattach to new switch one at a time (red to
center terminal, green to top and blue to
bottom terminal).
©2013 Marine Acquisition (US) Inc.
Manual # IS-CA76431-1
Step 3. Mount switch with hex nut.
Step 4. Reinstall the cover, face nut, and
operation lever with boot on the switch
assembly.
Advertisement
Table of Contents

Subscribe to Our Youtube Channel
Summary of Contents for Seastar Solutions pro-trim PT1000
- Page 1 Manual # IS-CA76431-1 These Instructions describe how to replace the toggle switch in the PROTRIM® Single or Dual Bezel Switch Performance Tilt and Sea Star® Hydraulic Helms. Step 1. Remove the plastic cover of the switch Step 3. Mount switch with hex nut. with boot (counterclockwise).
- Page 2 TESTING THE INSTALLATION Test ProTrim™to make sure it performs properly and the engine moves in the direction you expect when the switch is activated in either direction. Pushing the lever up should make the engine move upward. Pushing the lever down should make the engine move down. A test of the original trim switches should also be done at this time.
Need help?
Do you have a question about the pro-trim PT1000 and is the answer not in the manual?
Questions and answers