Advertisement
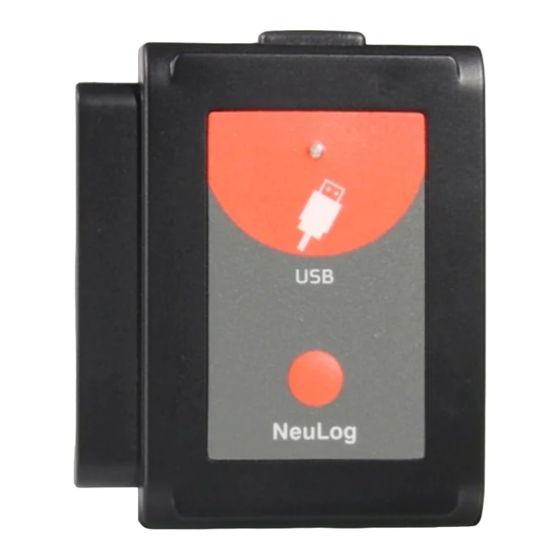
NeuLog USB module
USB-200
The NeuLog USB module is the easiest way to connect the whole NeuLog sensor line
and RF module, to any computer with a USB port.
The USB module acts as a bridge between the sensors and your computer's hardware
by both translating incoming data from the sensors and by providing power to the
sensors.
Connection to computers is done through a standard USB to mini USB cable included
in the package. The only requirement is for the computer to have a USB port.
Using the NeuLog USB module:
As with all NeuLog devices, using the USB module is very quick and easy.
Materials needed:
USB module (USB-200)
Any NeuLog sensor
Free NeuLog browser based application
The browser based application can be downloaded for free at
well as a full application user guide.
Choose "Downloads" on the main menu and then choose "Software and Application".
USB usage with sensors:
Using the USB module with any NeuLog sensor (up to 20) plugged directly into it is
the easiest and most straightforward way to collect data.
1.
Download the completely free NeuLog application from
described in the "materials needed" section above.
2.
Connect the micro USB end of the included cable into the USB module.
3.
Connect the regular USB end of the included cable into any open USB port on
the smart device.
4.
Connect any NeuLog sensor (up to 20) for the experiment directly into the left
side of the USB module. No cables are required to plug modules and sensors
together. They plug directly into each other.
5.
Open the NeuLog application (i.e the NeuLog icon on your desktop). The
application will run through your default internet browser (Chrome, Mozilla,
Safari, etc.) though you don't need to have an active internet connection.
6.
The application will automatically detect all connected sensors. If you wish to
connect more sensors you can simply click the "Search for Sensors" button after
doing so.
7.
You can begin collecting data!
USB with RF modules:
Using NeuLog RF modules with a USB module and sensors provides a much more
flexible system in which students can collect data around their lab bench while
wirelessly streaming data in realtime to the NeuLog application at their workstation.
Once you have paired two RF communication modules to the same RF ID number (1
through 9) you can begin connecting Neulog modules and sensors together. It may
be easiest to imagine the RF communication modules as a long cable between the
sensor and the USB module.
8.
Connect the USB module into a computer using the included USB to mini USB
cable.
9.
Connect one of the paired RF modules to the left side of the USB module.
10.
Separately, connect the second RF module into the left side of a charged battery
module. Note: press and hold the button on the front of the battery module: if a
www.NeuLog.com
as
light comes on, than the battery has sufficient power. If no light comes on, than
you must charge the battery some more.
11.
Connect whichever sensors you wish to use into the left side of the second RF
module (which is connected into the battery).
experiments with up to 5 NeuLog sensors using the RF modules.
12.
Open the NeuLog application (i.e the Neulog logo on your desktop) and
automatically begin searching for sensors.
13.
Once your sensors are detected you are ready to begin collecting data
www.NeuLog.com
as
wirelessly!
NEULOG USB MODULE GUIDE
Note: You can conduct
Advertisement
Table of Contents

Related Manuals for NeuLog USB-200


Summary of Contents for NeuLog USB-200
- Page 1 5 NeuLog sensors using the RF modules. Open the NeuLog application (i.e the Neulog logo on your desktop) and Using the USB module with any NeuLog sensor (up to 20) plugged directly into it is the easiest and most straightforward way to collect data.
- Page 2 USB at off-line mode: Thank you for using NeuLog! Using the USB module with several NeuLog sensors plugged directly into it can also be used with off-line mode. The USB module and the Neulog application are used to determine the off-line experiment parameters.
Need help?
Do you have a question about the USB-200 and is the answer not in the manual?
Questions and answers