
Related Manuals for OPTRONIC FSU201

Summary of Contents for OPTRONIC FSU201
- Page 1 FSU201 Replacement for OPTRONIC CRT Monitors Unteregger Strasse 53 CH-9403 Goldach...
- Page 2 Reproduction of this document or any part thereof is forbidden. Using this manual without being authorized to do so by OPTRONIC AG for anything other than personal purposes is an infringement of copyright.
-
Page 3: Table Of Contents
FSU201 Table of Contents 1 Introduction ______________________________________________________ 4 2 Device Assembly _________________________________________________ 4 3 Concept _________________________________________________________ 5 4 Video Signal/Video Cable___________________________________________ 5 5 Buttons _________________________________________________________ 5 6 On Screen Menu __________________________________________________ 6 7 Changing Configuration Settings ____________________________________ 7 7.1 Show or Hide Version Information (Show Version ON/OFF)___________________ 7 7.2 Store Configuration ____________________________________________________ 7... -
Page 4: Introduction
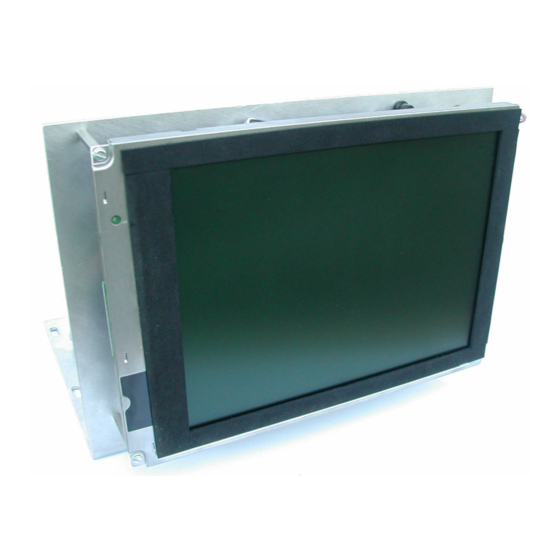
The Flat Screen Unit FSU201 serves as replacement for OPTRONIC CRT Monitors. OPTRONIC AG delivers the FSU201 pre-configured for your application. Hence, the FSU201 simply must be built in and connected. It may be that the image shown on the flat screen is not fully satisfying. In this case, all necessary adjustments can be easily done by use of buttons on the back side of the device. -
Page 5: Concept
FSU201 3 Concept The FSU201 analyzes the supplied video signal, and, if possible, assigns it to an internally stored con- figuration. If the shown picture is not considered satisfactory, a number of parameters can be adjusted. All changes done can be stored nonvolatile. -
Page 6: On Screen Menu
The On Screen Menu can be activated by pressing button Select. If no active video source is con- nected, the reduced menu in Illustration 6 is shown. If the FSU201 has detected a video signal, the full menu in Illustration 5 is shown. The full menu offers additional functions that are only useful if a video signal is present. -
Page 7: Changing Configuration Settings
FSU201 7 Changing Configuration Settings The following sub-chapters describe the modifications of the configuration that can be done by use of the On Screen Menu. 7.1 Show or Hide Version Information (Show Version ON/OFF) A window containing version information can be activated by use of main menu entry „Show Version ON/OFF“. -
Page 8: Adjust Horizontally (Adjust Offset X)
FSU201 7.5 Adjust Horizontally (Adjust Offset X) The shown image can be horizontally shifted by use of main menu entry „Adjust Offset X“. Move the star to this entry and activate the function by pressing button Select. Now, the horizontal image position can be changed by use of the buttons Up/Left/- and Down/Right/+. -
Page 9: Trouble Shooting
For shielding, the ground wire (pin 1 (GND) on the video connector) must be used. Check if the shielding is correct at the video source and the FSU201. The image flickers continuously, contours Adjust the image sampling phase. are shown blotted, a bright vertical bar is visible. - Page 10 FSU201 List Of Modifications Date Reason 16.03.2010 Total number of pages corrected. 07.08.2012 Modified due to changed buttons and new power supply. +5V added to video connector. Edition of FSU201.411 07.08.2012 Version 1.2 Page 10 of 10...
Need help?
Do you have a question about the FSU201 and is the answer not in the manual?
Questions and answers