Advertisement
Congratulations on the purchase of your Electronica 400 series lathe kit. This article addresses how to
program and recall Tool Offsets.
You must first program your tool offset values into the EL400. Once programmed, all remain in memory.
As workpieces are changed out, only the first tool must be "re-indexed" to regain the new workpiece zero
point, which automatically re-indexes the remaining tools.
Before starting tool offset, make sure the cross slide scale is connected to the X axis port, and the x axis
is in diameter mode. There should be a red circle with a slash mark to the right of the x axis window,
indicating it's initialized to diameter mode.
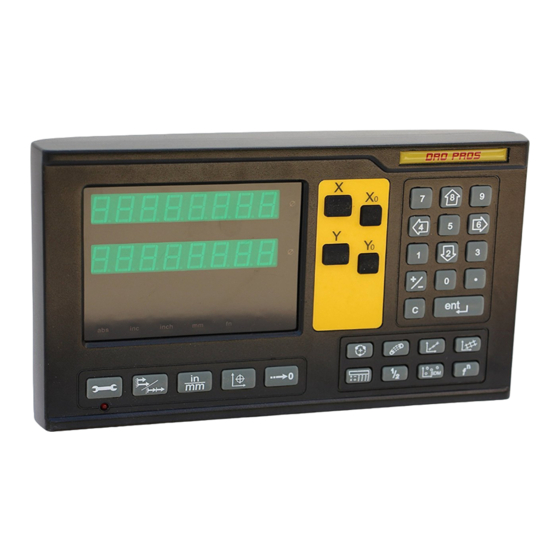
1. To enter the Tool Offset program mode, push the tool offset button. It's the top left of the eight function
buttons and says "off" with a picture of a cutting tool tip. Note that "tools" should light on the bottom of the
display window in red. The x axis display window will read "tooLS", then switch to
automatically.
2. Push the
"ent"
key once. The x axis display window will read
read "0".
3. Push the
"1"
key, followed by the
4. Install tool 1 on your quickchange toolpost.
5. Take an initial cut along the side of your workpiece.
Important: Do not back away from the part using the X axis – it's okay to run off the end of the part in the
Z axis, but do not back away, or move the X axis, in any way.
6. Now stop the lathe, and measure the part diameter.
7. Press the
"X"
axis key, and enter the diameter of the part via the numeric keypad.
8. Push the
"ent"
key once. The x axis display window should read the diameter you've entered.
9. Take a facing cut on the end of the part.
Important: Do not back away from the part using the Z axis – it's okay to run off the end of the part in the
X axis, but do not back away, or move the Z axis, in any way.
10. Press the
"Z"
axis key, followed by the
"000.0000".
11. To program another tool offset, move the tool away from the part, and swap tools to tool #2. Don't be
concerned when the display doesn't change values, this is normal. Push the
The x axis display window will read
followed by the
"ent"
key to begin programming tool number two.
12. Repeat steps 5 through 11 to program additional tools.
The following step must be completed exactly or your programming will be lost:
13. When you're done programming tool offsets, press the
1. To enter Tool Offset run mode, push the tool offset button. The x axis display window will read
"tooLS", then switch to
2. Push the
"6"
key once. The x axis display window will read "rUn".
3. Push the
"ent"
key once. The x axis display window will read
read "0".
Electronica EL400 Tool Offset
Programming Tool Offset:
"ent"
key to begin programming tool number one.
"ent"
"tooL
no", and the y axis window will read "0". Push the
Tool Offset Run Mode
"ProGrAM"
automatically.
"tooL
no", and the z axis window will
key once. The Z axis display window should read
"6"
key, followed by the
"tooL
no", and the z axis window will
"ProGrAM"
"6"
key (right arrow) once.
"2"
key,
"C"
key.
Advertisement
Table of Contents

Summary of Contents for DRO PROS EL400
- Page 1 Tool Offsets. You must first program your tool offset values into the EL400. Once programmed, all remain in memory. As workpieces are changed out, only the first tool must be “re-indexed” to regain the new workpiece zero point, which automatically re-indexes the remaining tools.
- Page 2 “ent” key once. The Z axis display window should read “000.0000”. 11. Press the “6” key, followed by the “C” key. Congratulations, you’ve now re-indexed all of your tool presets! Congratulations, you’re finished! DRO PROS...
Need help?
Do you have a question about the EL400 and is the answer not in the manual?
Questions and answers