Table of Contents
Advertisement
Advertisement
Table of Contents

Related Manuals for Hypertec CIARA Horizon 8175

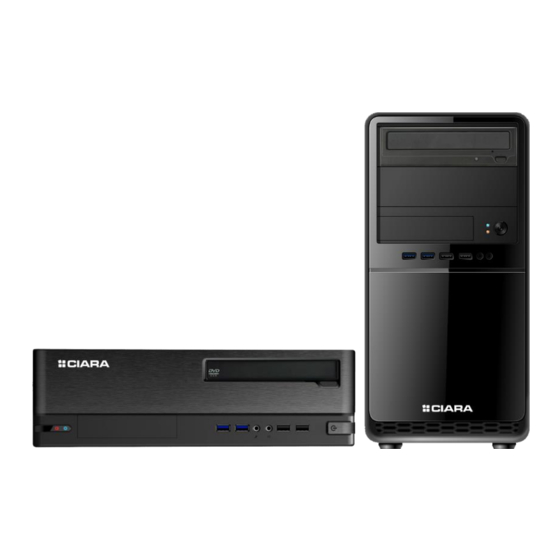
Summary of Contents for Hypertec CIARA Horizon 8175
-
Page 2: Table Of Contents
CIARA Horizon 8175 / 8275 disassembly guide .................... 3 Casing ..............................4 1.1. Horizon 8175 casing and FPIO ...................... 4 1.2. Horizon 8275 casing and FPIO ...................... 4 Casing fan............................... 5 2.1. Horizon 8175 casing fan ......................5 2.2. -
Page 3: Ciara Horizon 8175 / 8275 Disassembly Guide
2- Remove all data (which will remove all user data but it will keep the OS) Just about every part of the CIARA Horizon 8175 / 8275 is recyclable. This guide will show you how to disassemble the following various parts in order to bring them to a recycler: 1. -
Page 4: Casing
1. Casing 1.1. Horizon 8175 casing and FPIO Recyclable, ROHS compliant, ABS bezel and SGCC metal sheet To remove the FPIO, unscrew theses 2 screws, then unplug all cables. 1.2. Horizon 8275 casing and FPIO Recyclable, ROHS compliant, ABS bezel and SGCC metal sheet To remove the FPIO, unscrew theses 2 screws, then unplug all cables. -
Page 5: Casing Fan
2.0 Casing fan 2.1 Horizon 8175 casing fan To remove the casing fan, remove the bezel, then unscrew these 4 screws. 2.2 Horizon 8275 casing fan To remove the casing fan, unscrew these 4 screws. Page 5 of 14... -
Page 6: Power Supply
3. Power supply 3.1. Horizon 8175 power supply To remove the power supply, unscrew theses 3 screws, then unplug all cables. 3.2. Horizon 8275 power supply To remove the power supply, unscrew theses 4 screws, then unplug all cables. Page 6 of 14... -
Page 7: Motherboard
4. Motherboard 4.1. Horizon 8175 motherboard To remove the motherboard, unscrew theses 8 screws. 4.2. Horizon 8275 motherboard To remove the motherboard, unscrew theses 8 screws. Page 7 of 14... - Page 8 4a. Motherboard battery The motherboard battery requires selective treatment per EU WEEE Directive Annex VII. Page 8 of 14...
-
Page 9: Hard Disk Drive And Ssd
5. Hard disk drive and SSD 5.1. Horizon 8175 HDD and SSD To remove the 3.5” HDD, press the latch and pull out the drive. To remove the 2.5” HDD or SSD, press To remove the 2.5” HDD or SSD, press the latch and pull out the drive. -
Page 10: Horizon 8275 Hdd And Ssd
5.2. Horizon 8275 HDD and SSD To remove the 3.5” HDD, lift the tab and pull out the drive. To remove the 2.5” HDD or SSD, unscrew the retaining screw and remove the drive. To remove the M.2 SSD, unscrew the retaining screw, lift the drive and pull it out of the slot. -
Page 11: Optical Drive
6. Optical drive 6.1. Horizon 8175 optical drive To remove the optical drive, push the locking latch and pull the drive out. 6.2. Horizon 8275 optical drive To remove the optical drive, lift the locking tab and pull the drive out. Page 11 of 14... -
Page 12: Memory
7. Memory 7.1. Horizon 8175 memory To remove a memory module, flip the latch and remove the module. 7.2. Horizon 8275 memory To remove a memory module, flip the latch and remove the module. Page 12 of 14... -
Page 13: Processor
8. Processor 8.1. Horizon 8175 processor To remove the processor, turn the 4 latches counterclockwise, open the lever, lift the cover and remove the processor. 8.2. Horizon 8275 processor To remove the processor, turn the 4 latches counterclockwise, open the lever, lift the cover and remove the processor. -
Page 14: Discrete Video Controller
9.0 Discrete video controller 9.1 Horizon 8175 discrete video controller To remove the video controller,tilt the cover of the PCI doors. it de dévisser ces 2 vis, puis de débrancher tous les câbles. You will then be able to pull out the controller.
Need help?
Do you have a question about the CIARA Horizon 8175 and is the answer not in the manual?
Questions and answers